by: The Button Man | January 31, 2003
[Jump to: Murder At The Bazaar | Motorcade Interception | Tunnel Rat]
 Oh, this is a good one! People in general seem to find this level fairly
hard, but if you don't mind taking down a few enemy soldiers (they'd do
the same for you!), then it becomes and extremely satisfying experience,
with a good mix of tension and action, whilst not becoming too challenging.
You now have the location of the cargo, and it's time for you to liberate it
from current hideaway in an underground military base. Its captor, Lieutenant
Yussef Hussein, is somewhere in the base, although his exact position is unknown.
You must track him down, execute him, and escape with the cargo to ground level
for its pickup via a Russian helicopter. Easy stuff, hey? Who said the odds
were stacked against you?
Oh, this is a good one! People in general seem to find this level fairly
hard, but if you don't mind taking down a few enemy soldiers (they'd do
the same for you!), then it becomes and extremely satisfying experience,
with a good mix of tension and action, whilst not becoming too challenging.
You now have the location of the cargo, and it's time for you to liberate it
from current hideaway in an underground military base. Its captor, Lieutenant
Yussef Hussein, is somewhere in the base, although his exact position is unknown.
You must track him down, execute him, and escape with the cargo to ground level
for its pickup via a Russian helicopter. Easy stuff, hey? Who said the odds
were stacked against you?
Load-Out
The only really potential addition to your armoury is the M195 Sniper
Rifle from the previous mission. Don't worry if you don't have it; we'll only
use it once, and it's just to cut down on some waiting.
Walkthrough
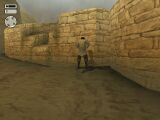
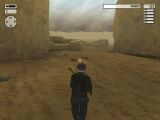 Damn. For some reason, 47 has yet again dumped his military uniform, and
donned "local dress" for his travel to the military base. We'll definitely
have to change this. You start on the far east of the map, looking directly
onto the ruins under which the base is located. Turn round, and run east
until you hit the back wall, turn again and ready your sniper rifle.
Within a minute, a guard will come into view.
Damn. For some reason, 47 has yet again dumped his military uniform, and
donned "local dress" for his travel to the military base. We'll definitely
have to change this. You start on the far east of the map, looking directly
onto the ruins under which the base is located. Turn round, and run east
until you hit the back wall, turn again and ready your sniper rifle.
Within a minute, a guard will come into view.
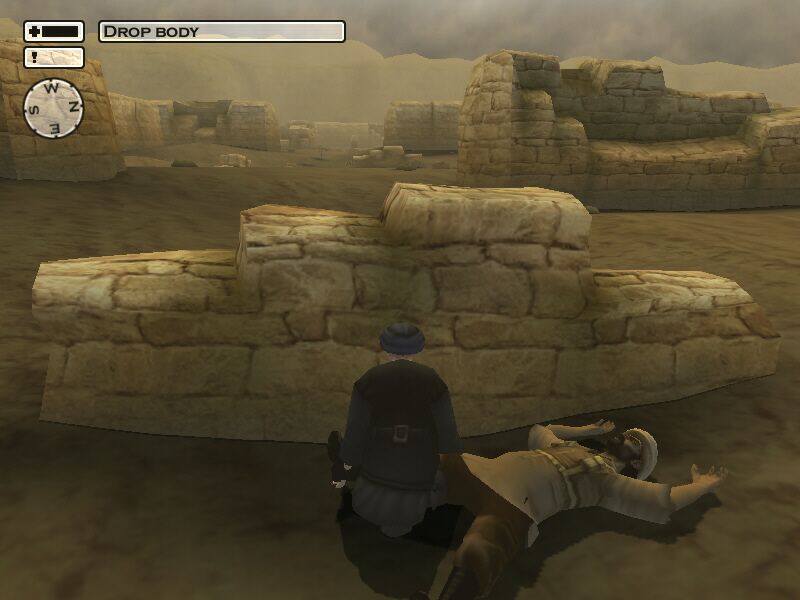
 Track his slow shuffle until
he is roughly in the center of the wall, and blow his head off. Run over
to his body and, for safety's sake, drag it south to the small broken wall.
If you don't have the sniper rifle, wait for the guard to pass in front of
you, and go towards the southern wall corner. Keeping your distance from the
compound, follow him, and shoot him before he gets to the next gap in the
main wall. You may then drag his body east, back round the corner, and
leave it there.
Track his slow shuffle until
he is roughly in the center of the wall, and blow his head off. Run over
to his body and, for safety's sake, drag it south to the small broken wall.
If you don't have the sniper rifle, wait for the guard to pass in front of
you, and go towards the southern wall corner. Keeping your distance from the
compound, follow him, and shoot him before he gets to the next gap in the
main wall. You may then drag his body east, back round the corner, and
leave it there.
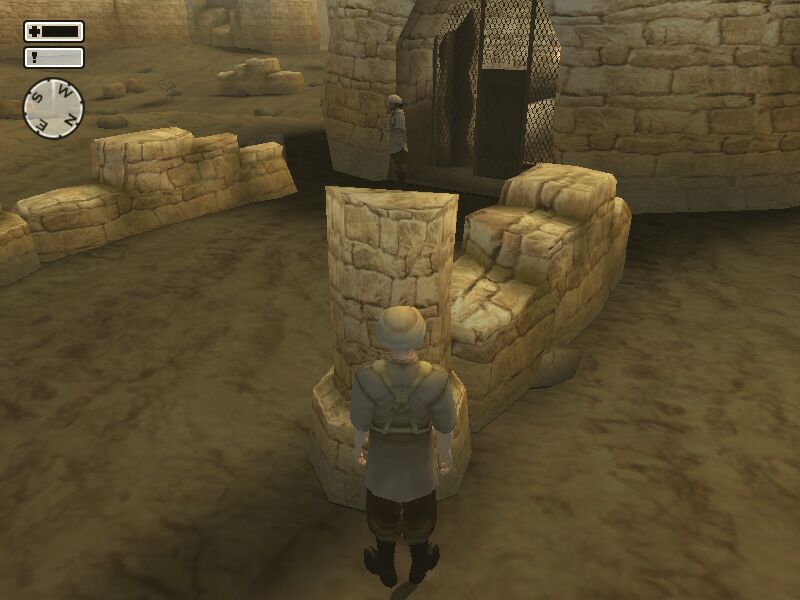
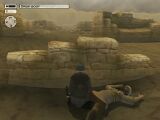
 Change into his clothes, and return to the full wall that you shot him
against. Go to the north of this wall, and look round. You will see a
broken wall, behind which is a small turret with a door set into it.
Of course, it's guarded, and although the guard does wander off south round
the turret every so often, you can end up sitting there for five minutes for this
to happen.
Change into his clothes, and return to the full wall that you shot him
against. Go to the north of this wall, and look round. You will see a
broken wall, behind which is a small turret with a door set into it.
Of course, it's guarded, and although the guard does wander off south round
the turret every so often, you can end up sitting there for five minutes for this
to happen.
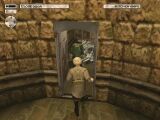
 Instead, walk up to the taller section of the broken wall, where
you will be concealed from the guard. Check your map for any other
patrolling guards, ready your silenced pistol and crouch down. Work your
way west along the low wall, and when you reach the end, pop up and shoot
the guard in the head. Holster the weapon, run to the door and pick the lock.
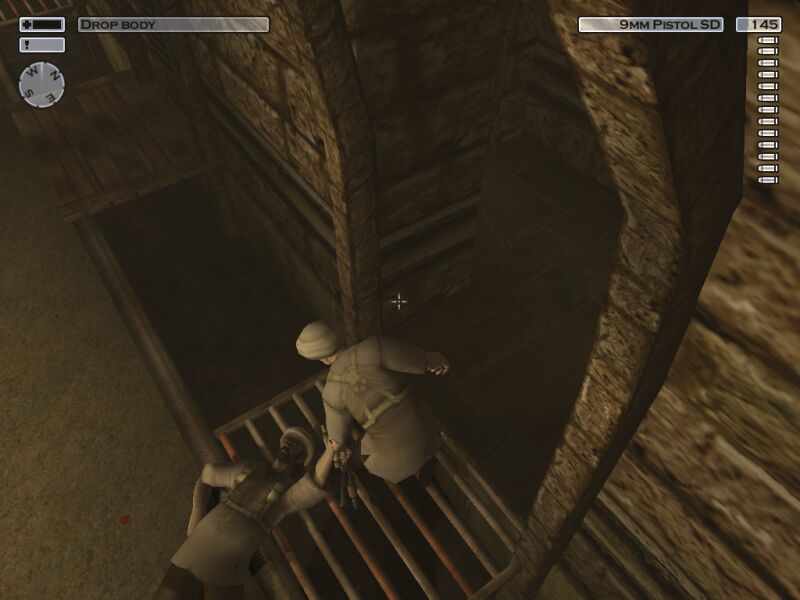
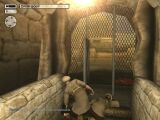
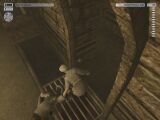
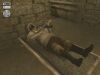
Drag the guards body into the tunnel and shut the door behind you
(make sure the guard's body doesn't start slipping down the stairs - once
it has settled it won't move again). Torch-lit ruins? How Indiana Jones!
Instead, walk up to the taller section of the broken wall, where
you will be concealed from the guard. Check your map for any other
patrolling guards, ready your silenced pistol and crouch down. Work your
way west along the low wall, and when you reach the end, pop up and shoot
the guard in the head. Holster the weapon, run to the door and pick the lock.
Drag the guards body into the tunnel and shut the door behind you
(make sure the guard's body doesn't start slipping down the stairs - once
it has settled it won't move again). Torch-lit ruins? How Indiana Jones!
[Save Game]
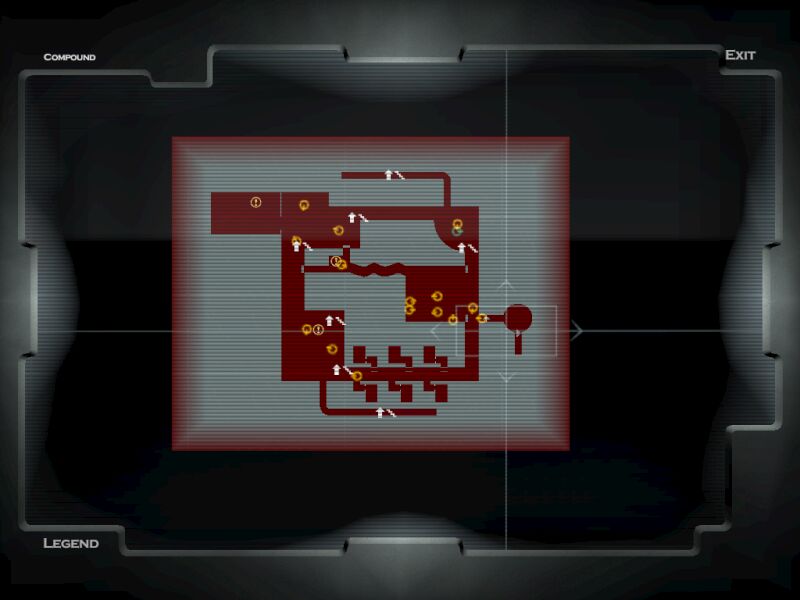
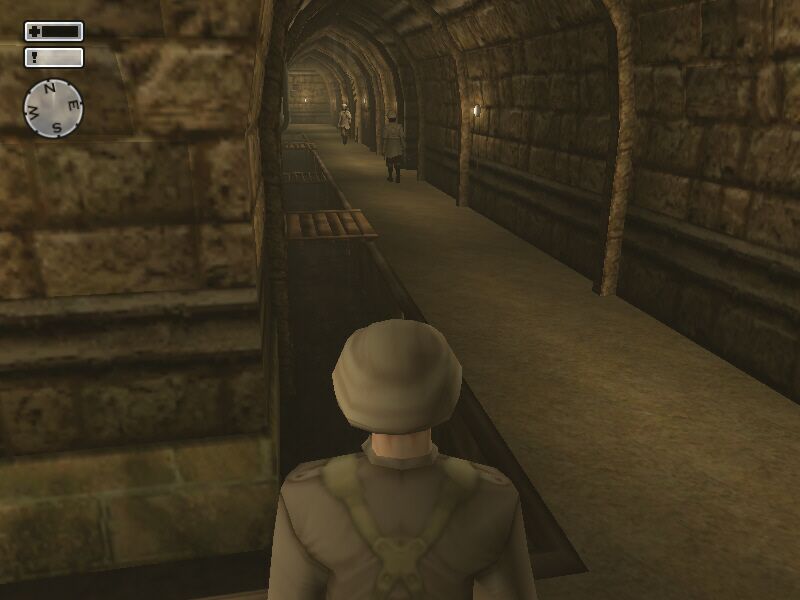
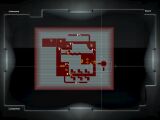
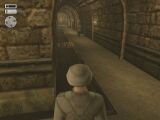
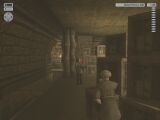
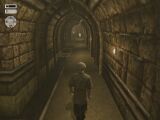 Head down to the bottom of the stairs, and check your map. You have entered
the base on the southern edge. The room you are about to enter has two guards,
and there is another guard with an M60 who patrols the southern corridor
end to end. When this patrolling guard is a good distance from you, head
east along the southern corridor, dodging into one of the alcoves on the
right if you are about to run into him.
Head down to the bottom of the stairs, and check your map. You have entered
the base on the southern edge. The room you are about to enter has two guards,
and there is another guard with an M60 who patrols the southern corridor
end to end. When this patrolling guard is a good distance from you, head
east along the southern corridor, dodging into one of the alcoves on the
right if you are about to run into him.
 Get to the furthest alcove on the right and wait. You want to catch this
guard alone, as he patrols eastward. Let him pass the alcove, then walk to
the doorway (staying out of sight). This should cause him to pause. When he
turns again, pop out and put a bullet in his head. Immediately drag his body
into the nearest alcove. Remember to check your map before doing this to
make sure that there are no other guards who will wonder up during this act.
Get to the furthest alcove on the right and wait. You want to catch this
guard alone, as he patrols eastward. Let him pass the alcove, then walk to
the doorway (staying out of sight). This should cause him to pause. When he
turns again, pop out and put a bullet in his head. Immediately drag his body
into the nearest alcove. Remember to check your map before doing this to
make sure that there are no other guards who will wonder up during this act.
 Now it's time for a bit of map watching. It should be fairly obvious with Hussein
is - the room on the far eastern edge of the base. There are two guards who
patrol this corridor, neither of whom should be too close to you when you
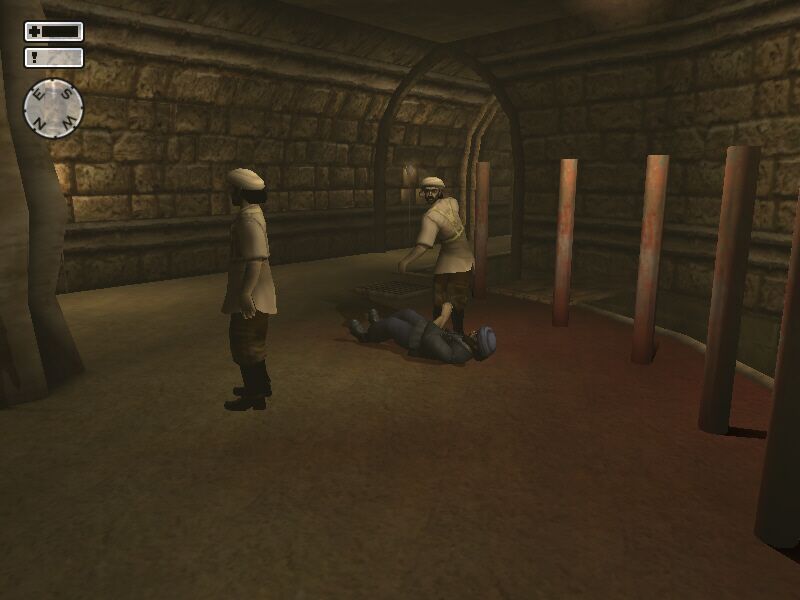
enter this room. Both pause at the door in question, whilst one patrols the
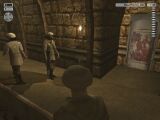
whole corridor, and the other only the top half, pausing at the top to help
administer a beating to a civilian. Take your time, and an opportunity will
present itself.
Now it's time for a bit of map watching. It should be fairly obvious with Hussein
is - the room on the far eastern edge of the base. There are two guards who
patrol this corridor, neither of whom should be too close to you when you
enter this room. Both pause at the door in question, whilst one patrols the
whole corridor, and the other only the top half, pausing at the top to help
administer a beating to a civilian. Take your time, and an opportunity will
present itself.
 Ready yourself by getting to the southern most end of the eastern corridor.
It is possible to walk past the guards, and walk away, but this requires
perfect timing. Easier is waiting for the "whole-corridor-guard" to head
north from the door whilst the "torture-guard" is beginning to head south.
Don't worry about the guard in the corridor opposite the doorway, since he
won't even register you.
Ready yourself by getting to the southern most end of the eastern corridor.
It is possible to walk past the guards, and walk away, but this requires
perfect timing. Easier is waiting for the "whole-corridor-guard" to head
north from the door whilst the "torture-guard" is beginning to head south.
Don't worry about the guard in the corridor opposite the doorway, since he
won't even register you.
 Enter the eastern room, close the door, and enter sneak mode. Get your
knife ready, and sneak towards the door on the southern wall of this room.
Enter silently, and kill Hussein. Return silently to the corridor door and
wait. Check the map for a suitable gap, exit sneak mode, and leave the room,
heading south. There does appear to be a bug where, after you kill Hussein,
one of these guards will enter the room where his body is for no apparent
reason. I have yet to see this cause an alarm to be set off, but you never
know. Even if this does occur, it won't add much to the difficulty of
the level.
Enter the eastern room, close the door, and enter sneak mode. Get your
knife ready, and sneak towards the door on the southern wall of this room.
Enter silently, and kill Hussein. Return silently to the corridor door and
wait. Check the map for a suitable gap, exit sneak mode, and leave the room,
heading south. There does appear to be a bug where, after you kill Hussein,
one of these guards will enter the room where his body is for no apparent
reason. I have yet to see this cause an alarm to be set off, but you never
know. Even if this does occur, it won't add much to the difficulty of
the level.
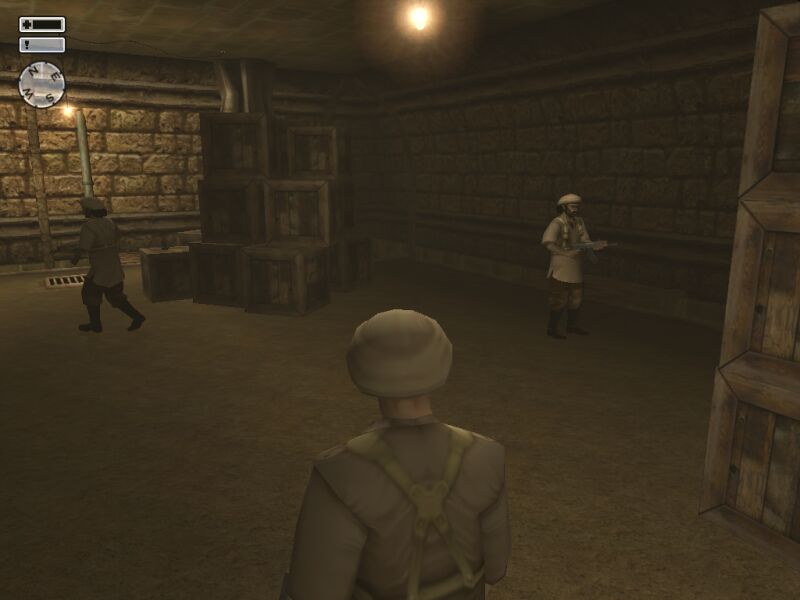
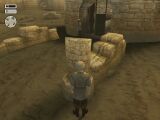
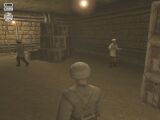 Return to the southwestern room, and wait by the crates as you enter. The
first guard stands still by the eastern wall, whilst the second follows a
set of pathways, resulting him in a) standing in the corner looking down
the southern corridor, b) slowly pacing around in the center of the room,
c) heading north up the western corridor and pausing there. Apparently, he
will also talk to the standing guard, though that wasn't seen on this occasion.
Return to the southwestern room, and wait by the crates as you enter. The
first guard stands still by the eastern wall, whilst the second follows a
set of pathways, resulting him in a) standing in the corner looking down
the southern corridor, b) slowly pacing around in the center of the room,
c) heading north up the western corridor and pausing there. Apparently, he
will also talk to the standing guard, though that wasn't seen on this occasion.
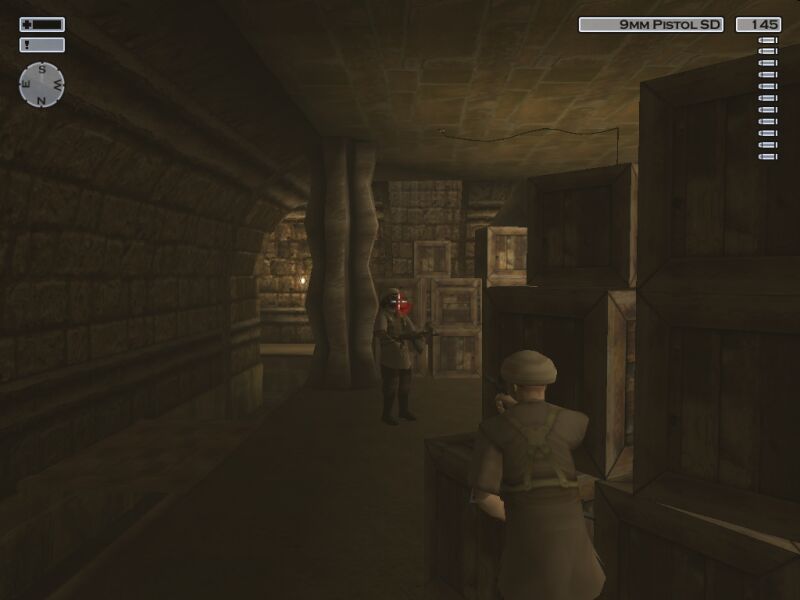
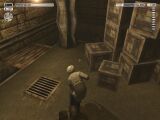
 Wait until he is heading north, then walk out from behind the crates, and head
towards the middle of the room, moving behind the crates on the northern edge.
The suspicion meter will go into the red, but will die back down. You will
see some night vision goggles on the crates, but leave this for the moment.
Keep going round the crates so that you are now facing south, slightly behind
the guards area of vision.
Wait until he is heading north, then walk out from behind the crates, and head
towards the middle of the room, moving behind the crates on the northern edge.
The suspicion meter will go into the red, but will die back down. You will
see some night vision goggles on the crates, but leave this for the moment.
Keep going round the crates so that you are now facing south, slightly behind
the guards area of vision.
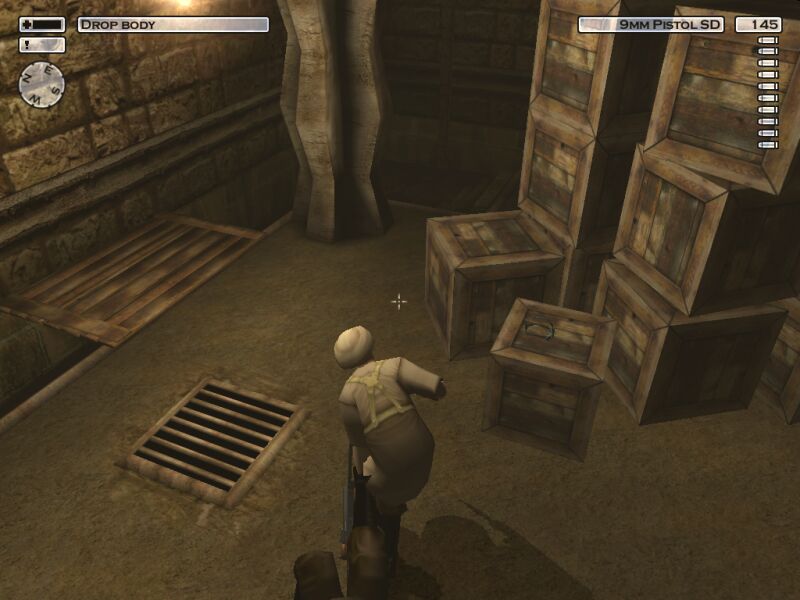
 Quickly arm your silenced pistol and shoot the guard in the head. Walk over
and drag his body over the edge into the water, then return to ground level
using the steps marked on the map. Wait again behind the crates. The
patrolling guard will return, and should start pacing in the center of the
room, just on the far side of the crates. When he is facing away, shoot him
with the silenced pistol and drag his body into the water. Pick up the night
vision goggles, and then head up the western corridor. Before you reach
the northwestern room, you will see a small corridor to your right. Walk
in here, and then when out of view, enter sneak mode.
Quickly arm your silenced pistol and shoot the guard in the head. Walk over
and drag his body over the edge into the water, then return to ground level
using the steps marked on the map. Wait again behind the crates. The
patrolling guard will return, and should start pacing in the center of the
room, just on the far side of the crates. When he is facing away, shoot him
with the silenced pistol and drag his body into the water. Pick up the night
vision goggles, and then head up the western corridor. Before you reach
the northwestern room, you will see a small corridor to your right. Walk
in here, and then when out of view, enter sneak mode.
[Save Game]
 If you hug the left wall at all times, the guard ahead cannot see you
(even if it does look like he's turning towards you). Keep holding left
as you work your way up the wall, and when you are right behind him, you
will see an option to toggle the generator. Do this, and the lights will
go off. Immediately, turn round and walk back the way you came. When you
reach the corridor, walk north (right), and you should be able to see a
slight glow ahead on the left. The suspicion meter will rise into the red,
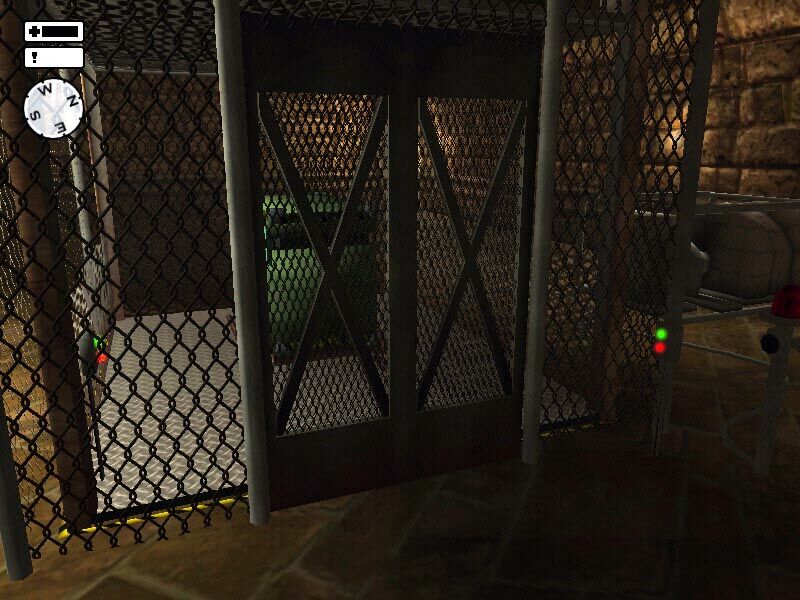
but keep walking. As you enter the "glow" room (POI on the map), the power
will be restored. Head over to the lift, and hit the button outside.
When inside, hit the interior button and crouch down behind the cargo.
If you hug the left wall at all times, the guard ahead cannot see you
(even if it does look like he's turning towards you). Keep holding left
as you work your way up the wall, and when you are right behind him, you
will see an option to toggle the generator. Do this, and the lights will
go off. Immediately, turn round and walk back the way you came. When you
reach the corridor, walk north (right), and you should be able to see a
slight glow ahead on the left. The suspicion meter will rise into the red,
but keep walking. As you enter the "glow" room (POI on the map), the power
will be restored. Head over to the lift, and hit the button outside.
When inside, hit the interior button and crouch down behind the cargo.
[Save Game]
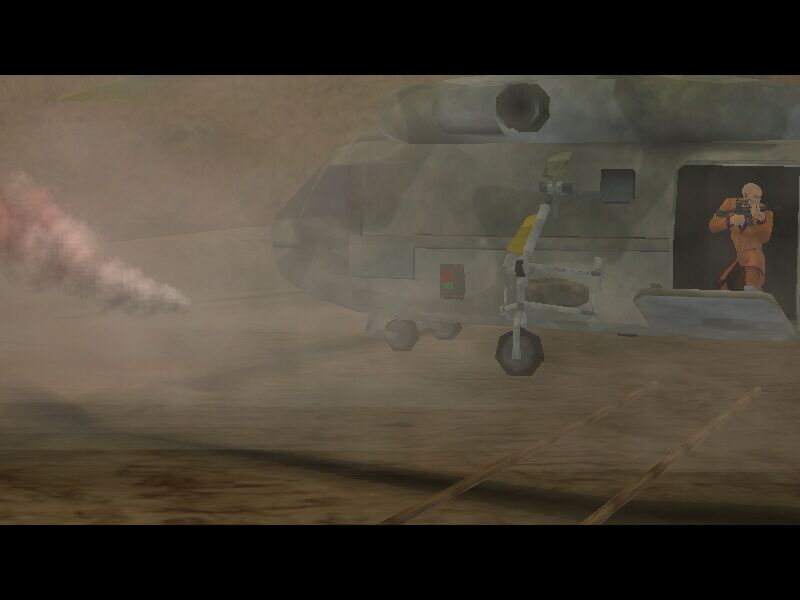
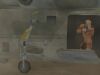
 When the lift arrives at the top, you will get a short cutscene. You need
to secure the helipad. There are two soldiers you need to deal with. They
start north east of the lift room, besides the northern stairwell down to the
base. Wait for them to separate, and then leave the lift room. Deal with
the urinating guard to the north first (he's nearer and easier to get),
then head round the stairwell turret to the east, and you will see the
second guard patrolling the helipad. You can either deal with him here,
or set up a trap using his comrade's body (when he sees it, you can shoot
him easily from behind). Once they are dealt with, the mission ends with a
cutscene.
When the lift arrives at the top, you will get a short cutscene. You need
to secure the helipad. There are two soldiers you need to deal with. They
start north east of the lift room, besides the northern stairwell down to the
base. Wait for them to separate, and then leave the lift room. Deal with
the urinating guard to the north first (he's nearer and easier to get),
then head round the stairwell turret to the east, and you will see the
second guard patrolling the helipad. You can either deal with him here,
or set up a trap using his comrade's body (when he sees it, you can shoot
him easily from behind). Once they are dealt with, the mission ends with a
cutscene.
Recommended Saves: 3
Rating: Ninja Extraordinaire
Time: 20:17
Items Available For Collection
- Chloroform [In Lieutenant's Quarters]
- 9mm Pistol [On Corridor Guards, In Guard Room]
- AK-47 [On Guards]
Points Of Interest
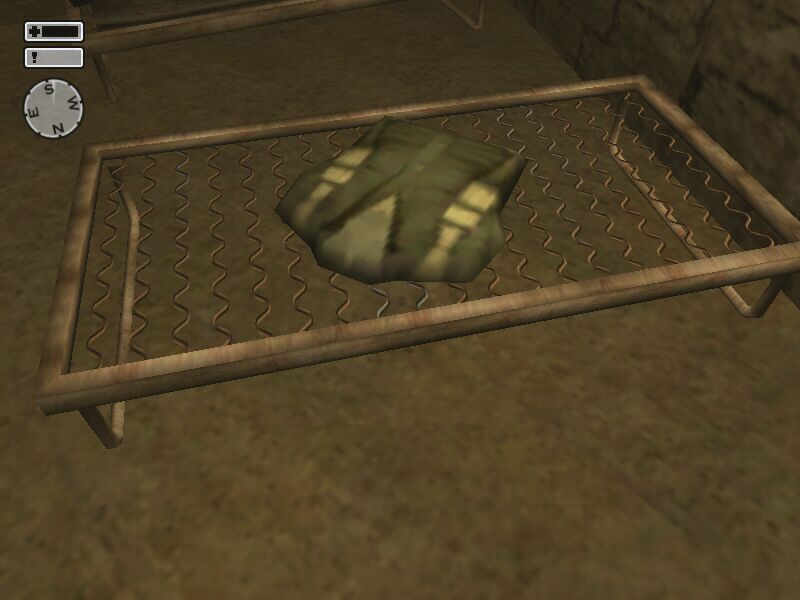
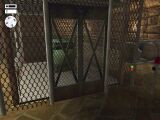
 Don't want to kill for a uniform? Maybe there are some spares...
 You could be nice and help...
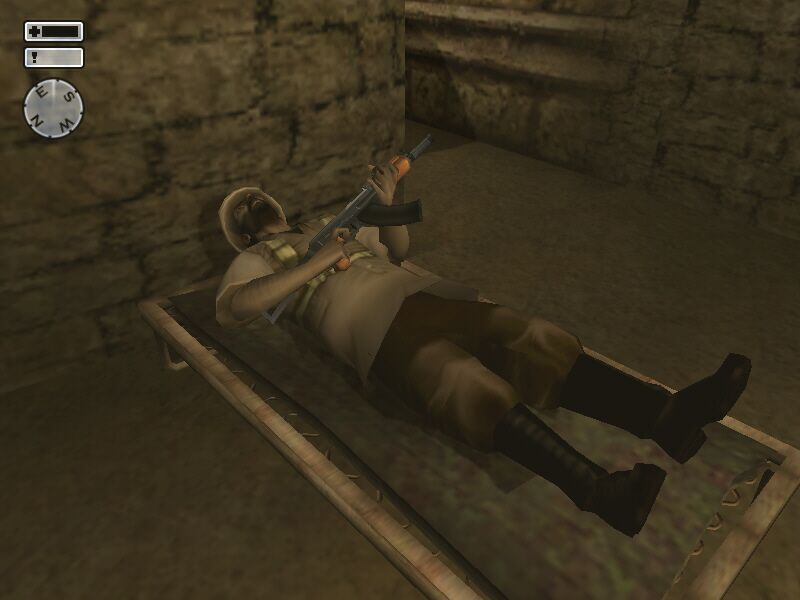
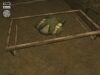
 Always ready for action!
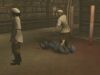
 Who the hell are this lot? The plot thickens!