by: The Button Man | January 31, 2003
[Jump to: Murder At The Bazaar | Motorcade Interception | Tunnel Rat]
 How topical! Off to Afghanistan for a bit of weapons reclaim, complete
with Osama and Saddam look-alikes. I'm sure most of you have already
checked up to see whether this is one of those made-up-for-a-computer-game
parts of the world; but this is IO-I - of course it isn't!
How topical! Off to Afghanistan for a bit of weapons reclaim, complete
with Osama and Saddam look-alikes. I'm sure most of you have already
checked up to see whether this is one of those made-up-for-a-computer-game
parts of the world; but this is IO-I - of course it isn't!
Don't think that Nuristan is actually anything like this in real life;
although Afghanistan does contain dust bowls of a kind, Nuristan is anything
but. It is a really extremely beautiful part of the world, with what appears
to be an historically long, rich culture, all set in green lush valleys
hidden away in the mountains. The national/regional dress that appears
in the game does seem fairly accurate, but don't take anything else for
granted! This doesn't mean that IOI hasn't put a lot of effort into these
levels, and they do turn out as an extremely detailed, evocative, and
extraordinarily annoyingly set of levels, varying from the extremely easy
to the seemingly impossible. But we'll get to that later, and besides,
you're warned that you're going to have to work for your money this time!
Your first job in locating the client's lost cargo is to obtain a map and
a key (integral to the "cargo's" operation) from two military officers,
Lieutenant Ahmed Zahir, and Colonel Mohammad Amin. The Lieutenant has a
bit of a heart problem, and rests in the afternoon in his guarded house,
whilst the Colonel is an active man, always keeping a personal eye on the
local citizens, only requiring his bodyguard, and the local soldiers for
protection. So, this time there are two targets, but it still shouldn't be
too much of a job for 47.
Load-Out
- Fiber Wire
- Anaesthetic
- Knife
- Ballers
- Silenced 9mm Pistol
- SMG
Another chapter starts, another load out is required. There are plenty of
weapons available in these coming levels, including a few collectables, so
we'll go with our general start out kit. This time, you definitely want to
take the knife, as quiet take-downs will be required on a fairly regular
basis, despite the potential for additional noise that the knife might bring.
Walkthrough
 This is another one of those levels where the most interesting, fun, and easy
way of completing it results in a Silent Assassin rating. The nice side of
this, however, is that it can so easily become anything but silent, and a few
extra kills here and there may be necessary if you make unwise judgements, or
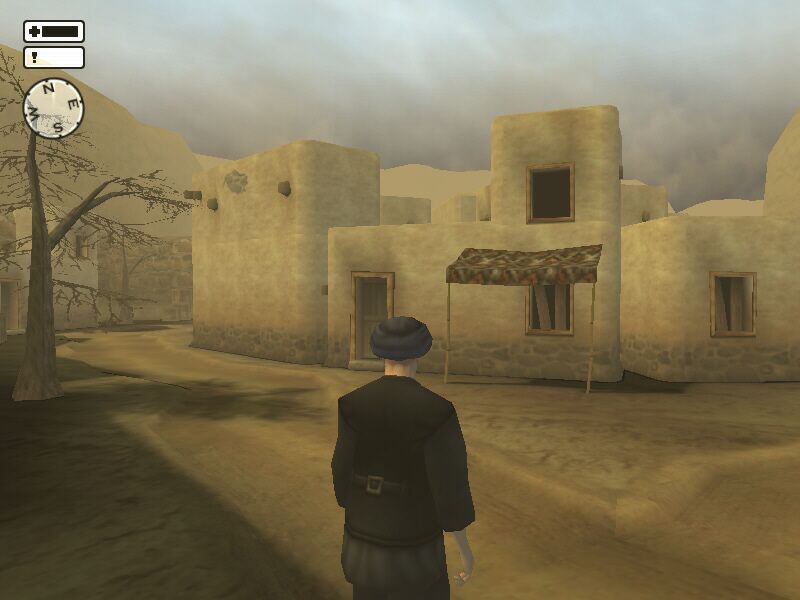
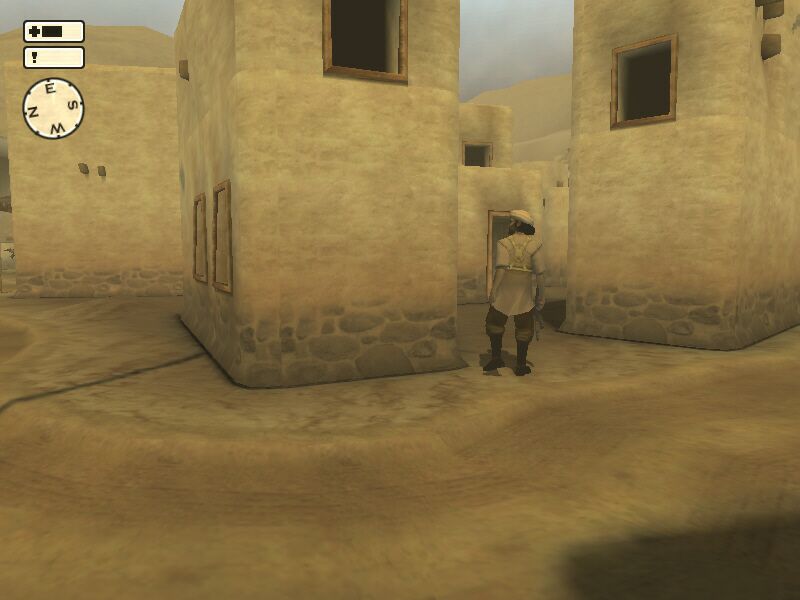
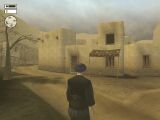
wish to complete the level faster. You start on a dusty road, facing north.
You should aim to take the targets out in the order suggested by the briefing:
the Lieutenant followed by the Colonel. This only becomes apparent if you
kill the Colonel first, since a nearby guard will raise the alarm, and
the Lieutenants house will be guarded more carefully from then on.
This is another one of those levels where the most interesting, fun, and easy
way of completing it results in a Silent Assassin rating. The nice side of
this, however, is that it can so easily become anything but silent, and a few
extra kills here and there may be necessary if you make unwise judgements, or
wish to complete the level faster. You start on a dusty road, facing north.
You should aim to take the targets out in the order suggested by the briefing:
the Lieutenant followed by the Colonel. This only becomes apparent if you
kill the Colonel first, since a nearby guard will raise the alarm, and
the Lieutenants house will be guarded more carefully from then on.
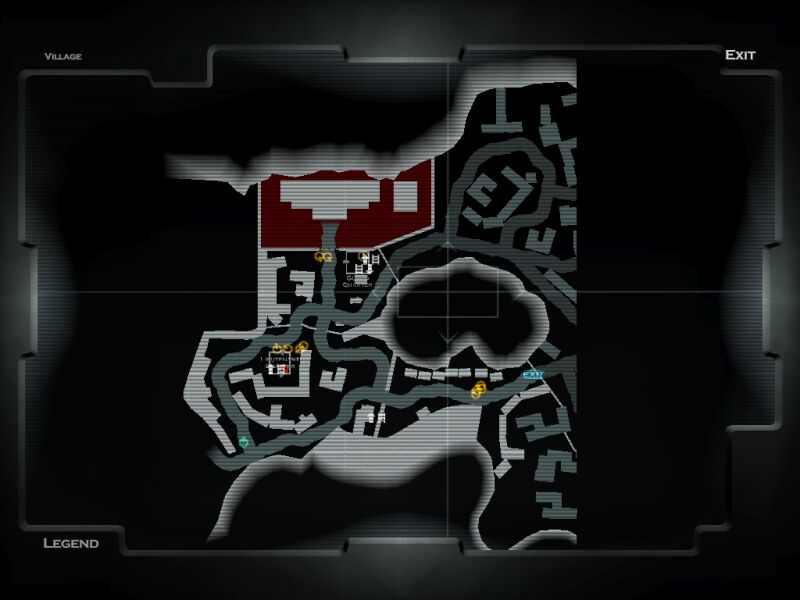
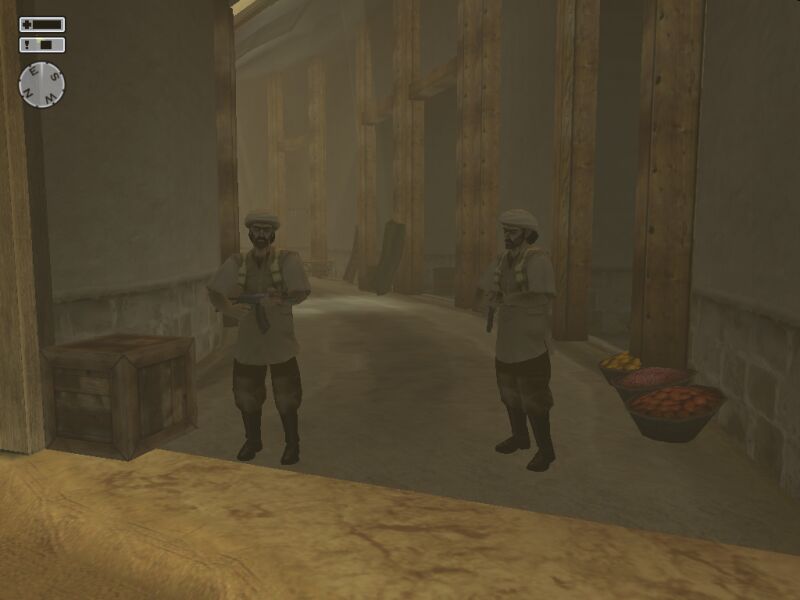
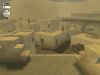
 You may like to start the level by having a good look around, especially at
the bazaar directly to the east (with two guards stationed out front). You
don't have to be hurried at the outset, and it may be good to have a look
around before hand to get the lay of the land. As a side note, don't
worry about getting a disguise - for once you're safer in your own clothes!
You may like to start the level by having a good look around, especially at
the bazaar directly to the east (with two guards stationed out front). You
don't have to be hurried at the outset, and it may be good to have a look
around before hand to get the lay of the land. As a side note, don't
worry about getting a disguise - for once you're safer in your own clothes!
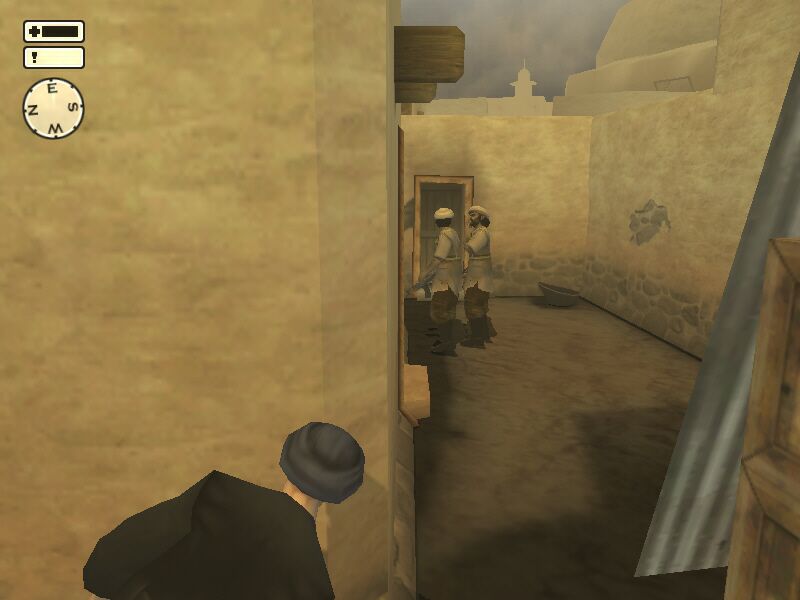
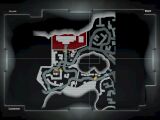
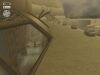
 From the start, head directly north, following the left hand path, past the
first passageway on your right. Here is the Lieutenant's house, and you
can clearly see the two guards out front. If you check the map, you will
see two guards walking in the general direction of the house. They will
pause round the back for a quick smoke, then begin their fairly long patrol
paths which ends up with them both back at the house. If you have been quick,
there will be no guards present at the back of the house when you arrive,
and you can enter directly. However, if they are there, you can wait for a
short while, and they both leave on their patrols.
From the start, head directly north, following the left hand path, past the
first passageway on your right. Here is the Lieutenant's house, and you
can clearly see the two guards out front. If you check the map, you will
see two guards walking in the general direction of the house. They will
pause round the back for a quick smoke, then begin their fairly long patrol
paths which ends up with them both back at the house. If you have been quick,
there will be no guards present at the back of the house when you arrive,
and you can enter directly. However, if they are there, you can wait for a
short while, and they both leave on their patrols.
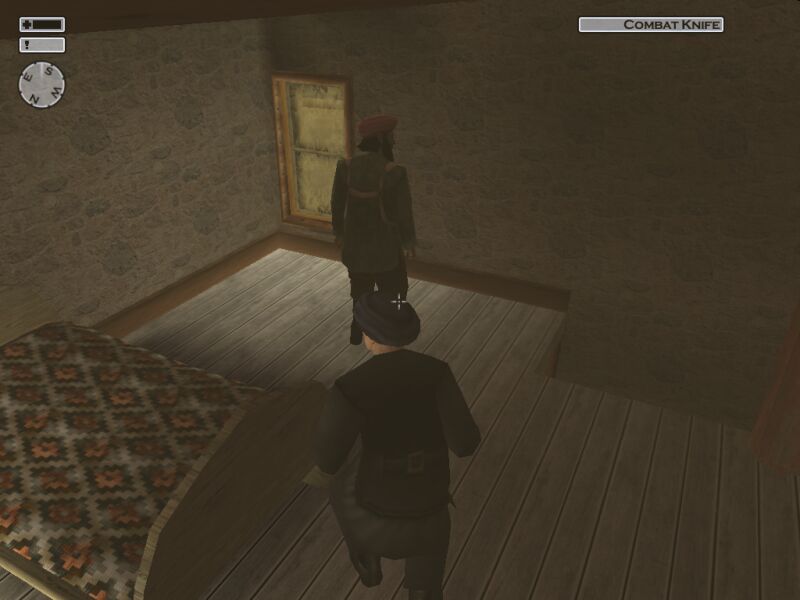
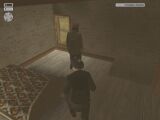 When at the back door, pick the lock, enter sneak mode and enter the house,
closing the door behind you. Take the stairs directly to your left, whilst
still facing east. Ready your knife. As you reach the first landing, you
will see the Lieutenant standing, facing the window. Time you travel up the
stairs to make sure he is facing away, get behind him and cut his throat.
Drag his body away from the window, and remove the map from his possession.
Remember that you have to be in sneak mode for the whole process.
When at the back door, pick the lock, enter sneak mode and enter the house,
closing the door behind you. Take the stairs directly to your left, whilst
still facing east. Ready your knife. As you reach the first landing, you
will see the Lieutenant standing, facing the window. Time you travel up the
stairs to make sure he is facing away, get behind him and cut his throat.
Drag his body away from the window, and remove the map from his possession.
Remember that you have to be in sneak mode for the whole process.
[Save Game]
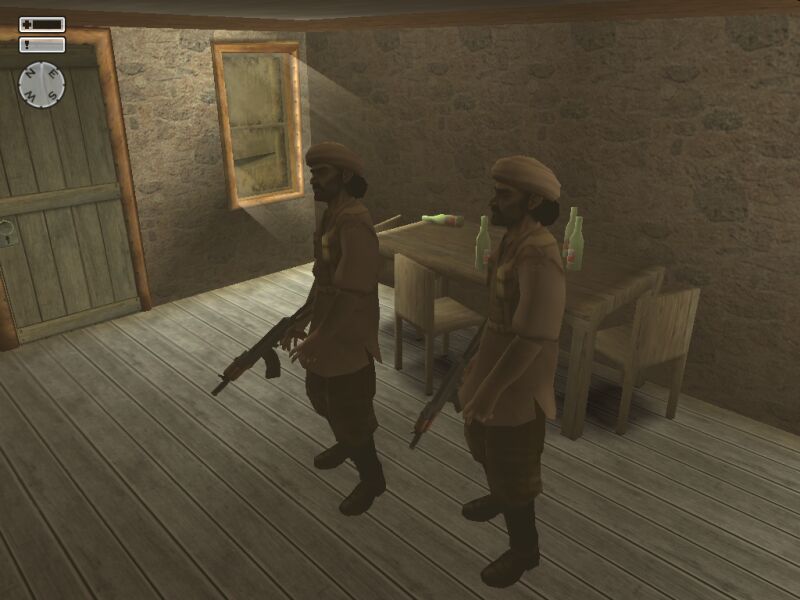
 At this point, check your map. If the guards are not back, they will be
shortly, and they will enter the house. Don't worry about this, since they
will have a conversation, then both leave the house by the front door, and
head off on another patrol. If you want, it is possible to sneak past them
and out of the back door while they are talking (as long as they are facing
north), but it is probably worth waiting.
At this point, check your map. If the guards are not back, they will be
shortly, and they will enter the house. Don't worry about this, since they
will have a conversation, then both leave the house by the front door, and
head off on another patrol. If you want, it is possible to sneak past them
and out of the back door while they are talking (as long as they are facing
north), but it is probably worth waiting.
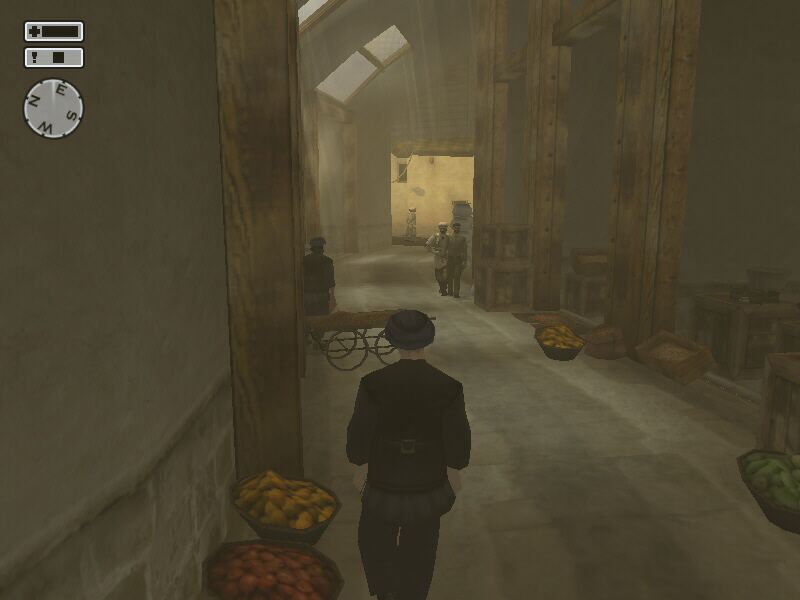
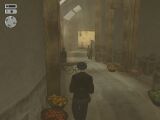 Once you are back on the streets, head back to the start point, and east into
the bazaar, past the guards. You will see the Colonel and his personal guard
walking around here, but ignore them for the moment. Head to the eastern
most stall on the southern wall and crouch behind the boxes at the rear,
readying your knife. You could be in for a bit of a wait here, since the
Colonel goes around to all of the stalls having a bit of a shout at the owners,
but he will eventually come to this shop and smoke a cigarette. His guard
will wait at the entrance, facing east while he does this, so use this to
your advantage.
Once you are back on the streets, head back to the start point, and east into
the bazaar, past the guards. You will see the Colonel and his personal guard
walking around here, but ignore them for the moment. Head to the eastern
most stall on the southern wall and crouch behind the boxes at the rear,
readying your knife. You could be in for a bit of a wait here, since the
Colonel goes around to all of the stalls having a bit of a shout at the owners,
but he will eventually come to this shop and smoke a cigarette. His guard
will wait at the entrance, facing east while he does this, so use this to
your advantage.
[Save Game]
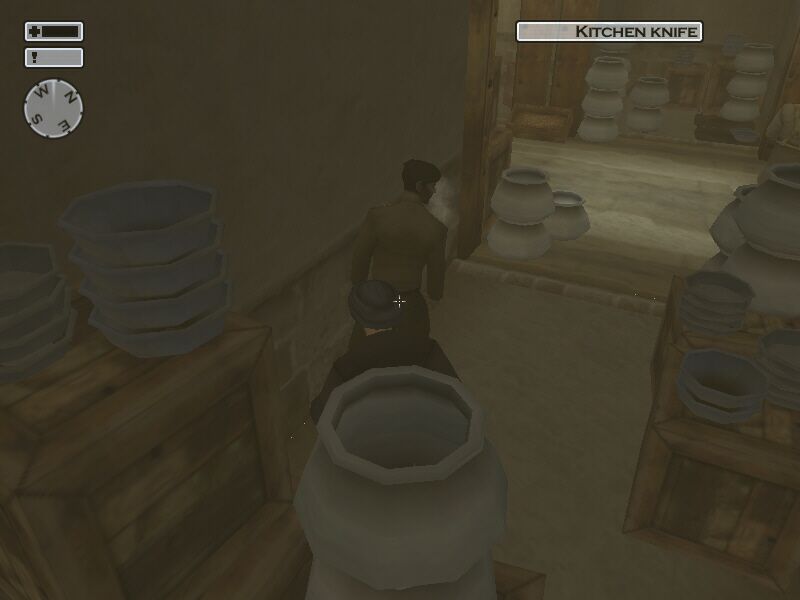
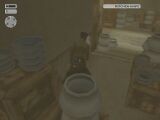 As the Colonel enters, activate sneak mode, and when he turns his back,
immediately move round the boxes, get behind him, and slit his throat.
Remaining in sneak mode, drag his body back round to your hiding place and
remove the key from his possession. At this point, you should be able to
simply walk out of the shop and head east to the exit point (the large gate
on the eastern wall). If you don't feel safe, stay behind the boxes until
the guard moves away, then head for the exit. Nice and easy, you've completed
the first mission.
As the Colonel enters, activate sneak mode, and when he turns his back,
immediately move round the boxes, get behind him, and slit his throat.
Remaining in sneak mode, drag his body back round to your hiding place and
remove the key from his possession. At this point, you should be able to
simply walk out of the shop and head east to the exit point (the large gate
on the eastern wall). If you don't feel safe, stay behind the boxes until
the guard moves away, then head for the exit. Nice and easy, you've completed
the first mission.
Recommended Saves: 2
Rating: Silent Assassin
Time: 16:00
Items Available For Collection
- 9mm Pistol [On Lieutenant]
- Revolver [On Colonel]
- AK-47 [On Guards]
- SVD Sniper Rifle [In Guard Post]
Points Of Interest
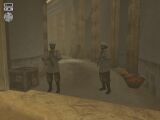
 Some Guards seem to like being on their own. Easy prey!
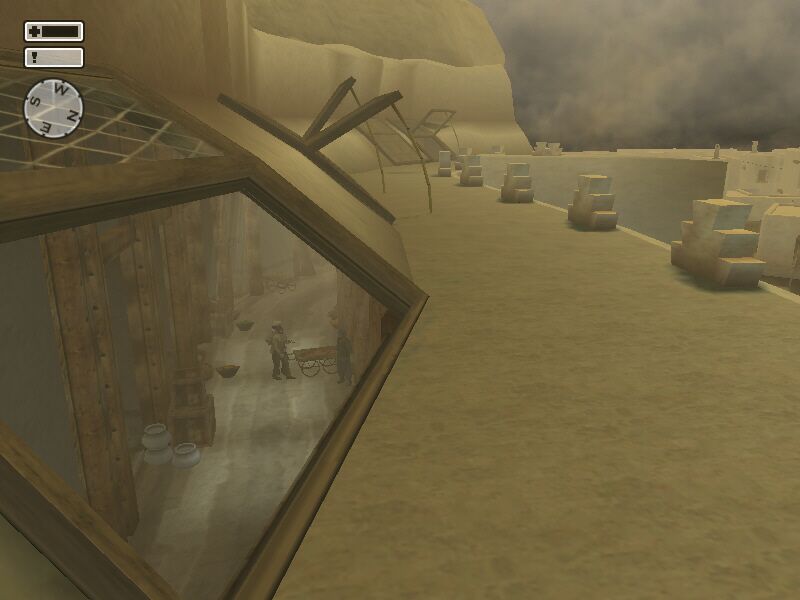
 A birds-eye view can be extremely useful.
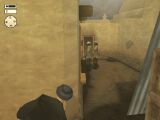
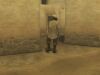
 Think you're hard? Try it from here!