| Movelist |
| X |
IMAGE |
NAME |
MOVE |
DAMAGE |
DESCRIPTION |
S
P
E
C
I
A
LA
T
T
A
C
K
S |
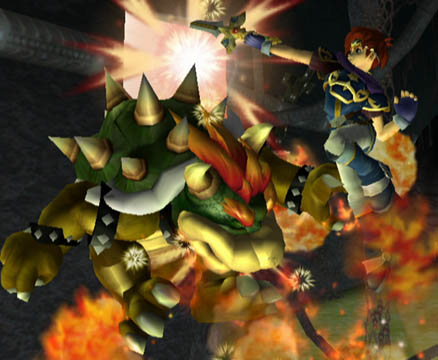 |
Blazer |
  |
- |
he jumps up quickly, slashing with his fiery sword |
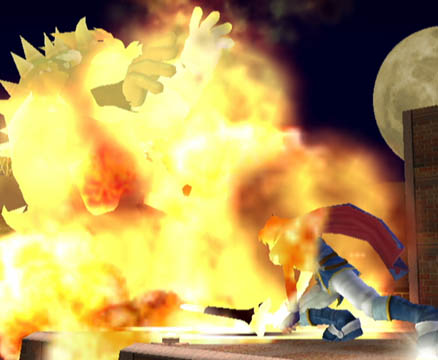 |
Fire Blade |
|
- |
he slashes forward with his fiery sword; this attack can sometimes penetrate through a shield; also, if you hold down the  button long enough, Roy will release an attacking doing up to 50% damage (Marth's doesn't charge that long); it takes a while to charge up, though button long enough, Roy will release an attacking doing up to 50% damage (Marth's doesn't charge that long); it takes a while to charge up, though |
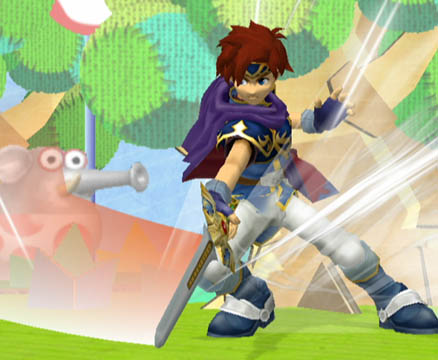 |
Double Edge Dance |
 |
- |
the Double Edge Dance is a four-hit sword combo; you start the combo by press the , and you continue it by either pressing , , or  ; you can continue this for another two times; try finding different combinations that work well together; here is one I use: ; you can continue this for another two times; try finding different combinations that work well together; here is one I use:
, ,, |
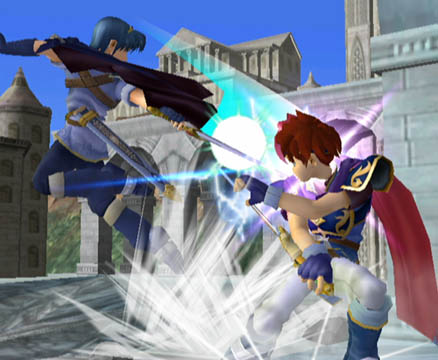 |
Counter |
|
- |
if somebody is going to hit you, perform this move; if done correctly (usually, you have to press this move a split second before it hits you, else you'll be very open), Roy will block the attack and hit the enemy attacking him |
T
A
U
N
T |
 |
Taunt |
UP on D-Pad |
none |
performs a salute |
|
| Pros & Cons |
» Pros
· powerful attacks
» Cons
· slower than Marth
|
| Strategies |
|
|
| VS Roy |
|
|
| Target Test |
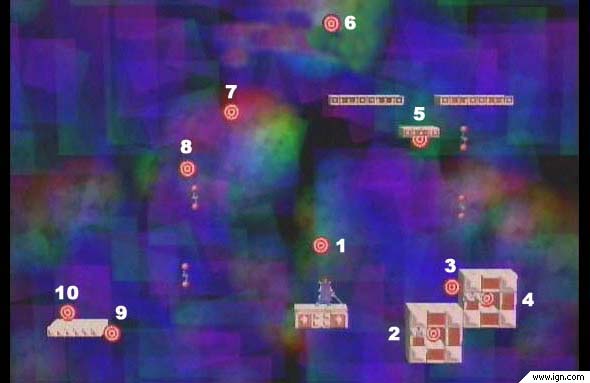
Click on the picture to enlarge.
Image courtesy of IGN.
|


