by: The Button Man | January 1, 2003
[Jump to: Basement Killing | The Graveyard Shift | The Jacuzzi Job]
 Well, everything should have gone pretty smoothly in the last mission and,
despite your recent discovery about Charlie's family, you're about to
continue with your original mission - to attach a dongle to the
mainframe, and escape from the area. Fortunately, any carnage you may
have caused downstairs won't have alarmed any of those in the upper
regions of the building, so you are pretty free to continue as you wish.
Well, everything should have gone pretty smoothly in the last mission and,
despite your recent discovery about Charlie's family, you're about to
continue with your original mission - to attach a dongle to the
mainframe, and escape from the area. Fortunately, any carnage you may
have caused downstairs won't have alarmed any of those in the upper
regions of the building, so you are pretty free to continue as you wish.
Of course, it's a little more complicated than that. All good
organizations lock up their mainframes, so you'll have to get access
to it. In addition, because of the additional tasks required of you now,
you'll have to escape across the sky bridge over to the next tower.
To make things a little harder again, this place is almost silent at
night, and there are a lot of guards, so you don't want to be doing too
much shooting. In addition, as is so often true of the computing
profession, there are some people working late, so you'll probably want
to avoid them.
Load-Out
As usual, you'll have whatever you left the previous mission with.
Don't worry if this makes you feel short changed! There's plenty more
here and there is even stuff to make the next level easier.
Walkthrough
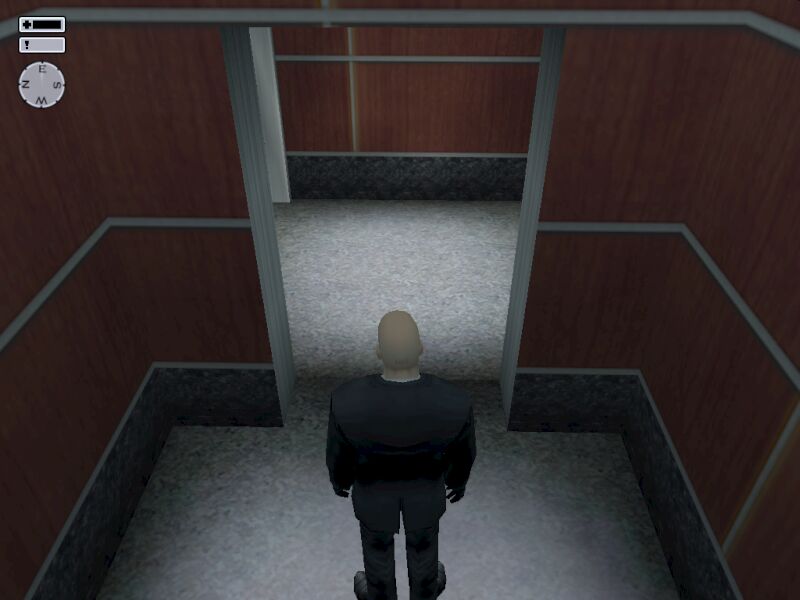
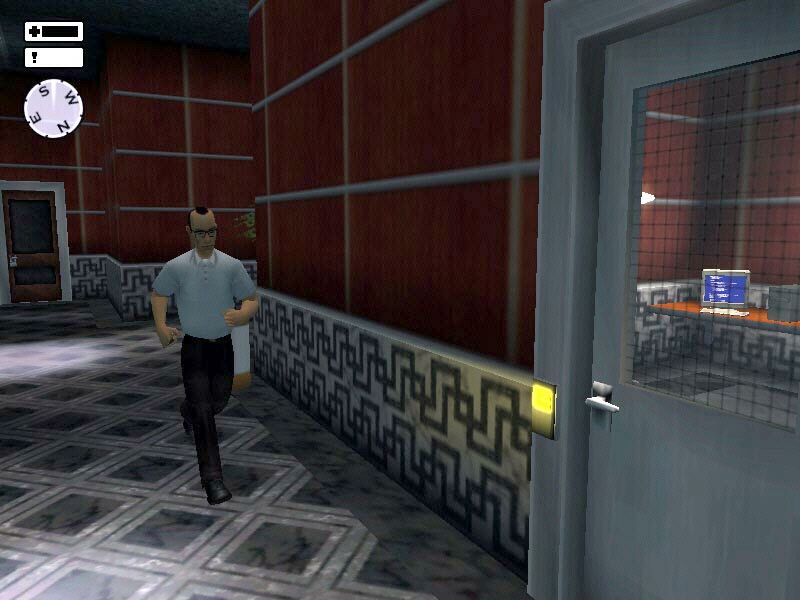
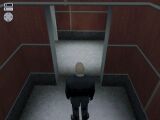 All is quiet when you finish you ride up in the lift, and for the moment,
you want to keep it that way. Stay in the lift, and take a look at
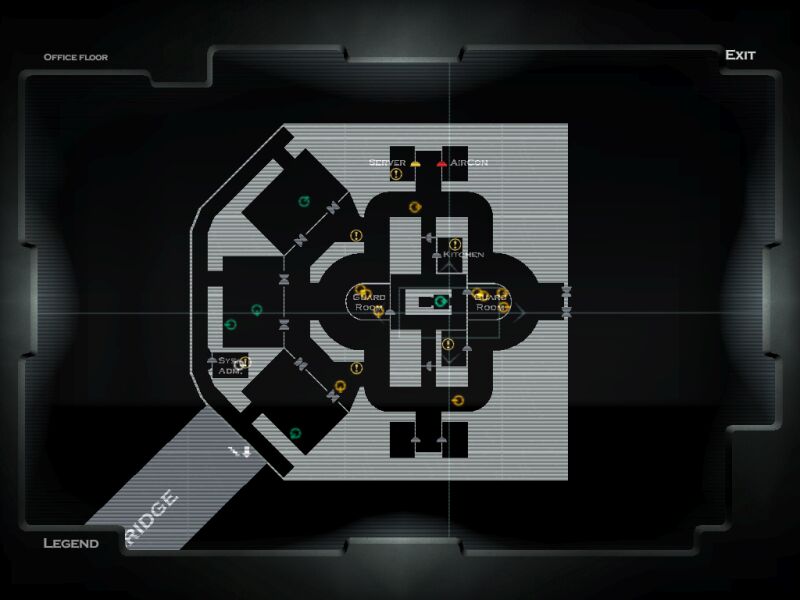
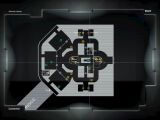
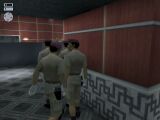
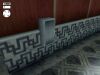
your map. 47 starts in the central cross-shaped area of the level.
There are two guard rooms joining onto this area, to the west and to the
east, and exits, to the north and south, into the main circular corridor
surrounding this area. This area is regularly patrolled (for the moment)
by three guards. The server room is directly north of 47, and opposite is
an air-con control room. As you can see, these are both card-controlled,
and that is the first thing you are going to tackle.
All is quiet when you finish you ride up in the lift, and for the moment,
you want to keep it that way. Stay in the lift, and take a look at
your map. 47 starts in the central cross-shaped area of the level.
There are two guard rooms joining onto this area, to the west and to the
east, and exits, to the north and south, into the main circular corridor
surrounding this area. This area is regularly patrolled (for the moment)
by three guards. The server room is directly north of 47, and opposite is
an air-con control room. As you can see, these are both card-controlled,
and that is the first thing you are going to tackle.
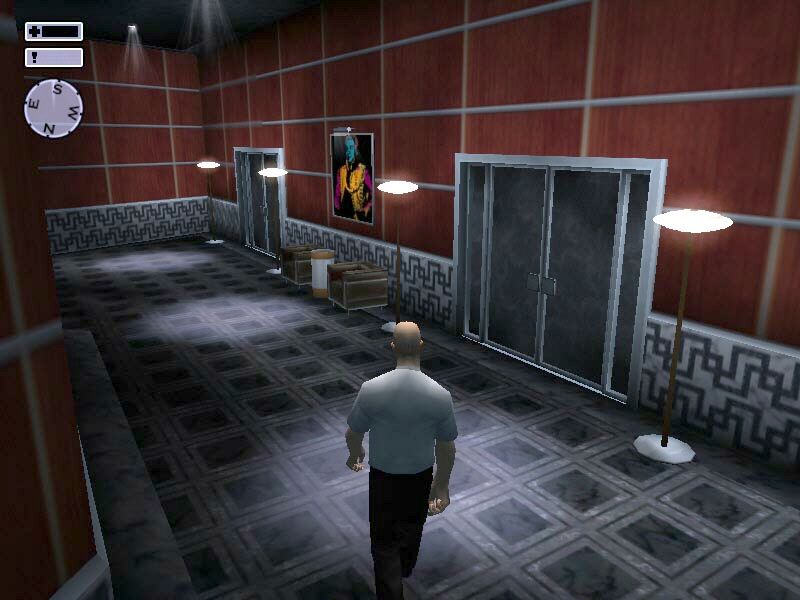
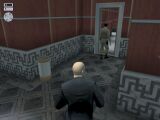
 Our first destination is the Point of Interest to the south of 47. However, to get
to this, we need to leave the central area, and enter the main corridor.
As you start the level, a guard will be entering the western guard room.
Exit the lift area, and turn right and stand on the near side of the ashtray,
getting into sneak mode. Watch your map, and note that the guard in the
southern corridor begins patrolling westward. Continue to wait here by
the lift area until the guard in the western guard room begins patrolling again.
Our first destination is the Point of Interest to the south of 47. However, to get
to this, we need to leave the central area, and enter the main corridor.
As you start the level, a guard will be entering the western guard room.
Exit the lift area, and turn right and stand on the near side of the ashtray,
getting into sneak mode. Watch your map, and note that the guard in the
southern corridor begins patrolling westward. Continue to wait here by
the lift area until the guard in the western guard room begins patrolling again.
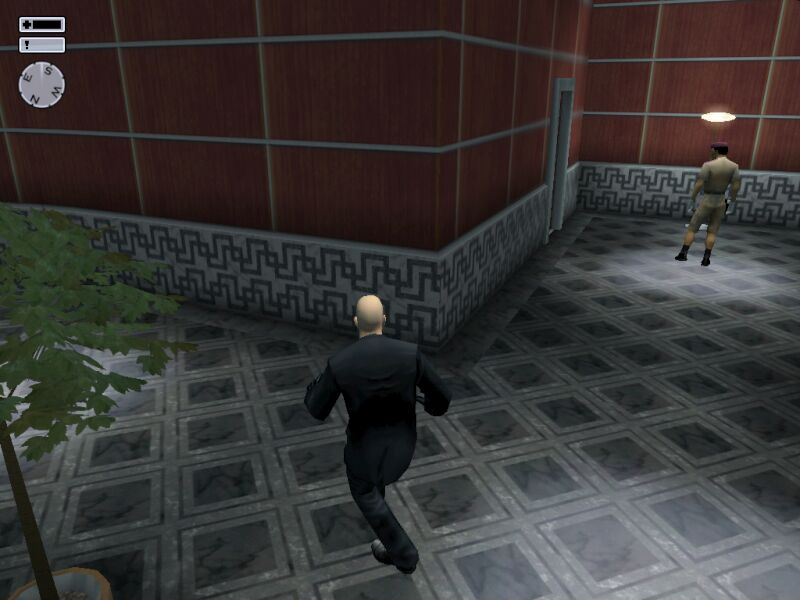
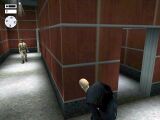
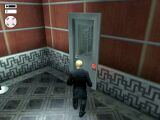
 Still in sneak mode, follow him south down the corridor. He will go
through the door, and head down the short passageway to the south, pausing
under a spotlight. If you have followed him, you will have plenty of time
to head east along this corridor, and follow it round to the north. Head
directly to the POI room door, pick the lock and enter. On the table you
will see a yellow key card. Pick this up, and check your map.
Still in sneak mode, follow him south down the corridor. He will go
through the door, and head down the short passageway to the south, pausing
under a spotlight. If you have followed him, you will have plenty of time
to head east along this corridor, and follow it round to the north. Head
directly to the POI room door, pick the lock and enter. On the table you
will see a yellow key card. Pick this up, and check your map.
[Save Game]
 If you have been fast, the guard will be directly south of you in the main
corridor. He will now return to the guard room. You really need to be
fairly quick here. Still in sneak mode, quickly follow him, retracing
your footsteps whilst shadowing the wall, until you come to the first
door you entered the main corridor by. Wait here until the guard has
rounded the next corner before opening it, and quickly enter. You have
to be quick since the original corridor guard is heading back in your
direction, and if you lag too far behind, you'll wander into his field of view.
If you have been fast, the guard will be directly south of you in the main
corridor. He will now return to the guard room. You really need to be
fairly quick here. Still in sneak mode, quickly follow him, retracing
your footsteps whilst shadowing the wall, until you come to the first
door you entered the main corridor by. Wait here until the guard has
rounded the next corner before opening it, and quickly enter. You have
to be quick since the original corridor guard is heading back in your
direction, and if you lag too far behind, you'll wander into his field of view.
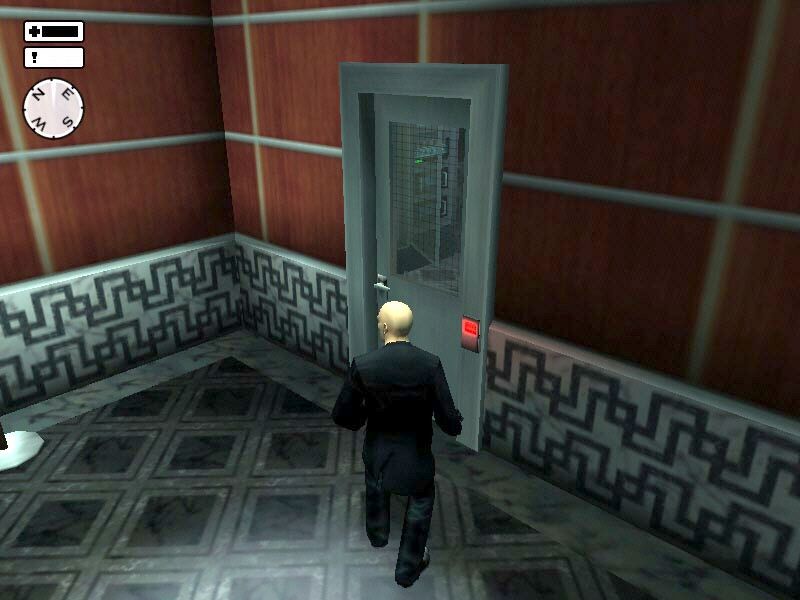
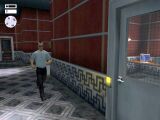
 Phew! Now we're back in the central section, head north, back past the
lift entrance, up to the door to the northern corridor. Wait here until you
have plenty of space (no guards will see you here), and head out into the
main corridor, heading directly north across the intersection, towards the
mainframe room. As you will find out, the yellow key card doesn't actually
open the yellow door into the mainframe room. It actually opens the red door
into the air-con room. Enter this room, noting the air-con unit on the
northern wall.
Phew! Now we're back in the central section, head north, back past the
lift entrance, up to the door to the northern corridor. Wait here until you
have plenty of space (no guards will see you here), and head out into the
main corridor, heading directly north across the intersection, towards the
mainframe room. As you will find out, the yellow key card doesn't actually
open the yellow door into the mainframe room. It actually opens the red door
into the air-con room. Enter this room, noting the air-con unit on the
northern wall.
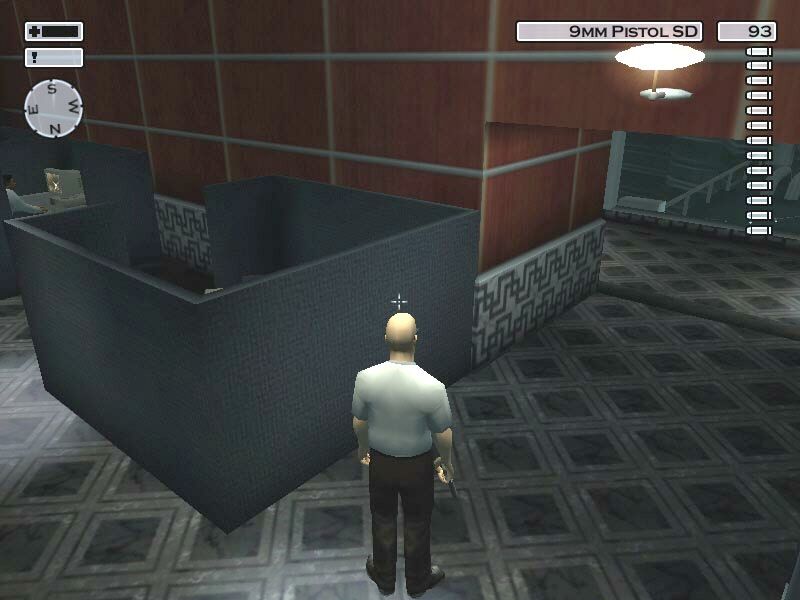
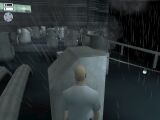
 Here, timing is definitely a good thing. You are going to put a bullet
into the air-con unit to cause the mainframe to overheat. Wait until the
guard in the northern corridor is heading back westwards before you do this.
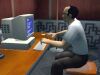
When you have shot the unit, look at your map. The system administrator will
be running to the mainframe room. Wait, out of sight, in the air-con
room until the administrator is in the mainframe room before sneaking
across the hallway, into the room, and wiring him. Change into his clothes,
and attach the dongle to the computer (walk up to it, and it will appear
in your actions menu). Note also that he drops his key card - obviously
it's something close to his heart.
Here, timing is definitely a good thing. You are going to put a bullet
into the air-con unit to cause the mainframe to overheat. Wait until the
guard in the northern corridor is heading back westwards before you do this.
When you have shot the unit, look at your map. The system administrator will
be running to the mainframe room. Wait, out of sight, in the air-con
room until the administrator is in the mainframe room before sneaking
across the hallway, into the room, and wiring him. Change into his clothes,
and attach the dongle to the computer (walk up to it, and it will appear
in your actions menu). Note also that he drops his key card - obviously
it's something close to his heart.
[Save Game]
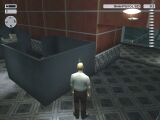
 Here comes the only really tricky part of the level - escaping. This is the
only untidy aspect of these missions, and it really can be a pain. Firstly,
there is a guard who patrols the far western corridor, so you should deal
with him (either kill him, or just make sure he is far away). In addition,
shooting the glass (which doesn't really make a lot of sense) causes the
remaining hard working employees to go a bit, umm, mental. They will
immediately run to the guard stations and alert the guards.
Here comes the only really tricky part of the level - escaping. This is the
only untidy aspect of these missions, and it really can be a pain. Firstly,
there is a guard who patrols the far western corridor, so you should deal
with him (either kill him, or just make sure he is far away). In addition,
shooting the glass (which doesn't really make a lot of sense) causes the
remaining hard working employees to go a bit, umm, mental. They will
immediately run to the guard stations and alert the guards.
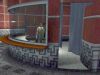
 Check your map, and examine where the guards on the sky bridge patrol.
From the mainframe, make your way to the room at the furthest southwest of
the level. There may be one person working in here, but he does occasionally
go to visit the (now-ex) administrator's room. Stand near the south western
exit of this room, facing the plate glass window. Even if the employee is
in the room, he shouldn't be able to see you because of the partitions.
Check your map, and examine where the guards on the sky bridge patrol.
From the mainframe, make your way to the room at the furthest southwest of
the level. There may be one person working in here, but he does occasionally
go to visit the (now-ex) administrator's room. Stand near the south western
exit of this room, facing the plate glass window. Even if the employee is
in the room, he shouldn't be able to see you because of the partitions.
 Now, make your choice. The easiest way to do this is - check your map.
Make sure that the guards on the bridge are nowhere near (check the map),
and that the guard patrolling the western edge of the map is nowhere near.
Now, draw a pistol (silenced is always better!), shoot the window, and
run out, immediately dropping down, and run left, so that you end up
standing next to the left bridge railing with your back against the wall
you just jumped off. Alternatively, shoot the window when the employee is
not in the room, and find somewhere in the room to hide (though be aware,
you need to be fast).
Now, make your choice. The easiest way to do this is - check your map.
Make sure that the guards on the bridge are nowhere near (check the map),
and that the guard patrolling the western edge of the map is nowhere near.
Now, draw a pistol (silenced is always better!), shoot the window, and
run out, immediately dropping down, and run left, so that you end up
standing next to the left bridge railing with your back against the wall
you just jumped off. Alternatively, shoot the window when the employee is
not in the room, and find somewhere in the room to hide (though be aware,
you need to be fast).
 Whatever you have done, the guards will now start running, but due to a
quirk in the AI, they will only run to wherever you shot your weapon from.
Eventually, things will quiet down, though your disguise, whatever it was,
is now useless. A save-game is not necessarily needed, but it saves having
to wait for the guards to dissipate after shooting the window again!
If you want to do this the easy way - run. Just run, all the way, across
the bridge - shooting if you need to, but you really don't. However,
if you want to do this properly, read on.
Whatever you have done, the guards will now start running, but due to a
quirk in the AI, they will only run to wherever you shot your weapon from.
Eventually, things will quiet down, though your disguise, whatever it was,
is now useless. A save-game is not necessarily needed, but it saves having
to wait for the guards to dissipate after shooting the window again!
If you want to do this the easy way - run. Just run, all the way, across
the bridge - shooting if you need to, but you really don't. However,
if you want to do this properly, read on.
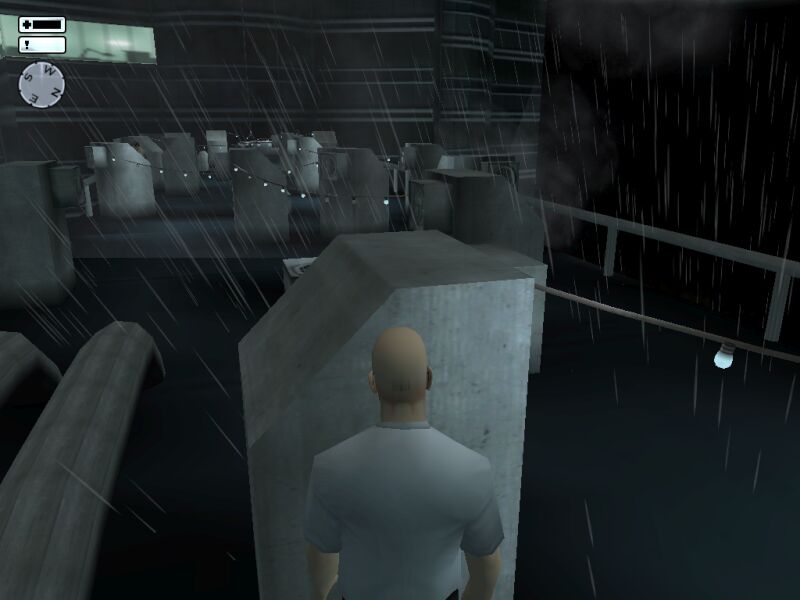
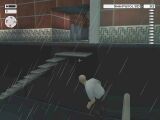
 On the bridge, wait until the guards are far away, and head across it until
you reach the fourth vertical vent. Here, wait until you feel safe to
continue. You cannot be seen from the broken window, and the vent hides
you from the patrolling guard. When the nearest guard is at the furthest
part of his patrol route, duck under the lights, and head up to the next vent.
On the bridge, wait until the guards are far away, and head across it until
you reach the fourth vertical vent. Here, wait until you feel safe to
continue. You cannot be seen from the broken window, and the vent hides
you from the patrolling guard. When the nearest guard is at the furthest
part of his patrol route, duck under the lights, and head up to the next vent.
 This next part, if you want to be clean, is all about timing. You will see
where the nearest guard stops near to you. Hide behind the vent he stands
by, and when the other bridge guard cannot see you, sneak round the left
of this, and knife him. Don't bother hiding the body, but hide behind the
next vent, and ready your silenced 9mm pistol. The other guard will soon
see his dead buddy, and start running. When he rounds the vent you are
hiding behind, you can easily put enough bullets in him before he can
respond. Head across the bridge to the exit.
This next part, if you want to be clean, is all about timing. You will see
where the nearest guard stops near to you. Hide behind the vent he stands
by, and when the other bridge guard cannot see you, sneak round the left
of this, and knife him. Don't bother hiding the body, but hide behind the
next vent, and ready your silenced 9mm pistol. The other guard will soon
see his dead buddy, and start running. When he rounds the vent you are
hiding behind, you can easily put enough bullets in him before he can
respond. Head across the bridge to the exit.
Recommended Saves: 2
Rating: Professional
Time: 18:23
Items Available For Collection
- Fire Axe [In Eastern Guard Room]
- 9mm Pistol [On Guards]
- 9mm Pistol SD [In Locker]
- Nightvision [In Locker]
Points Of Interest
 Ah, saviour of the programmer and walkthrough writer alike. It's tragic when it's all gone...
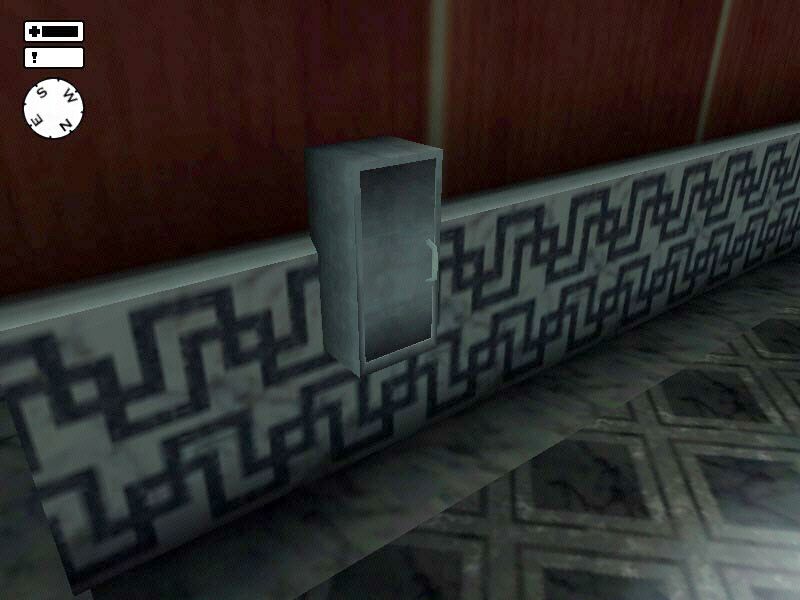
 Lockers? On walls? Could be useful.
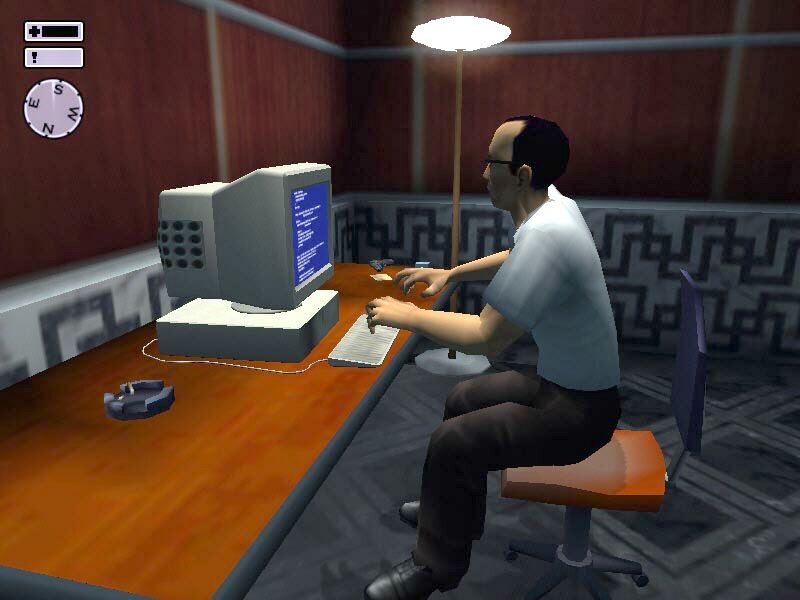
 The system administrator is a very busy, and sometimes popular, guy.
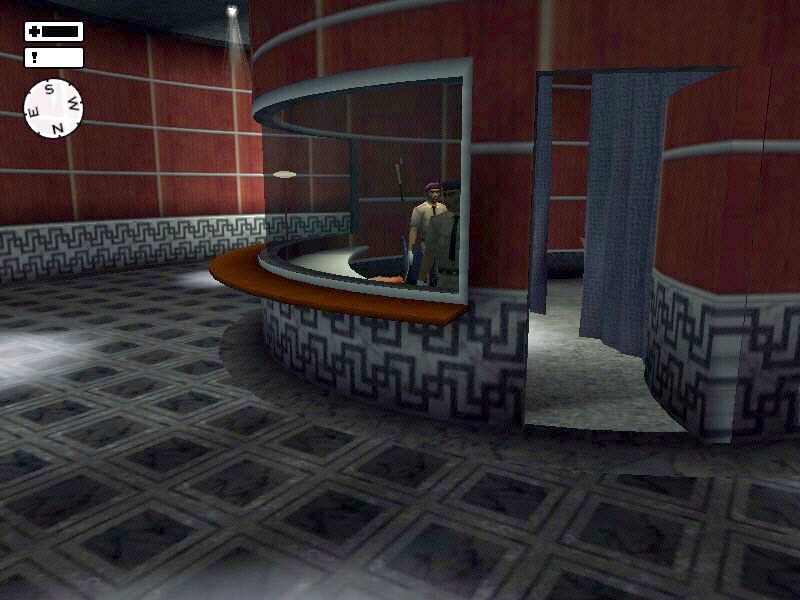
 The guard rooms aren't as isolated as they look. Careful now!