by: The Button Man | January 1, 2003
[Jump to: Basement Killing | The Graveyard Shift | The Jacuzzi Job]
 You'll be happy to know that, having made it through the snowy wasteland
that was Japan, there's very little chance of you getting a nasty bout
of pneumonia during your next assignment. You're off to Malaysia, and
you're definitely going to be having some fun!
You'll be happy to know that, having made it through the snowy wasteland
that was Japan, there's very little chance of you getting a nasty bout
of pneumonia during your next assignment. You're off to Malaysia, and
you're definitely going to be having some fun!
47's next assignment is to get rid of a mal-coordinated computer hacker,
Charlie Sidjan, who has got his hands on a rather nifty piece of
American missile defence software. He's trading under the name
Carniwarez Inc., and his computer network is entirely sealed off from
the outside world. Obviously, the client wants the software, and he
doesn't want anyone to know any better, so it's curtains for Charlie, and
a little bit of hacking for 47. Hmm. Carniwarez. Are IO-I trying to tell
us something?
Load-Out
- Fiber Wire
- Anaesthetic
- Knife
- Ballers
- SMG
Well, we're at the beginning of another set of missions, so it's time to
arm ourselves again. The standard setup is recommended, with the addition
of power-packing SMG. Now you have access to these, it's worth taking one
along with you. They are fully concealable, and can really take down people
quickly in an emergency. They aren't as accurate as the Ballers, but
are definitely a worthwhile weapon. Finally, Agency has provided the trusty
silenced 9mm in the weapons stash so there's no need to bring it along.
Walkthrough
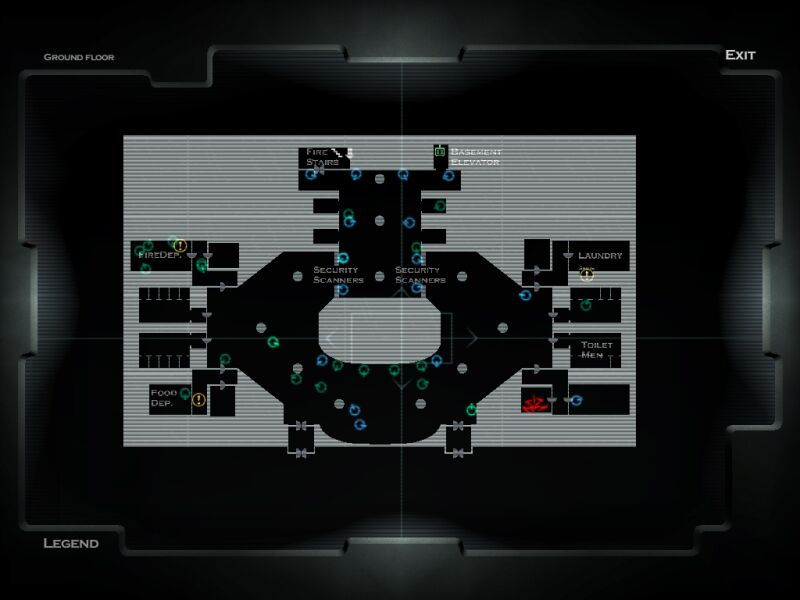
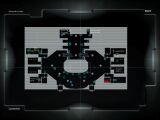
 Right - first up is Charlie's demise. You start out in a small booth on
the eastern side of the ground floor complex. Take a good look at your map.
There are four restricted zones (Security Dept., Laundry Room, Food Dept., and
Fire Dept.), one in each corner of this level, and an area separated off by
security barriers - well, they look like lasers, but they're just metal
detectors! Checking the rest of your map, you will find that the basement
is fairly heavily guarded/patrolled, there is a sub-laundry room, and that
access to the lowest basement, and the service elevator that you will be
leaving in is also guarded. The lower basement looks fairly simple - it
can't be that easy, surely?
Right - first up is Charlie's demise. You start out in a small booth on
the eastern side of the ground floor complex. Take a good look at your map.
There are four restricted zones (Security Dept., Laundry Room, Food Dept., and
Fire Dept.), one in each corner of this level, and an area separated off by
security barriers - well, they look like lasers, but they're just metal
detectors! Checking the rest of your map, you will find that the basement
is fairly heavily guarded/patrolled, there is a sub-laundry room, and that
access to the lowest basement, and the service elevator that you will be
leaving in is also guarded. The lower basement looks fairly simple - it
can't be that easy, surely?
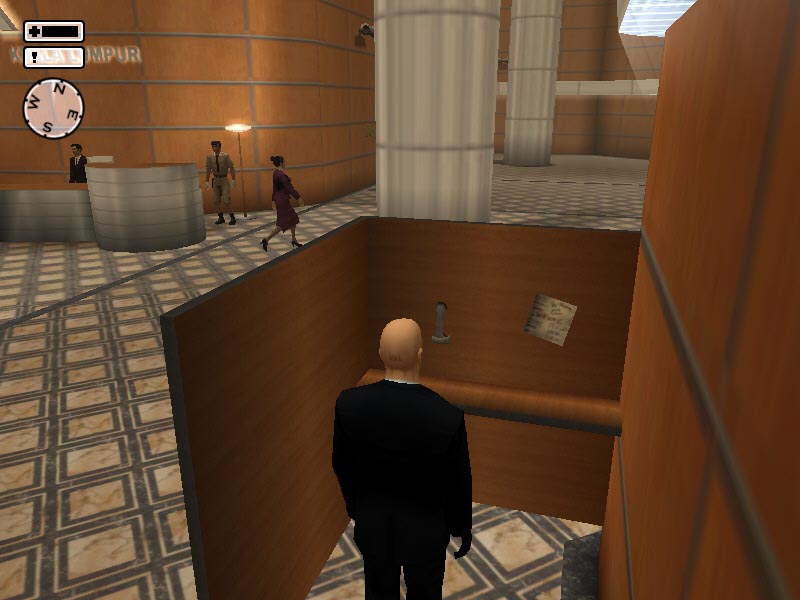
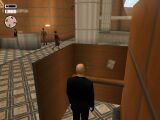
 For now, don't worry about hurrying; you have all the time in the world to
prepare. Your first port of call should be your equipment, which is stashed
in a locker in the Security Dept. (the area directly to the east of you
when you start). Go and stand outside the door to this area, and take a look
around. There is a guard patrolling in the Security Dept., who will walk
between his room and the locker room (marked as POI). Note that there is also a
guard in the Laundry Room to your north, who will patrol from the Laundry
Room out into the main foyer. Finally, there is a guard who will patrol
from the reception desk area, right up to the Laundry Room door, and also into
the Security Dept. before returning to the front desk. If any of these
guys see you, you will be politely escorted out of the area.
For now, don't worry about hurrying; you have all the time in the world to
prepare. Your first port of call should be your equipment, which is stashed
in a locker in the Security Dept. (the area directly to the east of you
when you start). Go and stand outside the door to this area, and take a look
around. There is a guard patrolling in the Security Dept., who will walk
between his room and the locker room (marked as POI). Note that there is also a
guard in the Laundry Room to your north, who will patrol from the Laundry
Room out into the main foyer. Finally, there is a guard who will patrol
from the reception desk area, right up to the Laundry Room door, and also into
the Security Dept. before returning to the front desk. If any of these
guys see you, you will be politely escorted out of the area.
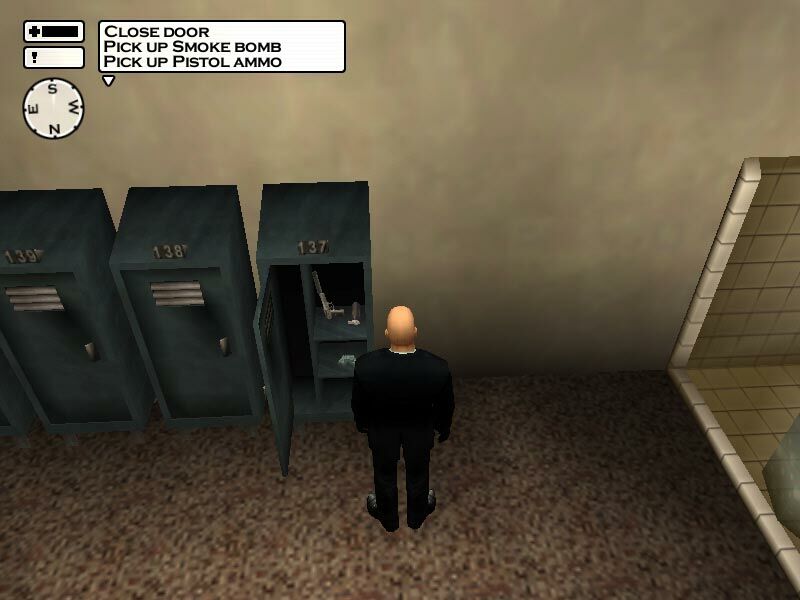
 The easiest way to deal with this is to wait until the foyer patrolling
guard leaves the Security Dept., and when he is out of site, just pop in
through the door. Go right up to the opposite wall, and check you map.
Ideally, you want to be heading into the POI room just when the door to
the opposite room closes, giving you enough time to enter, go to the
furthest locker on the left, and retrieve some goodies. Most important
here is the smoke bomb. Get this, and you're halfway to winning!
The easiest way to deal with this is to wait until the foyer patrolling
guard leaves the Security Dept., and when he is out of site, just pop in
through the door. Go right up to the opposite wall, and check you map.
Ideally, you want to be heading into the POI room just when the door to
the opposite room closes, giving you enough time to enter, go to the
furthest locker on the left, and retrieve some goodies. Most important
here is the smoke bomb. Get this, and you're halfway to winning!
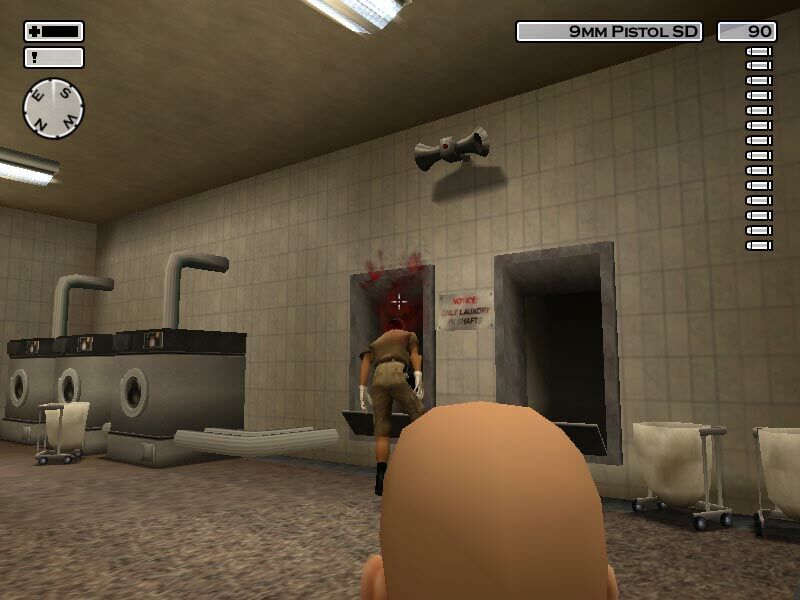
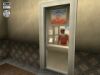
 Immediately leave this area, and head north to the Laundry Room. Taking the
same precautions as before, enter the Laundry Room when the guard inside is
idle in the main washroom, and the plaza guard is nowhere to be seen. Go into
the small storage room and wait there until the guard exits back into the
lobby. Now head to the main washroom, hide behind
the door, on the left as you enter, get into sneak mode, and wait for the
guard to return. Pop a bullet in his head when he is facing away from you,
and prepare to do some fast moving! Walk up to the laundry chute, and arm
the smoke bomb. Use the smoke bomb on the chute, and it will vanish down
to the lower room.
Immediately leave this area, and head north to the Laundry Room. Taking the
same precautions as before, enter the Laundry Room when the guard inside is
idle in the main washroom, and the plaza guard is nowhere to be seen. Go into
the small storage room and wait there until the guard exits back into the
lobby. Now head to the main washroom, hide behind
the door, on the left as you enter, get into sneak mode, and wait for the
guard to return. Pop a bullet in his head when he is facing away from you,
and prepare to do some fast moving! Walk up to the laundry chute, and arm
the smoke bomb. Use the smoke bomb on the chute, and it will vanish down
to the lower room.
[Save Game]
 Immediately leave this area, and run over to the Fire Dept. entrance via
the front desk (don't be going through those security barriers yet).
Around now, the fire alarms will go off. The standard procedure in this
situation is to evacuate some of the building, and for the firemen to
investigate the problem. This is good news for you, since the guards on
the lower area will be evacuating their current positions, giving you free
reign downstairs. However, you still need to get down there without setting
off the security alarms, and the foyer guards don't move an inch.
Immediately leave this area, and run over to the Fire Dept. entrance via
the front desk (don't be going through those security barriers yet).
Around now, the fire alarms will go off. The standard procedure in this
situation is to evacuate some of the building, and for the firemen to
investigate the problem. This is good news for you, since the guards on
the lower area will be evacuating their current positions, giving you free
reign downstairs. However, you still need to get down there without setting
off the security alarms, and the foyer guards don't move an inch.
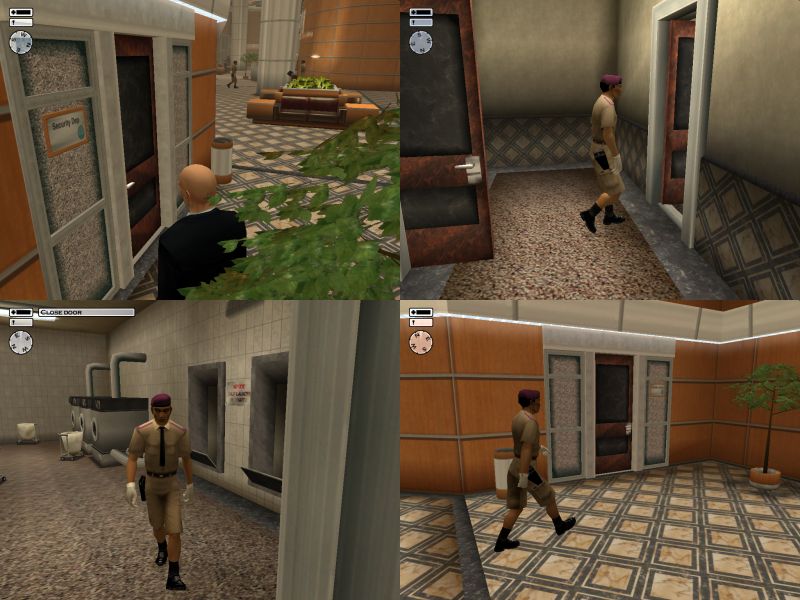
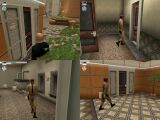
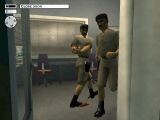
 The firemen should be getting to work by now, and you should see them running
out of their department, and heading through the security barrier, towards
the fire stairwell. Wait until the last two have left (beware, these are
two that are usually in the foyer, and they take longer to respond than
the people inside the department), and run inside. On the northern wall
you will find a full fire suit, with mask and helmet, and on the southern,
there should be a fire axe. Change into the clothes, grab the axe, and head
through the security barrier. Notice that, even though the alarms go off,
you are not detected. Well, of course not! You're a fireman carrying a
damn big metal axe! Nice.
The firemen should be getting to work by now, and you should see them running
out of their department, and heading through the security barrier, towards
the fire stairwell. Wait until the last two have left (beware, these are
two that are usually in the foyer, and they take longer to respond than
the people inside the department), and run inside. On the northern wall
you will find a full fire suit, with mask and helmet, and on the southern,
there should be a fire axe. Change into the clothes, grab the axe, and head
through the security barrier. Notice that, even though the alarms go off,
you are not detected. Well, of course not! You're a fireman carrying a
damn big metal axe! Nice.
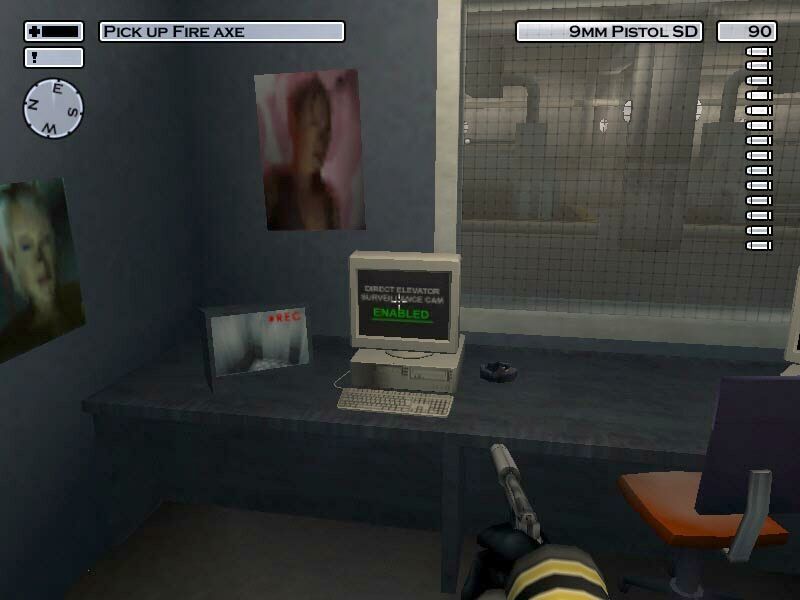
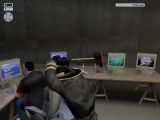
 Head down the fire stairwell, go through the doors, and head straight down
the corridor in front of you. Turn left at the end, go through the doors,
and you will see a small security desk. Head inside and, having selected
your silenced Berretta, shoot the console furthest from the door (actually,
shoot the monitor - apparently they're all Macs). This disables the
security cameras in the lift. Head through the door and down the stairs
until you come to a door that you cannot open.
Head down the fire stairwell, go through the doors, and head straight down
the corridor in front of you. Turn left at the end, go through the doors,
and you will see a small security desk. Head inside and, having selected
your silenced Berretta, shoot the console furthest from the door (actually,
shoot the monitor - apparently they're all Macs). This disables the
security cameras in the lift. Head through the door and down the stairs
until you come to a door that you cannot open.
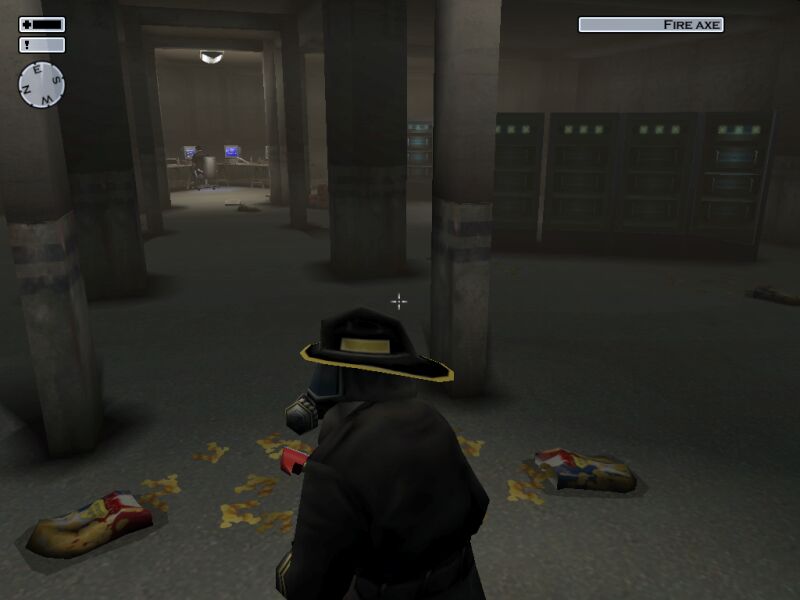
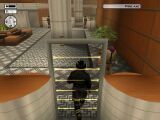
 Pick this lock. This is a long one, but it will eventually open. Go
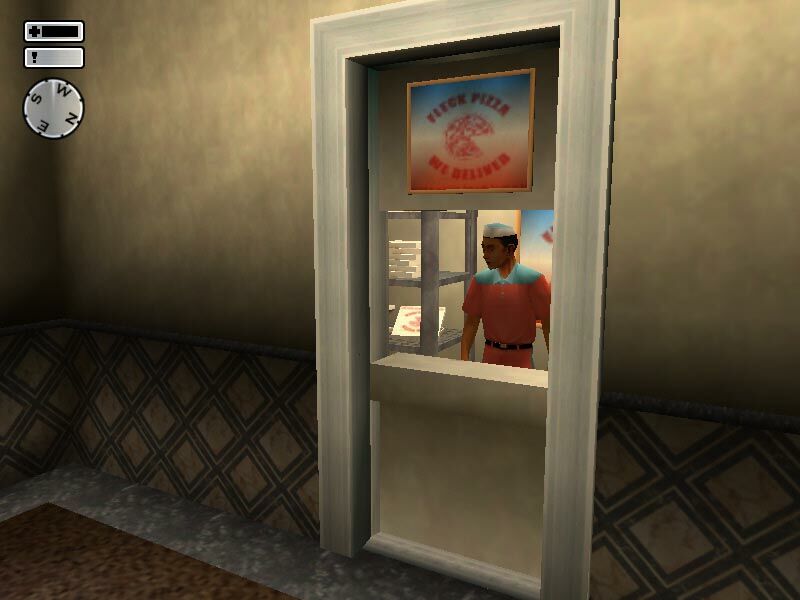
into sneak mode, and enter. Ah, a techie's wet dream:
banks and banks of humming machines, and pizza boxes and stale chips strewn over the floor!
At the far end, you can see Charlie typing furiously away at his console.
Careful now, you may not be able to see it at this point, but he has a
big alarm button on his desk, and is pretty worried about six-foot firemen
carrying guns. To add to your problems, he's not exactly a tidy soul,
and all of those spilled chips make plenty of noise when trampled on.
Pick this lock. This is a long one, but it will eventually open. Go
into sneak mode, and enter. Ah, a techie's wet dream:
banks and banks of humming machines, and pizza boxes and stale chips strewn over the floor!
At the far end, you can see Charlie typing furiously away at his console.
Careful now, you may not be able to see it at this point, but he has a
big alarm button on his desk, and is pretty worried about six-foot firemen
carrying guns. To add to your problems, he's not exactly a tidy soul,
and all of those spilled chips make plenty of noise when trampled on.
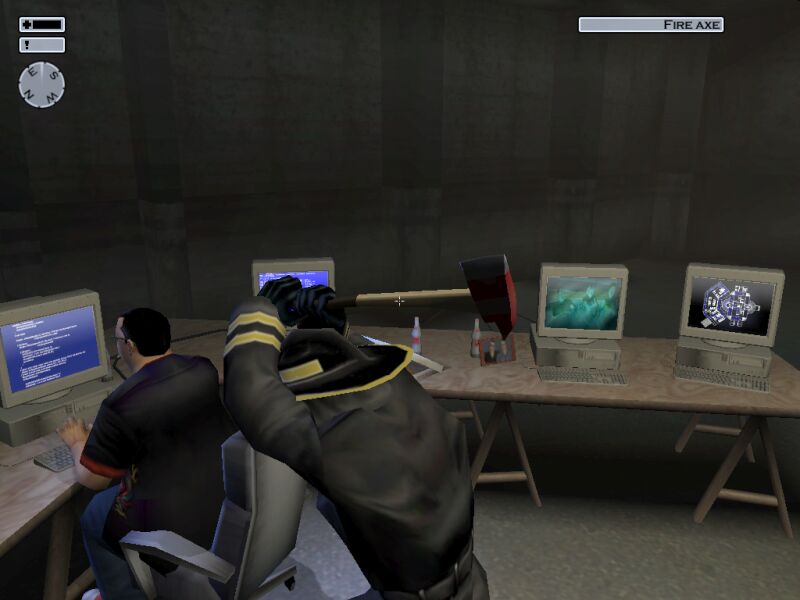
 Carefully make your way toward your unsuspecting target, avoiding the
noisiest potato chips ever - at all cost. There are a few places where the
silent path is very narrow, especially as you get within swinging range of
Charlie. So, two options here: get close enough to easily kill him with a
silent headshot from the Berretta, or tip-toe right up behind him and finally
put that fire axe to some worthwhile use. [I recommend the latter! - Ed.]
Carefully make your way toward your unsuspecting target, avoiding the
noisiest potato chips ever - at all cost. There are a few places where the
silent path is very narrow, especially as you get within swinging range of
Charlie. So, two options here: get close enough to easily kill him with a
silent headshot from the Berretta, or tip-toe right up behind him and finally
put that fire axe to some worthwhile use. [I recommend the latter! - Ed.]
[Save Game]
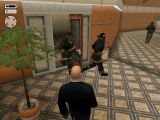
 You'll be treated to a nice little cutscene, and from that point, you
can head on back the way you came. Now, the fire alarms will have been
turned off long ago, and the guards will all be back in place. To make
things worse, they really won't like a fireman turning up where he's not
meant to be. You could stand and fight, but there really are a lot of
guards, and if you alert one, they all come down (leads to some very funny
battles on the stairs, but that's not why we're here)! Instead, run
through the door, and turn right, immediately dashing into the service lift.
Easy as, umm, pizza?
You'll be treated to a nice little cutscene, and from that point, you
can head on back the way you came. Now, the fire alarms will have been
turned off long ago, and the guards will all be back in place. To make
things worse, they really won't like a fireman turning up where he's not
meant to be. You could stand and fight, but there really are a lot of
guards, and if you alert one, they all come down (leads to some very funny
battles on the stairs, but that's not why we're here)! Instead, run
through the door, and turn right, immediately dashing into the service lift.
Easy as, umm, pizza?
Recommended Saves: 2
Rating: Professional
Time: 8:24
Items Available For Collection
- 9mm Pistol [On Guards and in Basement Lockbox]
- 9mm Pistol SD [In Locker 137]
- Smoke Bomb [In Locker 137]
- Desert Eagle [In Security Dept.]
- Fire Axe [In Fire Dept.]
Points Of Interest
 Pizza. The sustenance of all computer phreaks out there.
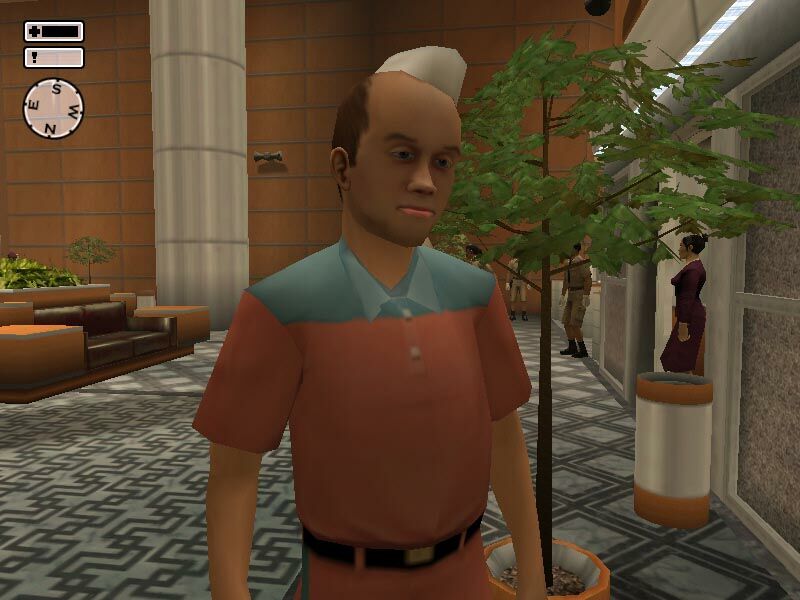
 Disguises can be tricky to come by - but everyone needs a break.
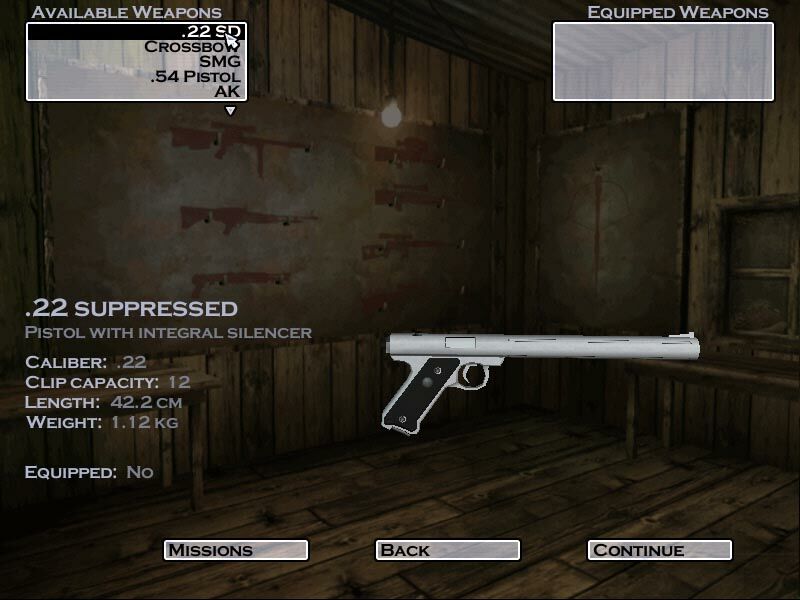
 Not all weapons are created equal. Some even have miraculous properties... especially Japanese ones. "In The Line of Fire" anyone?