|
Cue Making 101 - Page 2
by
Jason "Coyote" Price
STEP 2: DIVIDE AND CONQUER
After you have your image at the right color depth, the tricky part comes in.
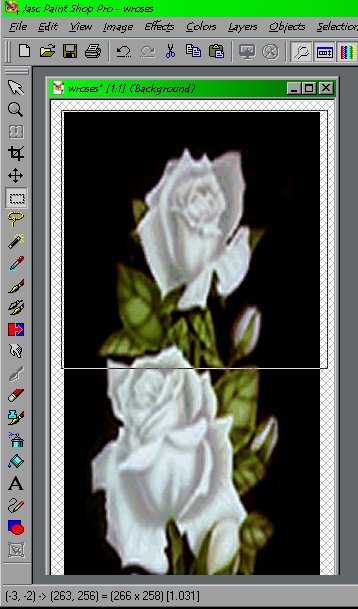
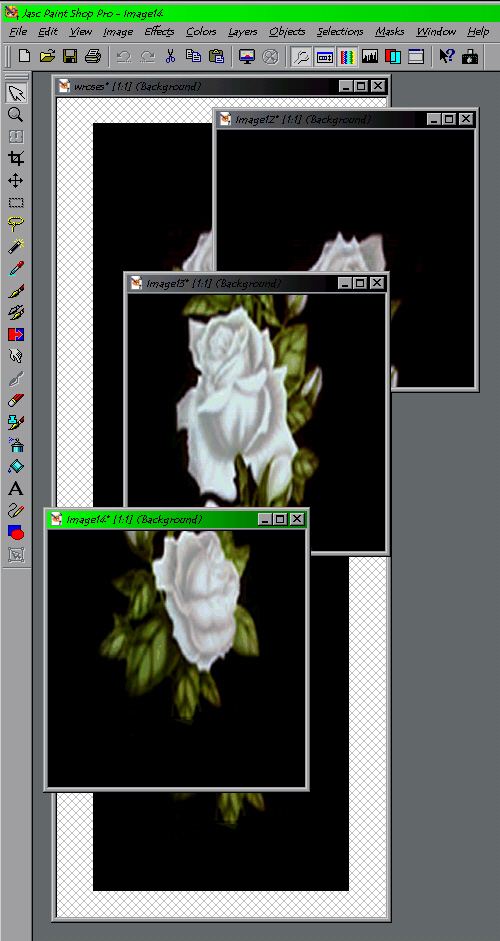
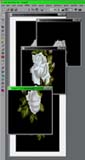
You have to split your picture into 3 equal squares measuring 256x256 pixels.
On the right hand side of PSP7, select the SELECTION TOOL (looks like a dotted
rectangle). At the bottom left corner, you will see a grid with X and Y
coordinates. This will show you the size of the selected area. Now,
start at the top and drag the box to make an area of 256x256 pixels.
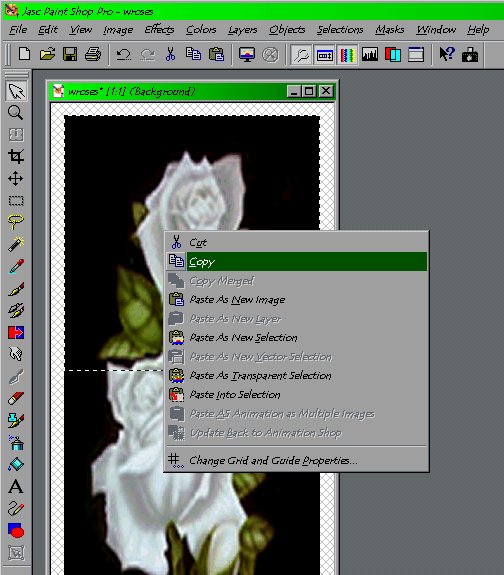
Once you have your image selected, click on the POINTER
ARROW icon (located above the magnifying glass icon) and RIGHT CLICK inside the
selected area. Select COPY.
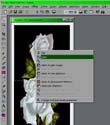
Move the pointer to any open area in PSP7 and RIGHT CLICK.
Choose PASTE AS NEW IMAGE. You will end up with a duplicate of the already you
boxed earlier.
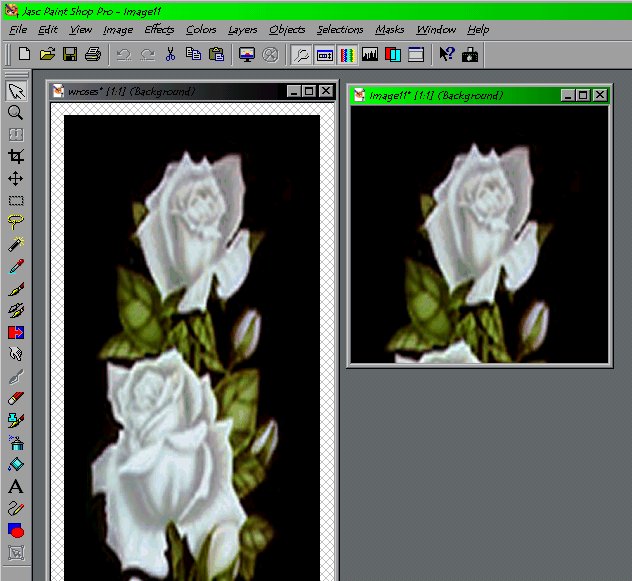
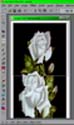
Check to make sure the image is exactly 256x256 pixels. To check the image size
of your newly copied image, highlight your image, and click on IMAGE at the top,
then select IMAGE INFORMATION. This will show the exact size. If not
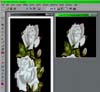
256x256, delete the new image and try again. If everything is ok, save your new
section as YOURCUE_A.bmp where YOURCUE is the name you want. Since this
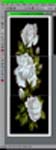
cue has white roses on it, this selection will be saved as WHITEROSES_A.bmp.
Save it to the folder you created. Congratulations! You've finished
the top section of your cue. Next comes
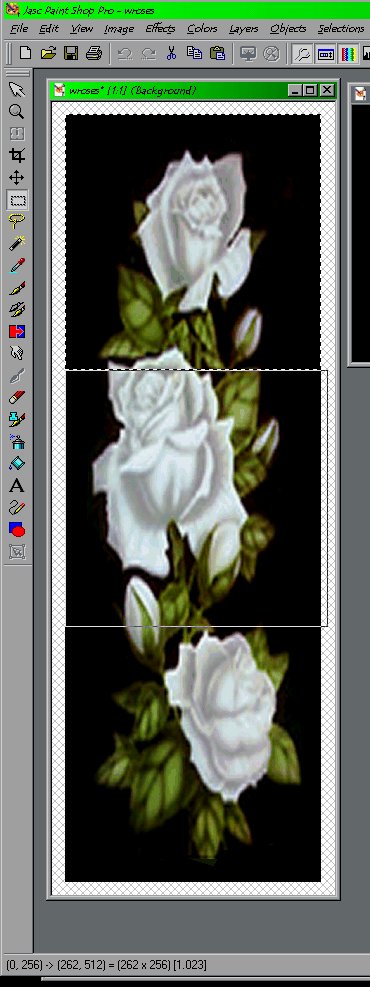
the middle section. Move your pointer to the coordinates X: 0, Y: 256 on
the grid marker in the lower left corner. Choose the SELECTION tool and
drag a box down to 512 which should box the middle section of the image.
Once you have your image selected, click on the POINTER ARROW icon (located
above the magnifying glass icon) and RIGHT CLICK inside the selected area.
Select COPY. Move the pointer to an open area in PSP7 and RIGHT CLICK.
Choose PASTE AS NEW IMAGE. Check to make sure the image is exactly 256x256
pixels. If all is correct, SAVE the section as YOURCUE_B.bmp.
For the third and final section of the forearm of your cue, move the pointer til
you get to X: 0, Y:512. Once you have your image selected, click on the POINTER
ARROW icon (located above the magnifying glass icon) and RIGHT CLICK inside the
selected area. Check to make sure the image is exactly 256x256 pixels.
If everything is ok, SAVE the selection as YOURCUE_C.bmp.
If you've followed all the steps correctly, you're finished
with the forearm of your cue.
On to Page 3
Back to Page 1
© 2003 Reserved - VPHQ.com
|