|

So you want to make a custom pool cue
but don't know where to begin?
Join our resident Virtual Pool cue
making guru, Coyote, for a steph by step lesson in cue
skinning.
Required Tools:
-
Graphics Program like Paint Shop
Pro or Adobe Photoshop (PSP7 used here)
-
Cue Installer Program
-
Cue Skinner Program
-
Compression Utility like Winzip or
Winrar
-
Inspiration and Imagination
Step 1: Creating Cue
Images
The first step in creating a cue is to
have an idea about what you want to be on your cue. You need to have an
image that is 256 pixels wide by 768 pixels in length. It
may be difficult to find an image of that exact size, but you can resize it with
your graphics program quite easily. This is
the image to be used in this tutorial.

After finding the image that you want to use, create a new
folder for your cue. In this case, the path is C:/ CUES / WHITE ROSE. All files
will be saved here.
This image is 256 x 768 pixels in the windows bitmap (
.BMP) file format. All the image files are BMP's and are a color depth of 256
colors. Now that you have your image and you have it sized to 256 x 768 pixels
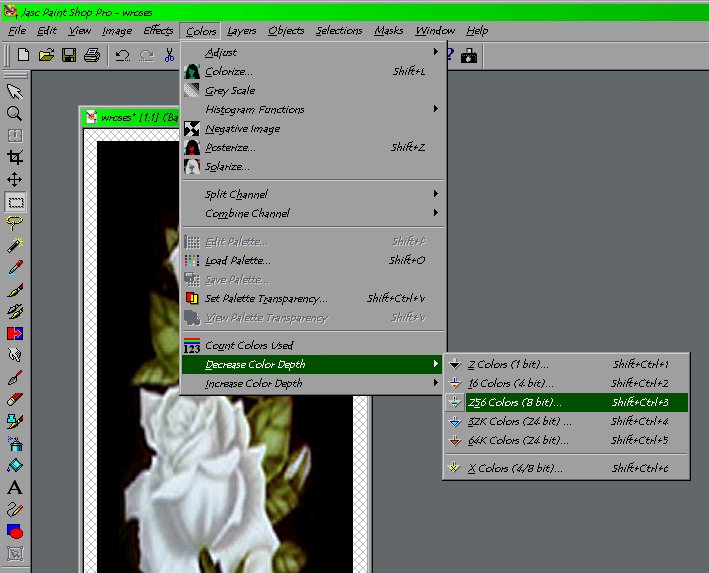
you have to decrease the color depth to 8 bit ( 256 colors ). In PSP7 ( Paint
Shop Pro 7 ) click on COLORS, then DECREASE COLOR DEPTH, then click on 256
COLORS ( 8 Bit ).
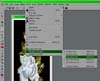
Next, this window will appear.
Make sure your window looks like this. Click OK. On the far
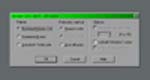
right side of the PSP7 window you will see your pallet of colors. It will change
when you switch your color depth from this:

to this:

Your colors will be different however if you are using a
different picture. Once you have converted to 256 colors these are the only
colors you will be able to use on that image.
On to page 2
© 2003 Reserved - VPHQ.com
|