by: The Button Man | December 7, 2002
[Jump to: St. Petersburg Stakeout | Kirov Park Meeting | Tubeway Torpedo | Invitation To A Party]
 One general down, two to go. It hasn't been too hard for 47 so far,
but this is going to change with his first seriously close-up encounter yet.
The next person on 47's expanding hit list is Gen. Mikhail Bardachenko,
who is currently to be found in the Military Headquarters just off Nevsky
Prospekt, interrogating a prisoner about the earlier assassination.
One general down, two to go. It hasn't been too hard for 47 so far,
but this is going to change with his first seriously close-up encounter yet.
The next person on 47's expanding hit list is Gen. Mikhail Bardachenko,
who is currently to be found in the Military Headquarters just off Nevsky
Prospekt, interrogating a prisoner about the earlier assassination.
Firstly, 47 has to gain access to the building, then make his way to his
target past a variety of security measures through two basements, and then
escape. To make things worse, he can't just walk the prisoner out of the
building, so he'll have to make his own escape route out into the sewers.
Now this isn't going to be a walk in the park! Well, it's not quite an
average day, but nothing 47 shouldn't be able to handle. Time to go right
into the lions den.
Load-Out
You'll start out with whatever you finished the previous level with,
though I recommend dumping anything larger than a hand gun. To be honest,
you probably won't need anything else, and even if you did leave vital
weapons in the previous mission, you have your trusty fibre wire, and a
weapons stash is located not far from your starting point.
Walkthrough
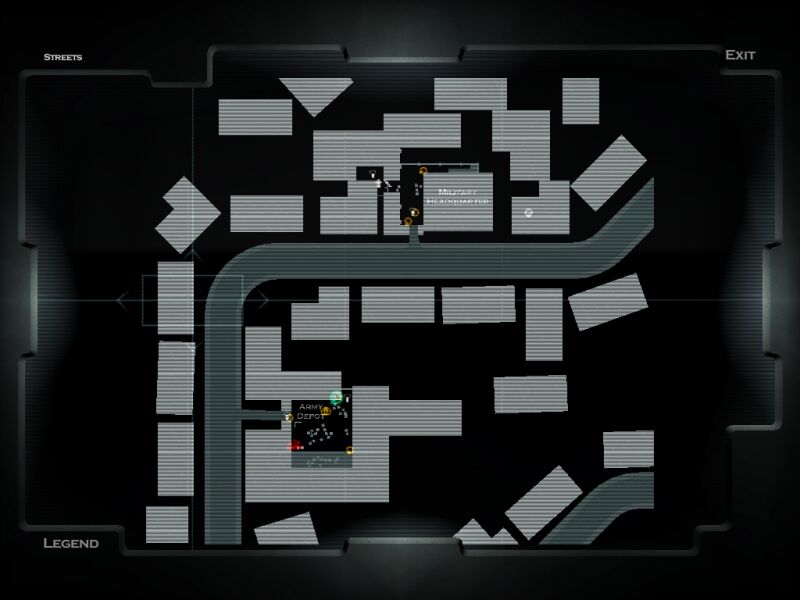
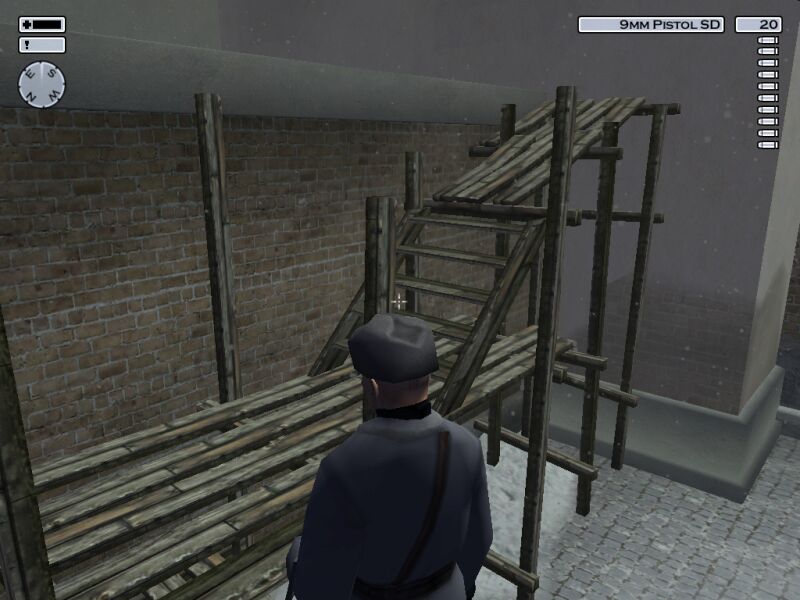
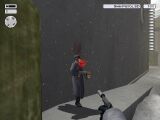
 Start by running through the sewers as near to north as you can until you
reach the nearest point noted on your map. Here, you will find a ladder
going up to a manhole. Climb the ladder, and have a look around.
You don't want to show yourself until the nearest patrolling guard is
visible to the south (your right), with his back to you. Climb out,
quickly go into stealth mode, and creep up on him, dispatching him with the
fiber wire. If you miss your chance, just wait behind the nearest crate
until he returns, keeping an eye on the second patrolling guard further
to the south.
Start by running through the sewers as near to north as you can until you
reach the nearest point noted on your map. Here, you will find a ladder
going up to a manhole. Climb the ladder, and have a look around.
You don't want to show yourself until the nearest patrolling guard is
visible to the south (your right), with his back to you. Climb out,
quickly go into stealth mode, and creep up on him, dispatching him with the
fiber wire. If you miss your chance, just wait behind the nearest crate
until he returns, keeping an eye on the second patrolling guard further
to the south.
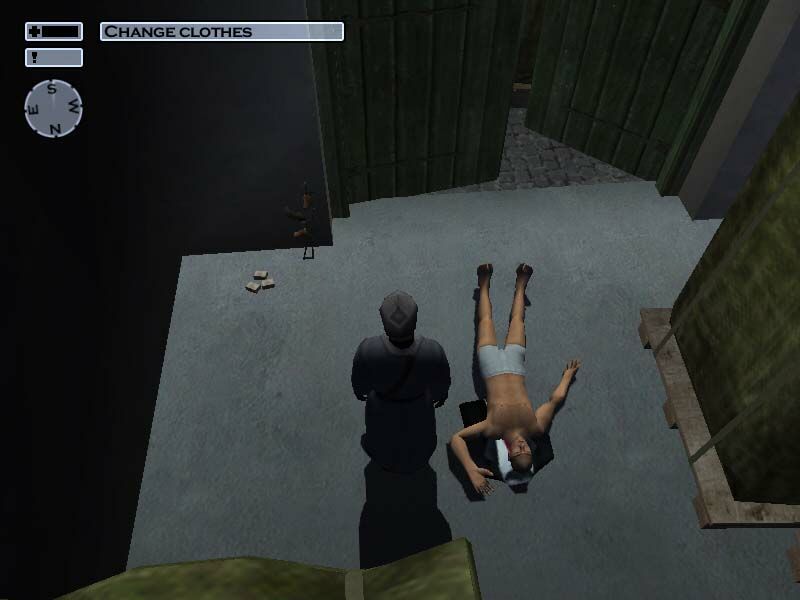
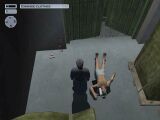 When you have dealt with the guard, pull him back behind the crates, and
into the shed about 10 meters behind you (along the main north wall).
Don't worry; the courtyard guards can't see you. Change into his clothes,
and take the AK-47 and ammo here in the shed.
When you have dealt with the guard, pull him back behind the crates, and
into the shed about 10 meters behind you (along the main north wall).
Don't worry; the courtyard guards can't see you. Change into his clothes,
and take the AK-47 and ammo here in the shed.
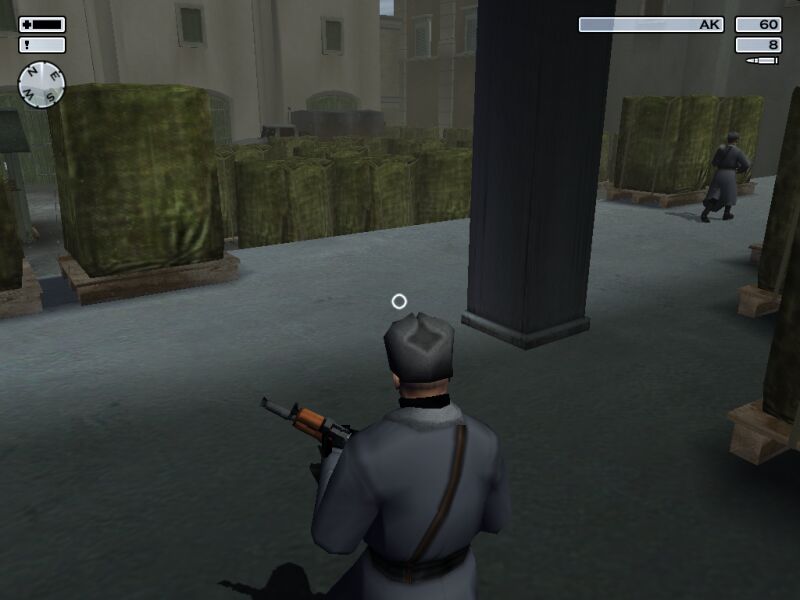
 Head back to where you
killed him. Hopefully, the southern guard will just be resuming his patrol
route, heading onto the southern raised section. Follow him, and when
you reach the raised area, head west whilst keeping close to the very
southern wall, behind the sacks. Wait until the guard starts his patrol
back east before you come back out into the open, still heading west.
Go down the stairs at this end, and find your weapons. Pick up
everything you want.
Head back to where you
killed him. Hopefully, the southern guard will just be resuming his patrol
route, heading onto the southern raised section. Follow him, and when
you reach the raised area, head west whilst keeping close to the very
southern wall, behind the sacks. Wait until the guard starts his patrol
back east before you come back out into the open, still heading west.
Go down the stairs at this end, and find your weapons. Pick up
everything you want.
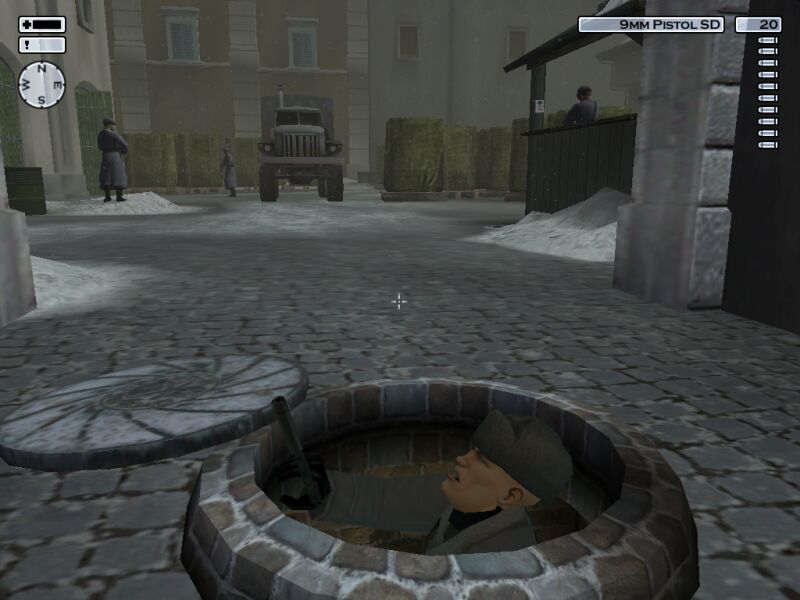
 Here, wait facing north. You will hear the telephone in the booth ring,
and when the guard goes to answer, make your move to where he appeared
from. Here, you will see a manhole in front of the gate. Climb down
before the guard returns. In the sewers, follow the path north, and
climb the ladder at the end.
Here, wait facing north. You will hear the telephone in the booth ring,
and when the guard goes to answer, make your move to where he appeared
from. Here, you will see a manhole in front of the gate. Climb down
before the guard returns. In the sewers, follow the path north, and
climb the ladder at the end.
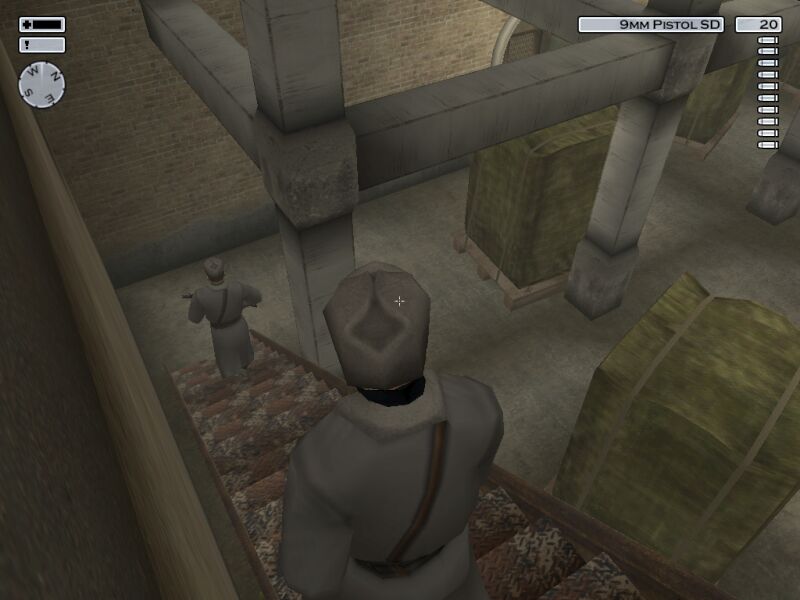
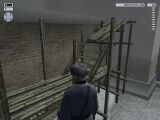 You will come up in an enclosed courtyard,
where you should move to the wooden structure, and when unobserved,
jump the wall. Wait behind the sacks until you feel safe, and cut
across to the sacks on the other side. In this courtyard, one guard
patrols North-South through the courtyard, another along the northern
side of the building, going inside for a short period at the eastern
most point, and a third patrols the front gate.
You will come up in an enclosed courtyard,
where you should move to the wooden structure, and when unobserved,
jump the wall. Wait behind the sacks until you feel safe, and cut
across to the sacks on the other side. In this courtyard, one guard
patrols North-South through the courtyard, another along the northern
side of the building, going inside for a short period at the eastern
most point, and a third patrols the front gate.
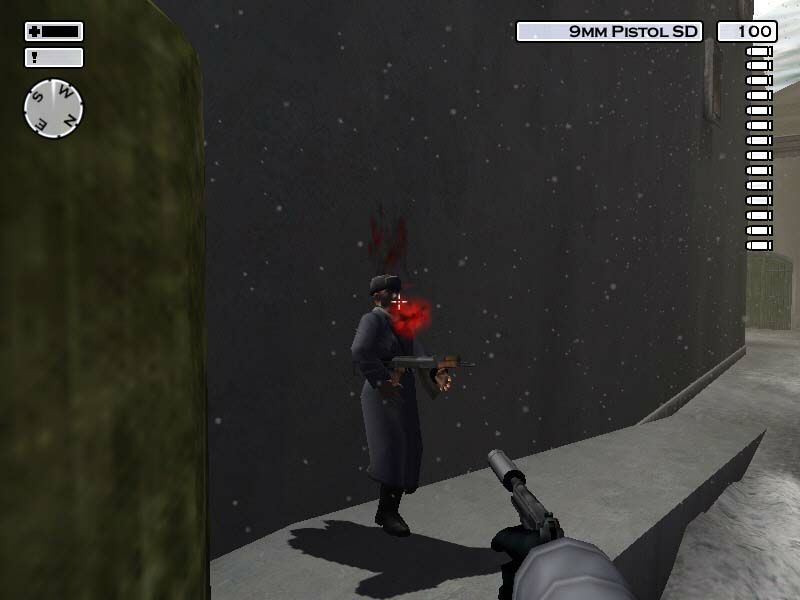
 You may want to rid yourself on one of these guards to give yourself some
breathing space. When the coast is clear and the courtyard guard is north
of you, put a bullet in him, and hide his body. This makes walking along
the northern wall easier, since you don't have to wait for a gap between
the guards to avoid being near both of them at the same time. When the
northern guard is walking away, follow him, and wait behind the sack.
When he leaves the building, shoot him, and look through the keyhole.
You may want to rid yourself on one of these guards to give yourself some
breathing space. When the coast is clear and the courtyard guard is north
of you, put a bullet in him, and hide his body. This makes walking along
the northern wall easier, since you don't have to wait for a gap between
the guards to avoid being near both of them at the same time. When the
northern guard is walking away, follow him, and wait behind the sack.
When he leaves the building, shoot him, and look through the keyhole.
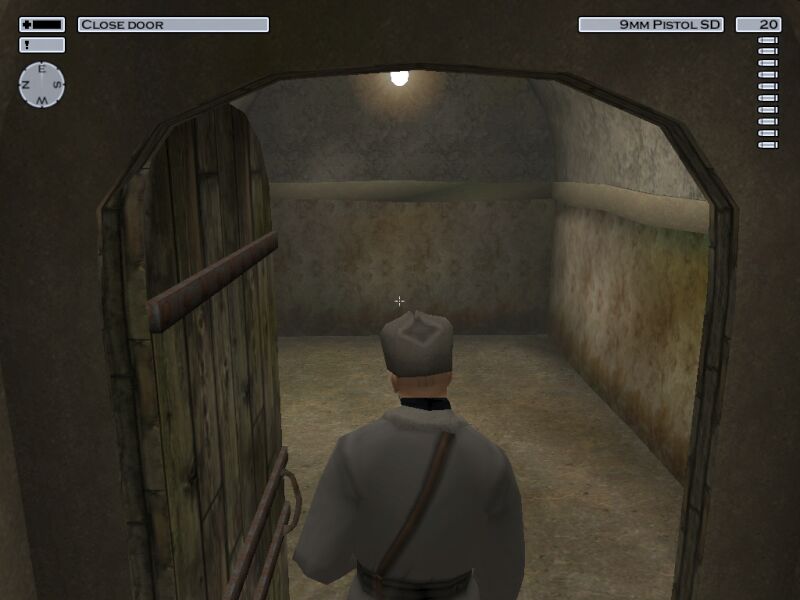
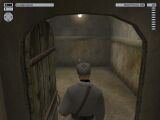
 There is a single guard in here. If he sees you getting too close to the
lift inside, he will stop you. Therefore, wait until he comes towards the
door, and goes up the stairs until you enter. Follow him up the stairs,
and back down the other side when he leaves the area of the lift. Call
the lift, enter, select first basement, and immediately you are give a
bonus save, use it.
There is a single guard in here. If he sees you getting too close to the
lift inside, he will stop you. Therefore, wait until he comes towards the
door, and goes up the stairs until you enter. Follow him up the stairs,
and back down the other side when he leaves the area of the lift. Call
the lift, enter, select first basement, and immediately you are give a
bonus save, use it.
[Save Game]
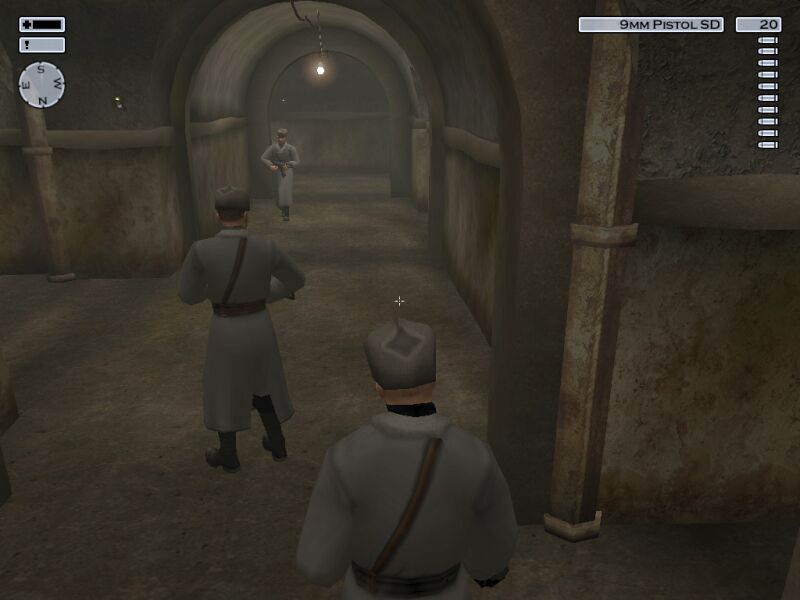
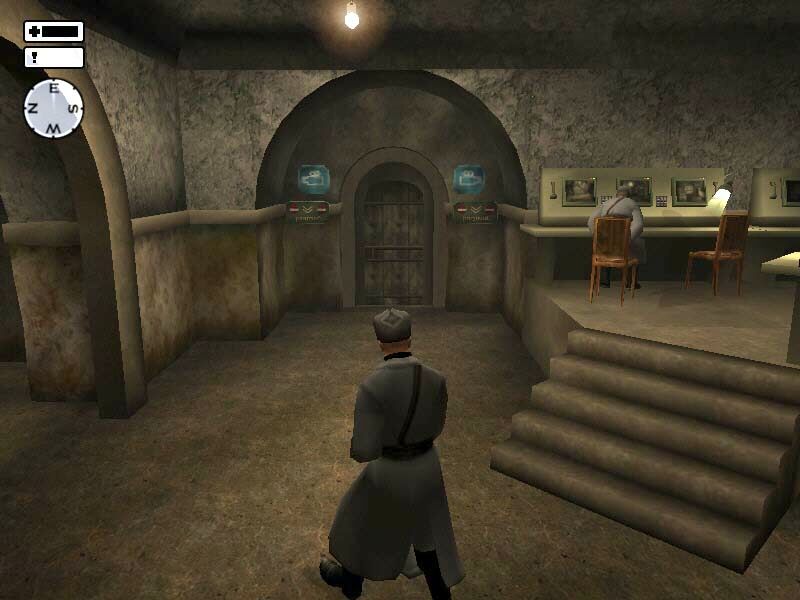
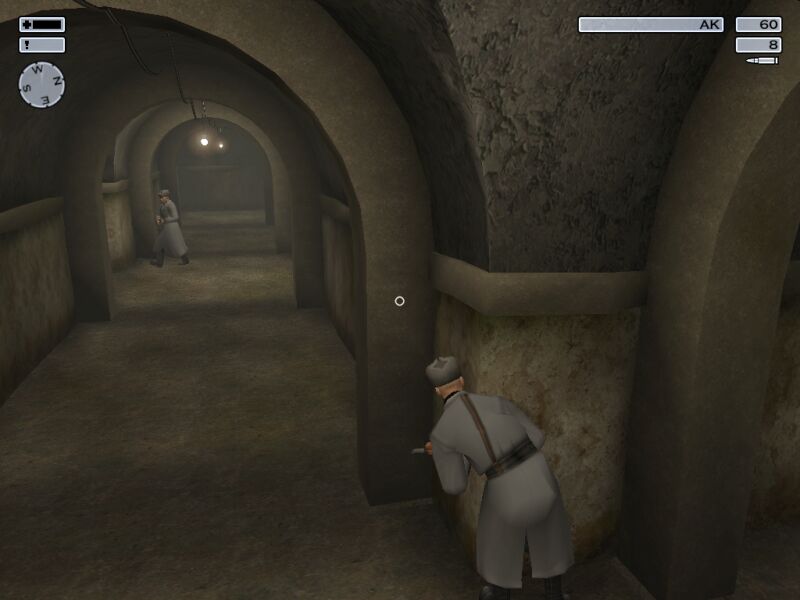
 From here, everything gets a little more tense, as there are a lot of
guards down here, and any slip-up basically means you're done for.
There is also a surveillance setup, meaning you cannot just start killing guards
to make the job easier. Initially, note the desk on your right
(behind the bars), and then follow the first guard up the corridor at
a slight distance. When he goes round the corner, wait until he stops
at the T-junction, then walk straight past him and directly south
across the intersection.
From here, everything gets a little more tense, as there are a lot of
guards down here, and any slip-up basically means you're done for.
There is also a surveillance setup, meaning you cannot just start killing guards
to make the job easier. Initially, note the desk on your right
(behind the bars), and then follow the first guard up the corridor at
a slight distance. When he goes round the corner, wait until he stops
at the T-junction, then walk straight past him and directly south
across the intersection.
 Another guard should be heading towards you.
Walk straight past him, round the corner, and through the door. If this
guard isn't immediately visible when you have passed the first guard,
then it is advisable to wait for him, since he is quite suspicious, and
pauses at the end of his patrol route. If you need to hide at any point
here, you can turn left at the first junction and use a deep alcove, but
do not go through the door at the end of this short corridor.
Another guard should be heading towards you.
Walk straight past him, round the corner, and through the door. If this
guard isn't immediately visible when you have passed the first guard,
then it is advisable to wait for him, since he is quite suspicious, and
pauses at the end of his patrol route. If you need to hide at any point
here, you can turn left at the first junction and use a deep alcove, but
do not go through the door at the end of this short corridor.
 Head diagonally through the control room, noting the computer room door.
Don't enter this, but head north, round the corner, and through the two
doors here. Head south down the corridor, and a little ways around the
corner so you have a good view of the southern section of the corridor.
Check your map. There is one guard patrolling this passage, and his pathway
is very simple.
Head diagonally through the control room, noting the computer room door.
Don't enter this, but head north, round the corner, and through the two
doors here. Head south down the corridor, and a little ways around the
corner so you have a good view of the southern section of the corridor.
Check your map. There is one guard patrolling this passage, and his pathway
is very simple.
 When he is on the northern part of his patrol, head west,
and you will come to a junction. Turn left here, and go through the door.
By this time, the guard should be returning towards this room. Hide behind
the sack, and when he is in the room (preferably as he is leaving), put a
bullet in him. Do not, repeat not, kill him in the main corridor. The
cameras will see this, and you will be in a bit of a quandary. (Have you
noticed how many guards there are in this installation?)
When he is on the northern part of his patrol, head west,
and you will come to a junction. Turn left here, and go through the door.
By this time, the guard should be returning towards this room. Hide behind
the sack, and when he is in the room (preferably as he is leaving), put a
bullet in him. Do not, repeat not, kill him in the main corridor. The
cameras will see this, and you will be in a bit of a quandary. (Have you
noticed how many guards there are in this installation?)
 Set the bomb up in this southern room (walk until you receive a message,
equip the bomb, left click to arm it, then drop it), then leave, continuing
along the main corridor in a clockwise (westerly) direction. As you near
the top of this corridor, you will come across a series of short bends.
There is an area here where there is no surveillance coverage, so get ready for a
little bit of action. Use the remote control detonator to set off the bomb,
and arm your 9mm silenced pistol.
Set the bomb up in this southern room (walk until you receive a message,
equip the bomb, left click to arm it, then drop it), then leave, continuing
along the main corridor in a clockwise (westerly) direction. As you near
the top of this corridor, you will come across a series of short bends.
There is an area here where there is no surveillance coverage, so get ready for a
little bit of action. Use the remote control detonator to set off the bomb,
and arm your 9mm silenced pistol.
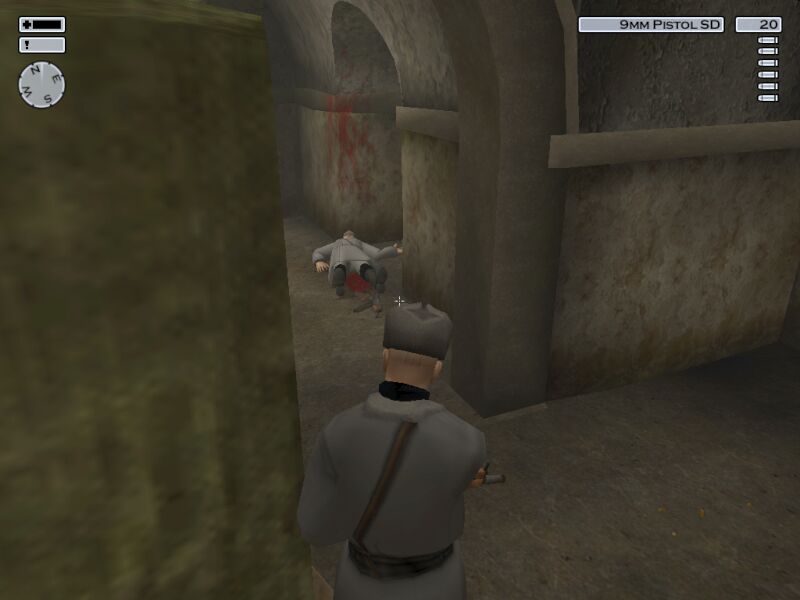
 At the top of this corridor, there is a
demarcation at the lift room. You saw this room when you entered the
basement, so, coming from the corridor, there is a desk sergeant to your
left, and to your right are the bars, looking through to the first corridor
of this level. Checking your map to see that the guard who patrolled this
first corridor is nowhere nearby, pop into this room, and put a bullet
in the desk guard's head, and quickly drag him back round the corner into
the corridor.
At the top of this corridor, there is a
demarcation at the lift room. You saw this room when you entered the
basement, so, coming from the corridor, there is a desk sergeant to your
left, and to your right are the bars, looking through to the first corridor
of this level. Checking your map to see that the guard who patrolled this
first corridor is nowhere nearby, pop into this room, and put a bullet
in the desk guard's head, and quickly drag him back round the corner into
the corridor.
[Save Game]
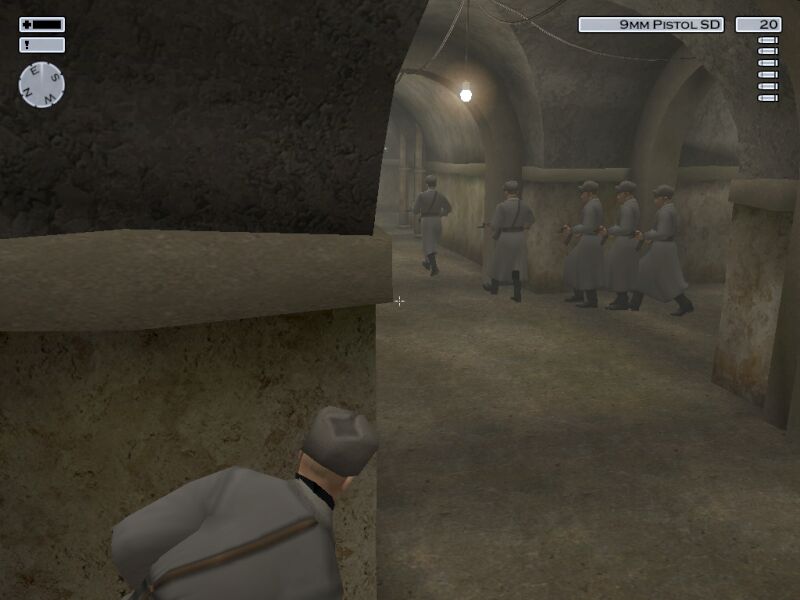
 At this point, you might like to wait a bit, since there will be a lot of commotion
where you left the bomb (though you are safe here), and going down to the
next level pauses all of the alerted guards. You might as well wait now for
them to head back off to their quarters.
At this point, you might like to wait a bit, since there will be a lot of commotion
where you left the bomb (though you are safe here), and going down to the
next level pauses all of the alerted guards. You might as well wait now for
them to head back off to their quarters.
 When you are ready, take the elevator down to the 2nd Basement. Follow the
corridor all the way round until you reach the southern most tunnel. There
is a single guard here, patrolling from the far end towards your position,
and into a door-less guard room. You really can't kill him easily, so just
time your approach to pass him when he is getting close to entering the guard
room.
When you are ready, take the elevator down to the 2nd Basement. Follow the
corridor all the way round until you reach the southern most tunnel. There
is a single guard here, patrolling from the far end towards your position,
and into a door-less guard room. You really can't kill him easily, so just
time your approach to pass him when he is getting close to entering the guard
room.
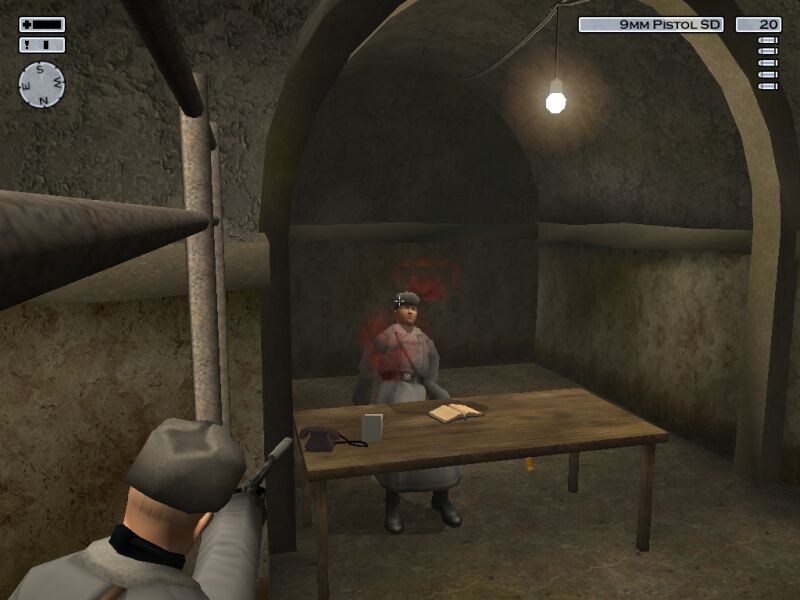
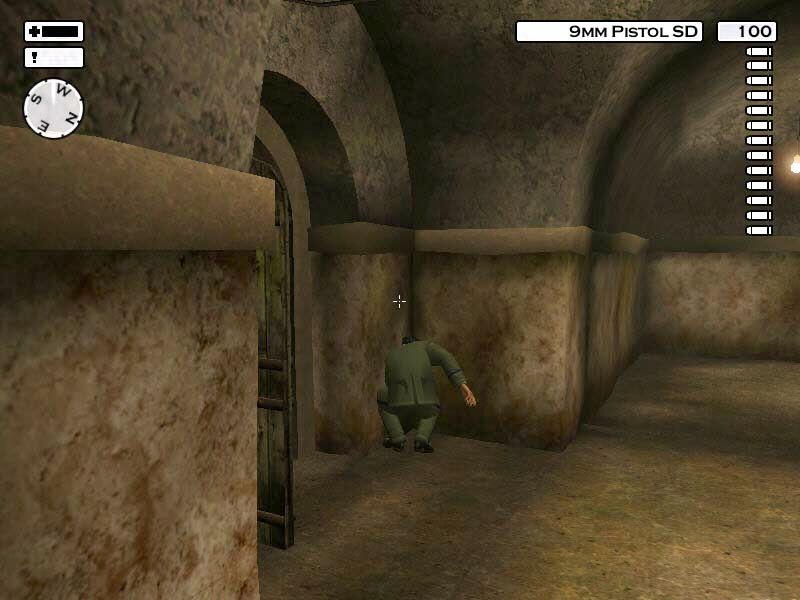
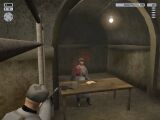
 Go to the far door, and pick the lock. This does take time, but when it's
finished, pop in before the guard returns. Through the one-way glass, you
can now see an interrogation going on. Prepare yourself with your silenced
pistol; you need to shoot the glass, and quickly shoot the general, since
the prisoner is automatically executed if he becomes alarmed. Walk to
the broken window, and climb through.
Go to the far door, and pick the lock. This does take time, but when it's
finished, pop in before the guard returns. Through the one-way glass, you
can now see an interrogation going on. Prepare yourself with your silenced
pistol; you need to shoot the glass, and quickly shoot the general, since
the prisoner is automatically executed if he becomes alarmed. Walk to
the broken window, and climb through.
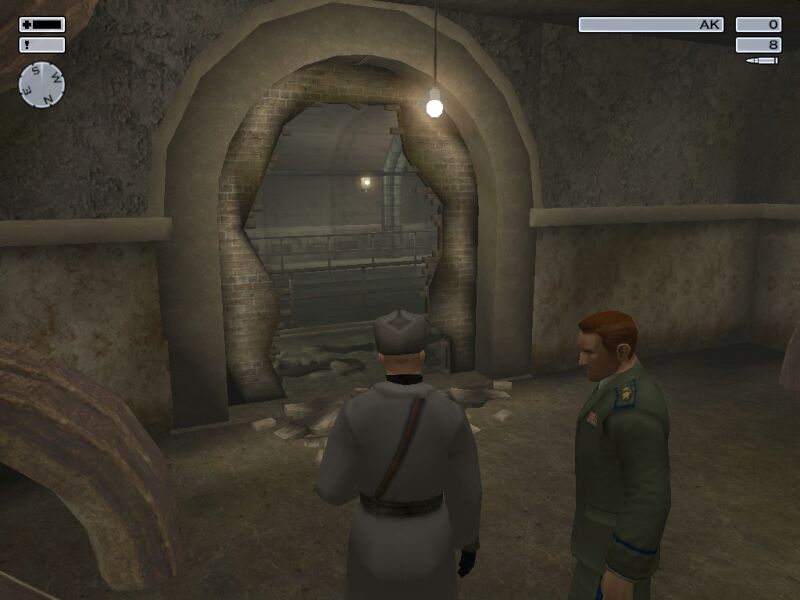
 Enjoy a short reunion cut scene, and then head back to the elevator through
the northern door. Do not try and deal with the now alerted guards in
the 2nd basement, since two of them are invulnerable (yeah,
that was a bit of a shock)! When you get back to the 1st basement, you
should check that the bomb room and the sewers are clear of soldiers
(use your map). Once clear, head out of the newly created hole, and
head for the exit with your companion.
Enjoy a short reunion cut scene, and then head back to the elevator through
the northern door. Do not try and deal with the now alerted guards in
the 2nd basement, since two of them are invulnerable (yeah,
that was a bit of a shock)! When you get back to the 1st basement, you
should check that the bomb room and the sewers are clear of soldiers
(use your map). Once clear, head out of the newly created hole, and
head for the exit with your companion.
Recommended Saves: 2
Rating: Professional
Time: 20:58
Items Available For Collection
- AK-47 Assault Rifle [On All Guards, In First Basement Weapons Stash, In Courtyard Shed]
- Desert Eagle [In Military Headquaters First Floor Office]
- 9mm Pistol SD [In Outside Weapons Stash and on Bardachenko]
- Combat Knife [On Bardachenko]
- Mini-bomb [In Outside Weapons Stash]
- Night Vision [In Outside Weapons Stash]
Points Of Interest
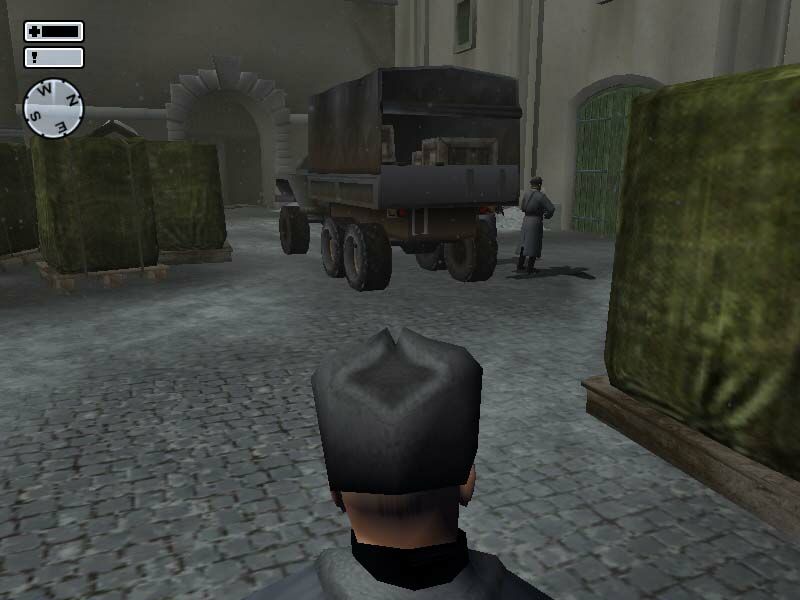
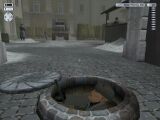
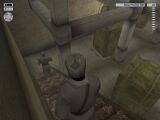
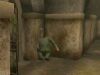
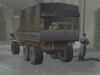 The Russian Army use these regularly as a form of transport.
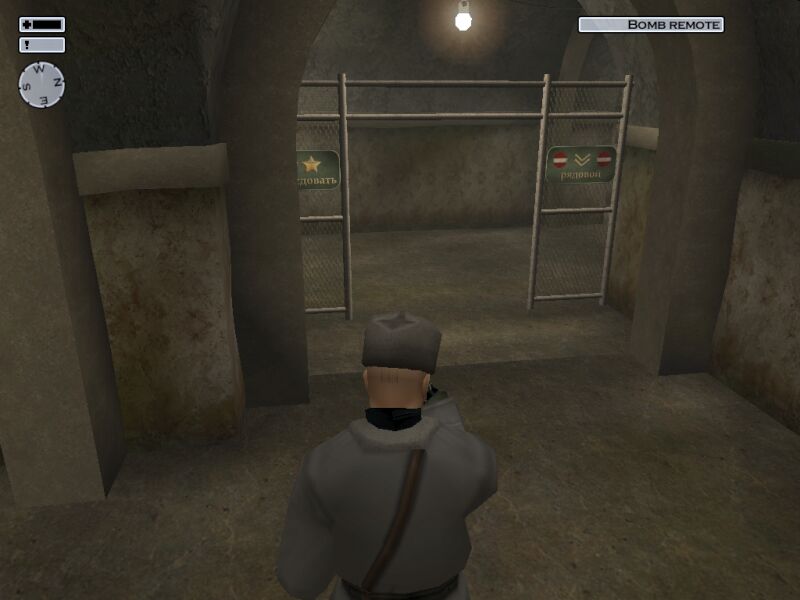
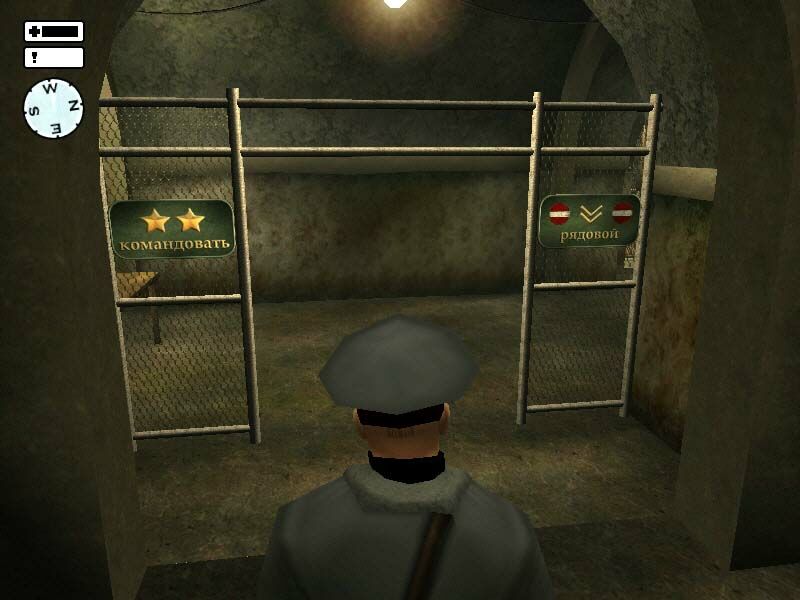
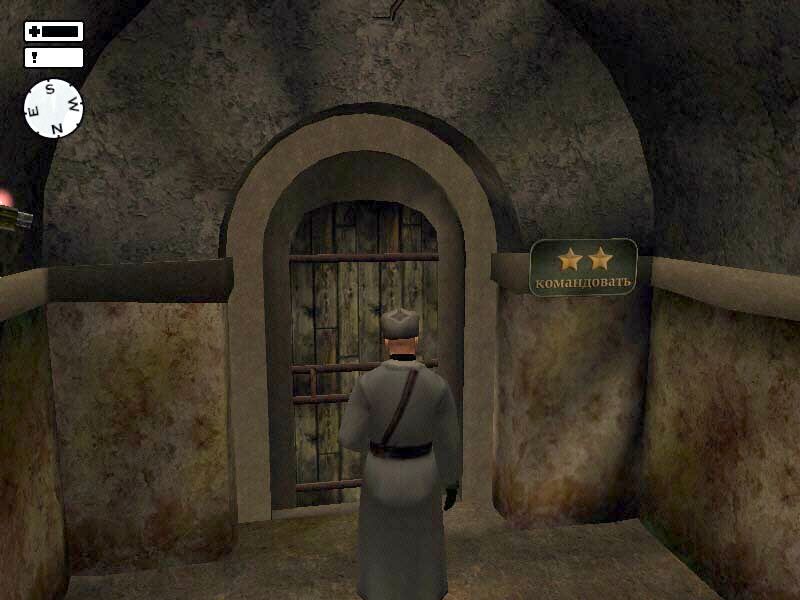
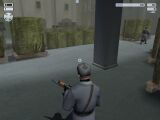
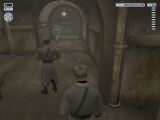
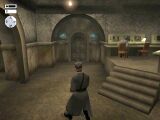
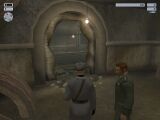
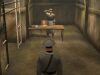
 Rank is important in the army. You can't go where you're not allowed.
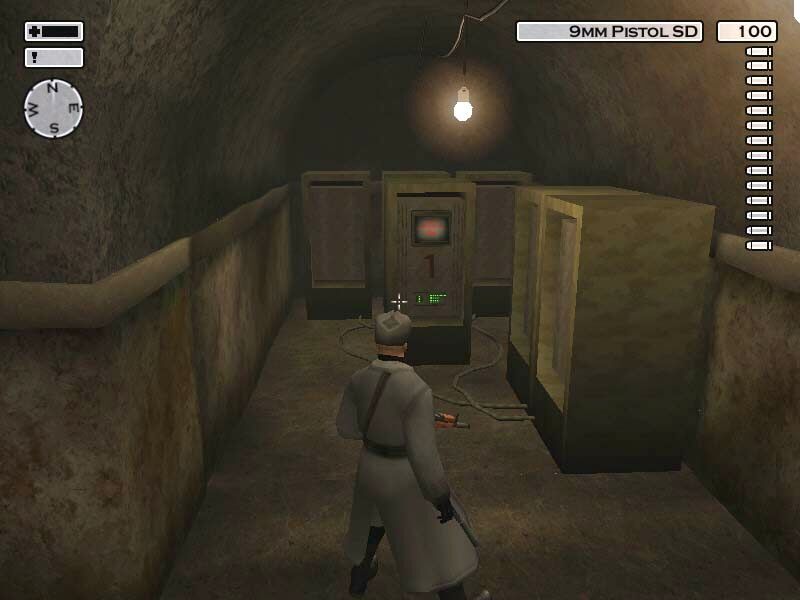
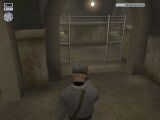
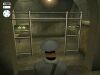
 Ah, the warm green glow of Server 1.
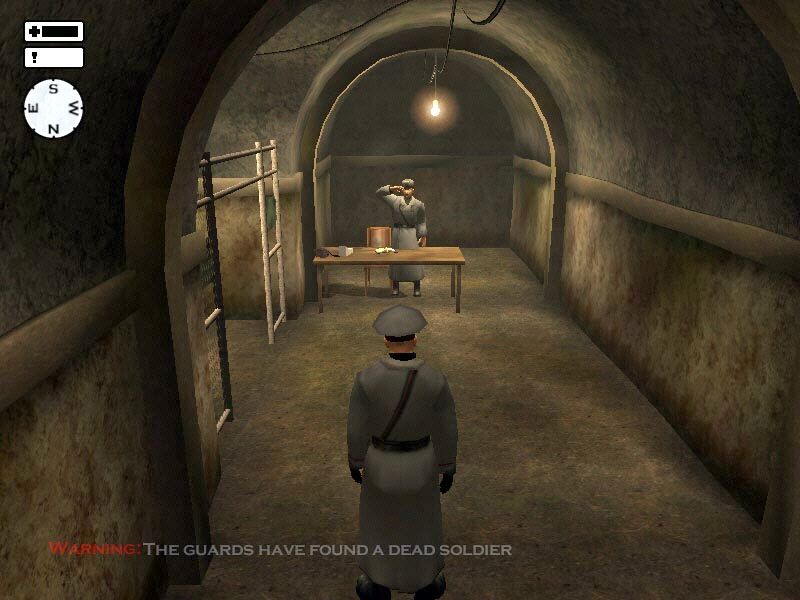
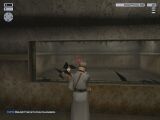
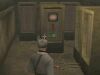
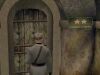
 Dressing sensibly commands respect.
 The base commander's quarters? He's probably well guarded.
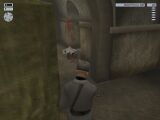
 You have a Pager. Pagers beep. When you ring them, that is.