by: The Button Man | December 7, 2002
[Jump to: St. Petersburg Stakeout | Kirov Park Meeting | Tubeway Torpedo | Invitation To A Party]
 Your first outing was, hopefully, a complete success, and your return to the
"industry" has begun. Once you have set your new price in Sicily, and perhaps
tried out some of the new weapons, you are ready to return to St. Petersburg
to complete some tasks there. The remaining generals are running scared,
and are carrying out investigations into the first assassination. The client
wants this stopped.
Your first outing was, hopefully, a complete success, and your return to the
"industry" has begun. Once you have set your new price in Sicily, and perhaps
tried out some of the new weapons, you are ready to return to St. Petersburg
to complete some tasks there. The remaining generals are running scared,
and are carrying out investigations into the first assassination. The client
wants this stopped.
Your first target, General Makarov is seeking protection, and information,
from a local crime lord, Igor Kubasko. They have certainly had dealings
in the past, and their regular meeting place is out in the open, in
Kirov Park. Your job is to assassinate both of them. They arrive in bullet
proof Zil-115 Limousines, and there are guaranteed plenty of soldiers and
armed guards in the area. Tricky? Not for 47.
Load-Out
At this point in the game, you should be getting ready to think ahead.
No longer will you be returning to your warm, cosy weapons shed for a pot of
tea and a biscuit between every level; rather, you shall be spending longer
periods out in the field, moving from mission to mission without break.
With this in mind, you should be ready to take out everything you need for
future missions, so here are a few basics. As you may have noticed, I
always take the same basic setup:
- Fiber Wire
- Anaesthetic
- Knife
- Ballers
- 9mm Pistol SD
If you're not
bothered about sparing lives, you can forget the second item, but remember,
if you think you might want it in the future, equip it. This list will
expand later in the game, but this should always be your basic start out
package. Any other weapons are for you to choose, but remember, there
will be a fair amount of ordinance carried by people in the places you are
travelling to.
Walkthrough
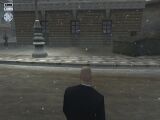
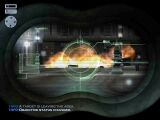
 You start, after a short cut scene, at a small jetty near the park.
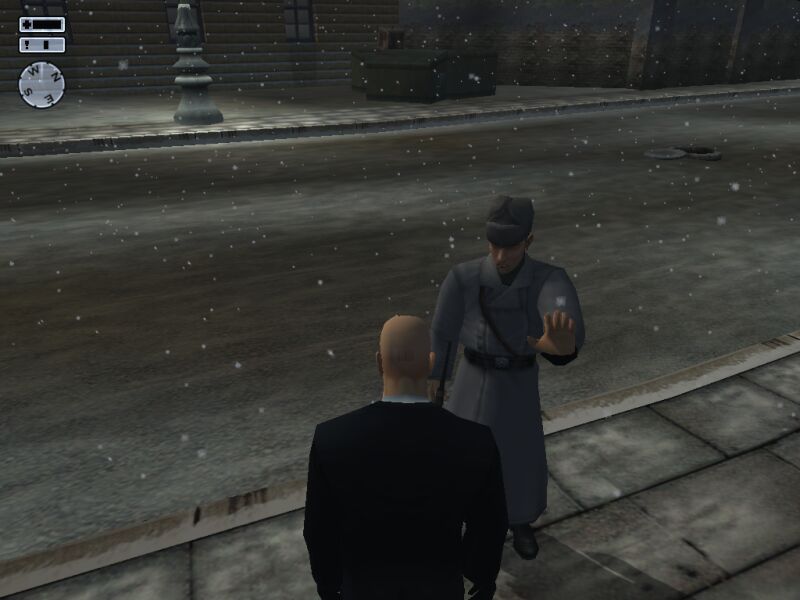
Looking up the steps (west), you will see a long street, and a few guards
patrolling about. The only one you need to worry about is the nearest one,
who will patrol up the street towards you, round the corner, and then back
down. He will get very agitated if you cross the road towards the controlled
area of the park, and if he sees you even trying this, he will run to you,
shouting, and won't leave you alone until you have crossed back over the road.
You start, after a short cut scene, at a small jetty near the park.
Looking up the steps (west), you will see a long street, and a few guards
patrolling about. The only one you need to worry about is the nearest one,
who will patrol up the street towards you, round the corner, and then back
down. He will get very agitated if you cross the road towards the controlled
area of the park, and if he sees you even trying this, he will run to you,
shouting, and won't leave you alone until you have crossed back over the road.
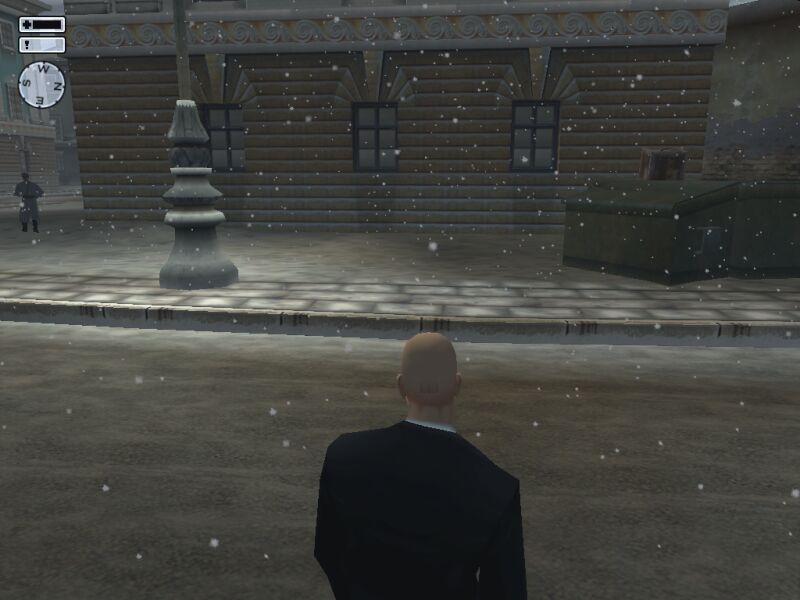
 Shortly, you will see the first limo pass your position, and go down towards
the end of the street. When the guard turns his back, run northwest across
the road, towards the cluster of green dumpsters. Run into the middle of
these, turn around, and you will see a stash of weapons lodged between
two of the bins. If you haven't collected your silenced pistol, you can
get one here, but basically, all you need is the two car-bombs. If they
don't turn up on the selection menu, move around the stash until they do.
Shortly, you will see the first limo pass your position, and go down towards
the end of the street. When the guard turns his back, run northwest across
the road, towards the cluster of green dumpsters. Run into the middle of
these, turn around, and you will see a stash of weapons lodged between
two of the bins. If you haven't collected your silenced pistol, you can
get one here, but basically, all you need is the two car-bombs. If they
don't turn up on the selection menu, move around the stash until they do.
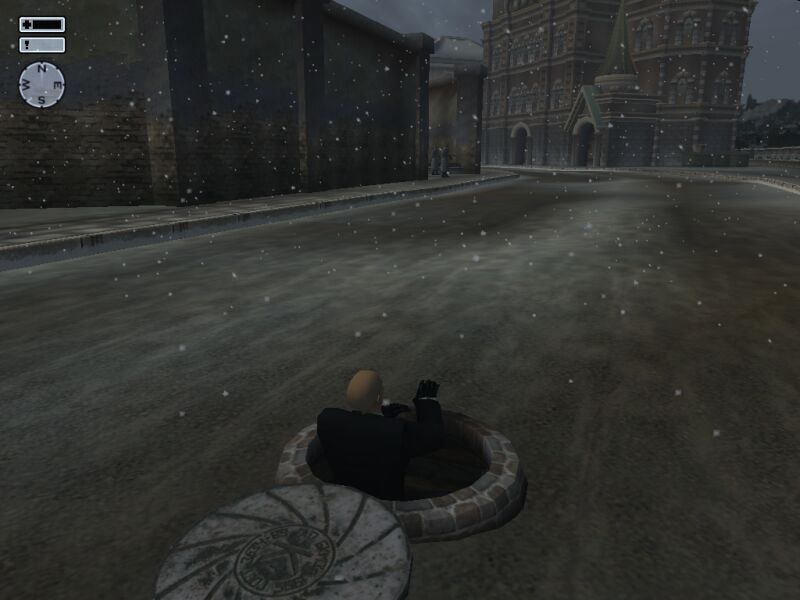
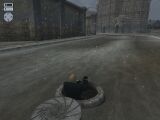 Once you have the two bombs, look east, and you will see a manhole. Run to
this, and enter. The two guards by the park entrance won't bother you with
this, but the patrolling guard probably will. If you are quick, he won't
have come back round the corner from his patrol route. If he has returned,
you can either return to the other side of the road and wait for him to return
to his patrol route, or you can lure him out of site of any other guards,
and quickly put a bullet in his head. He really can be a pain
(even later in the level)!
Once you have the two bombs, look east, and you will see a manhole. Run to
this, and enter. The two guards by the park entrance won't bother you with
this, but the patrolling guard probably will. If you are quick, he won't
have come back round the corner from his patrol route. If he has returned,
you can either return to the other side of the road and wait for him to return
to his patrol route, or you can lure him out of site of any other guards,
and quickly put a bullet in his head. He really can be a pain
(even later in the level)!
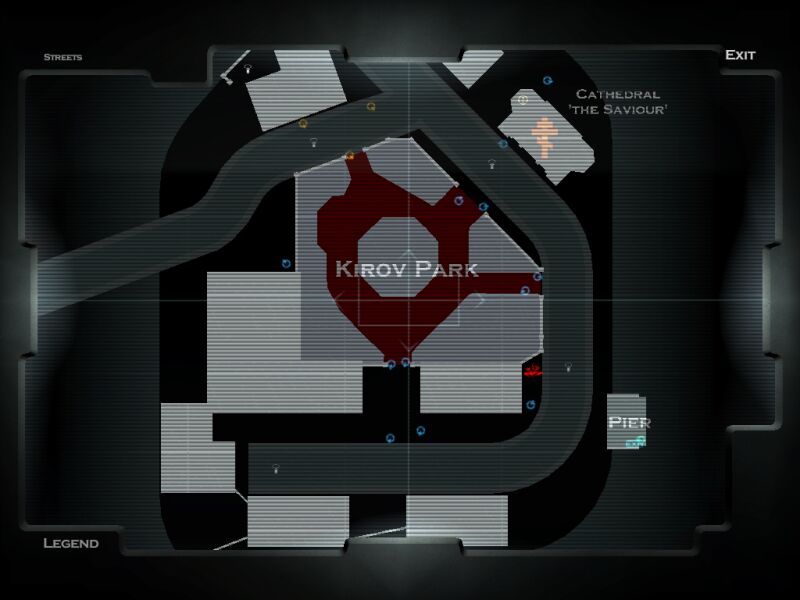
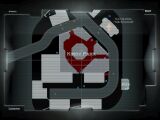
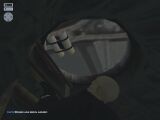 Ah - the sewers. I hope you're getting used to these by now. You'll be
spending quite a bit of time down here. Check out the map. This section of
the sewers is much more complicated than those from your last trip below ground
First, you want to head for the most southern sewer exit. From the bottom of
the ladder, head down this branch tunnel to the main viaduct, turn left,
and keep running until you come to the next branch tunnel on your left.
Head down this, and climb the ladder. The first car is covering the manhole
cover, and when you get close to it, you will get the option to place the
first car bomb.
Ah - the sewers. I hope you're getting used to these by now. You'll be
spending quite a bit of time down here. Check out the map. This section of
the sewers is much more complicated than those from your last trip below ground
First, you want to head for the most southern sewer exit. From the bottom of
the ladder, head down this branch tunnel to the main viaduct, turn left,
and keep running until you come to the next branch tunnel on your left.
Head down this, and climb the ladder. The first car is covering the manhole
cover, and when you get close to it, you will get the option to place the
first car bomb.
[Save Game]
 Return to the end of the tunnel. You are now heading to the most northern of
the sewer exits. Cross the bridge, and head left along the main viaduct.
You will reach a branch tunnel to your right. Run to the end of this, and
turn right. Cross the first bridge you come to, and keep going in the same
direction until you come to a branch tunnel on your left. Head up the ladder
at the end of this. Check your map - there should be no one around above ground.
Exit the manhole, and crouch down behind the box nearby, facing south.
Return to the end of the tunnel. You are now heading to the most northern of
the sewer exits. Cross the bridge, and head left along the main viaduct.
You will reach a branch tunnel to your right. Run to the end of this, and
turn right. Cross the first bridge you come to, and keep going in the same
direction until you come to a branch tunnel on your left. Head up the ladder
at the end of this. Check your map - there should be no one around above ground.
Exit the manhole, and crouch down behind the box nearby, facing south.
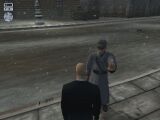
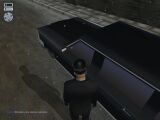 Eventually, the chauffeur will round the corner of the building, come towards
you, and then walk by the far side of the box from you. Go into sneak mode,
and approach him. If you want to be absolutely silent, you have just enough
time to get to him before he finishes his "business." If you are running a
touch slow, just put a bullet into him, and take his clothes. Head back in
the direction he came from (you can run until you reach the corner of the
building), and approach the limo. An option to place the second car bomb
will appear when you are close enough. Do so, and return to the manhole.
Go via the quickest route (check your map) back to the first manhole you used,
and climb the ladder.
Eventually, the chauffeur will round the corner of the building, come towards
you, and then walk by the far side of the box from you. Go into sneak mode,
and approach him. If you want to be absolutely silent, you have just enough
time to get to him before he finishes his "business." If you are running a
touch slow, just put a bullet into him, and take his clothes. Head back in
the direction he came from (you can run until you reach the corner of the
building), and approach the limo. An option to place the second car bomb
will appear when you are close enough. Do so, and return to the manhole.
Go via the quickest route (check your map) back to the first manhole you used,
and climb the ladder.
 The timing is fairly tight here, but not crucial in any way. The targets
will return to their cars at around 9 minutes into the level, and as soon as
the first bomb goes off, the second target will run to his car, meaning it
takes far less time for him to get to his car than it did for him to walk
to the park. If you were slow, then the bombs will have gone off whilst you
were in the sewer, and there will be a few anxious guards hanging around.
Again, the guard nearest the docks is the major problem. Just make sure he
doesn't see you leaving the sewers (time it so he is looking away), and you
can walk back to your exit point, and the level will end.
The timing is fairly tight here, but not crucial in any way. The targets
will return to their cars at around 9 minutes into the level, and as soon as
the first bomb goes off, the second target will run to his car, meaning it
takes far less time for him to get to his car than it did for him to walk
to the park. If you were slow, then the bombs will have gone off whilst you
were in the sewer, and there will be a few anxious guards hanging around.
Again, the guard nearest the docks is the major problem. Just make sure he
doesn't see you leaving the sewers (time it so he is looking away), and you
can walk back to your exit point, and the level will end.
Recommended Saves: 1
Rating: Professional
Time: 10:13
Items Available For Collection
- AK-47 Assault Rifle [On Soldiers]
- SVD Sniper Rile [In Weapons Stash]
- 9mm Pistol [On Bodyguards and in Weapons Stash]
- 9mm Pistol SD [In Weapons Stash]
- Car Bomb (x2) [In Weapons Stash]
Points Of Interest
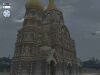 Russian Orthodox Churches - there must be a wonderful view from the top. But someone probably already thought of that.
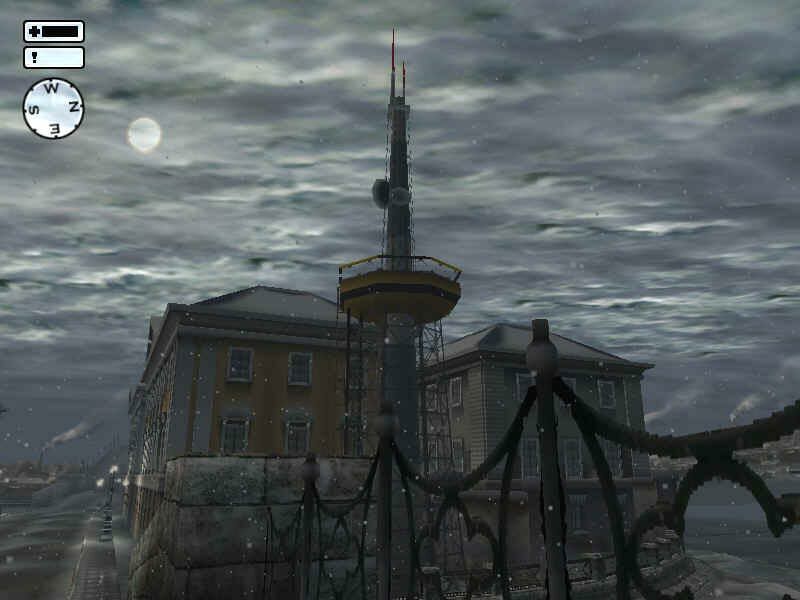
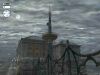 Communications Towers are dangerous places.
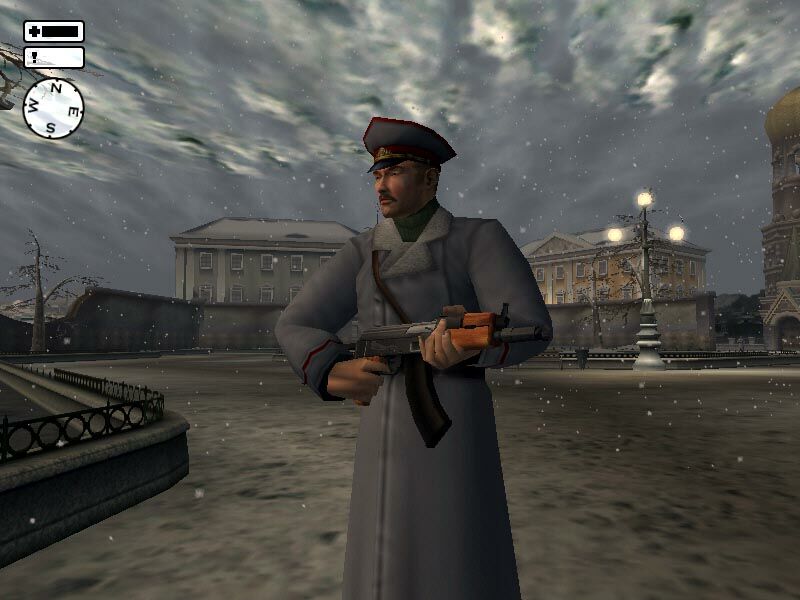
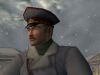 Hitler working for the Russians?