
The game
is only as good as what you can put into it.
|
|
1984
VOLKSWAGEN |
 |
 |
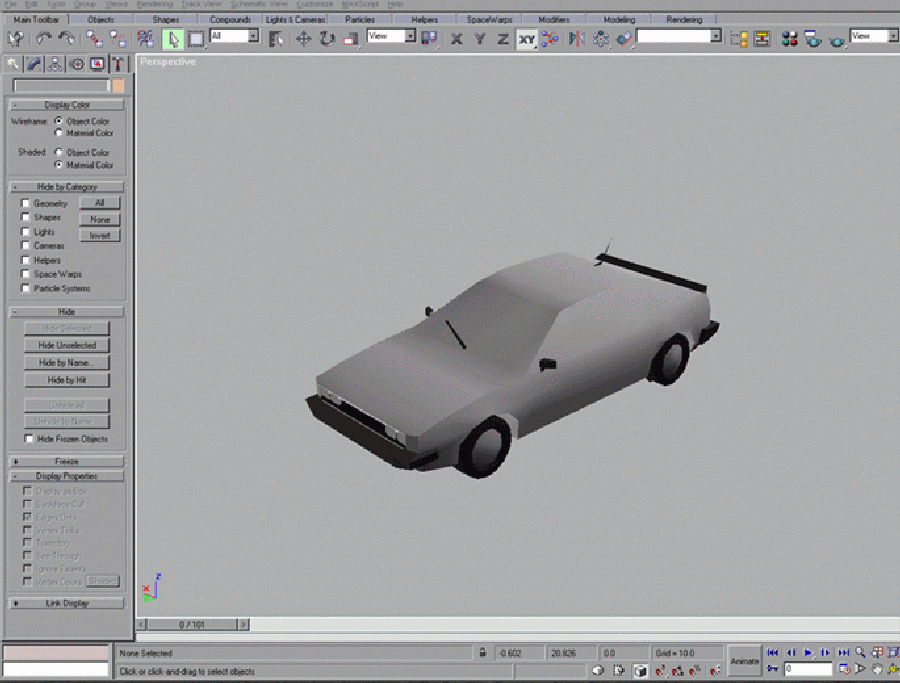
| The
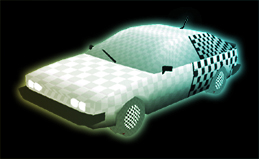
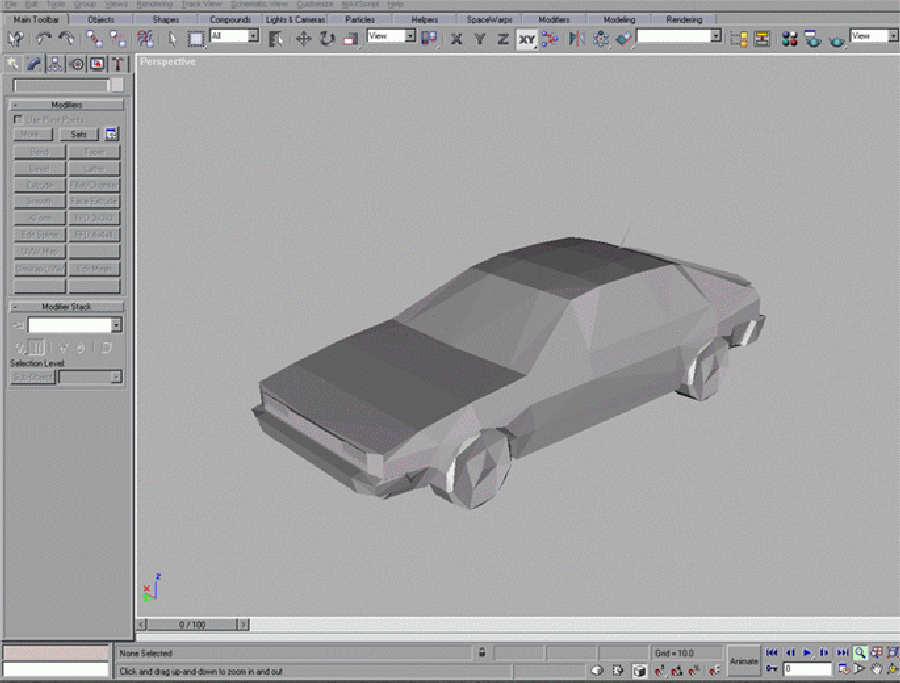
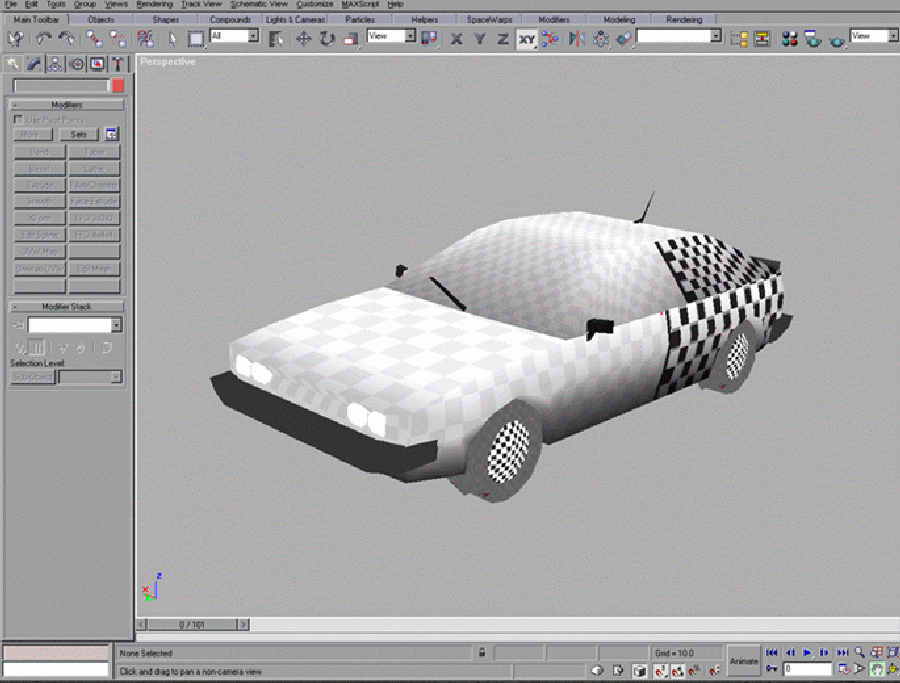
Scirocco is now imported into 3dsMAX in parts (car, wheel, bumper, etc.)
All surface data from Lightwave is lost (and that SUCKS !!), and therefore
has to be redone in 3dsMAX. I start with the shading and smoothing of
the model (really, i do them at the same time), but this is not a must for the mesh to work in a game (TDR will automatically smooth your mesh). |
|
 |
 |
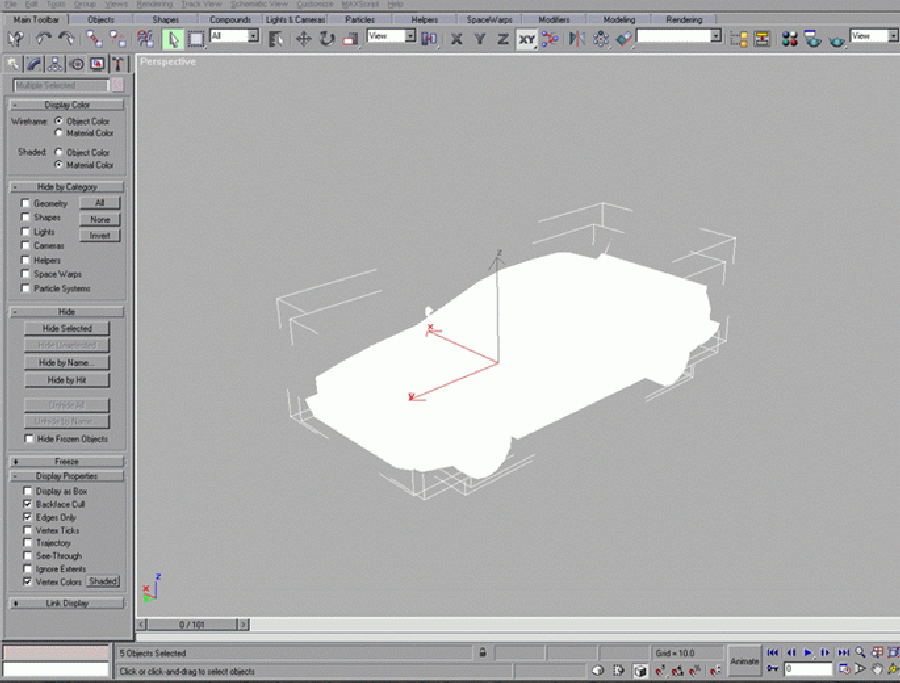
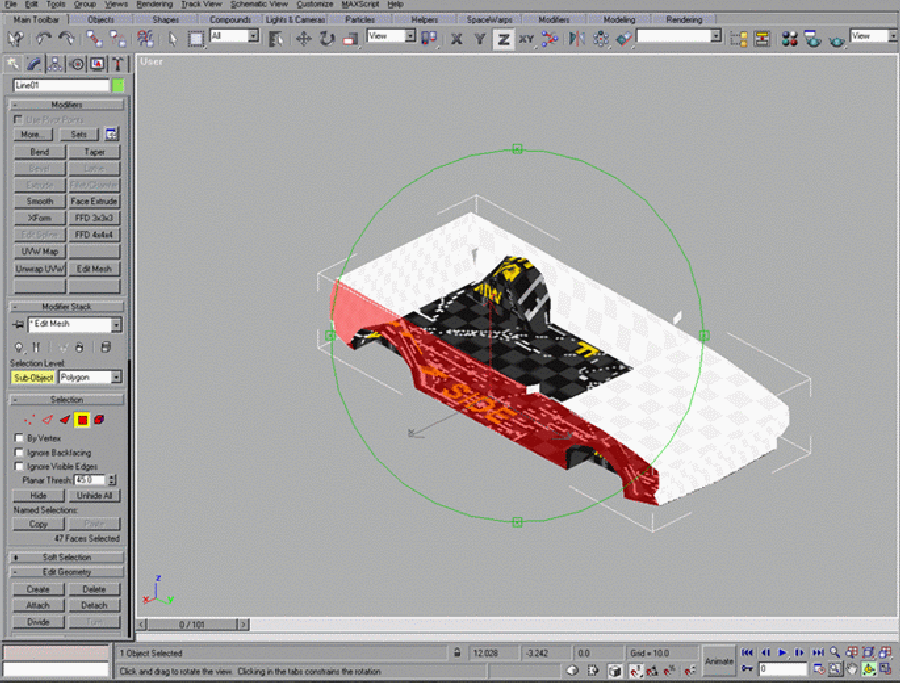
| Almost everything being edited during this stage is under the Modify tab. To shade a car using vert shading, see the tutorial section of RVCC (It is unknown if vertex shading is supported in all games, but it works well in ReVolt, and TDR, so its worth a try). | |
 |
 |
|
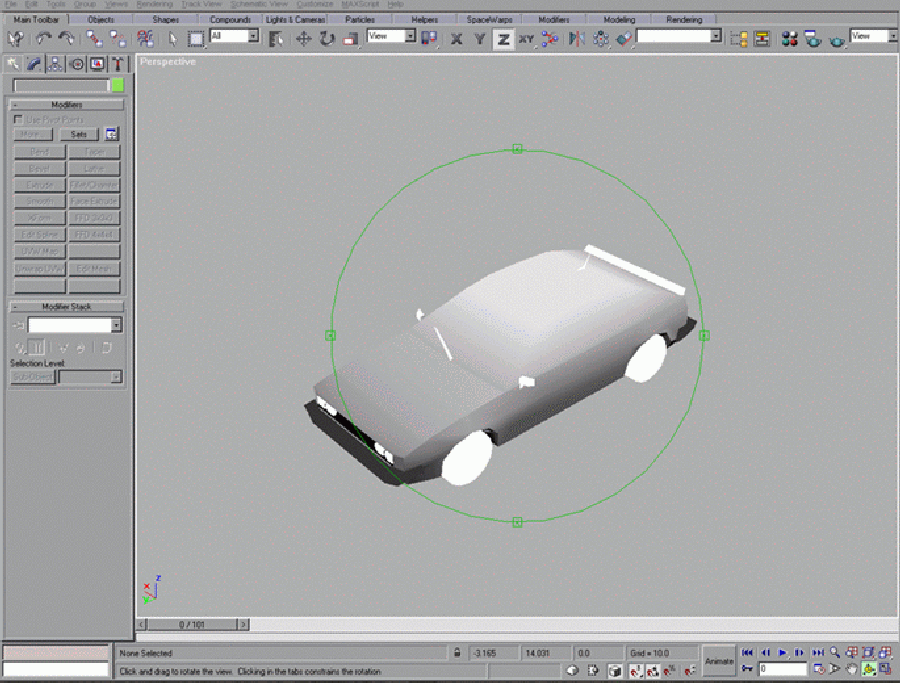
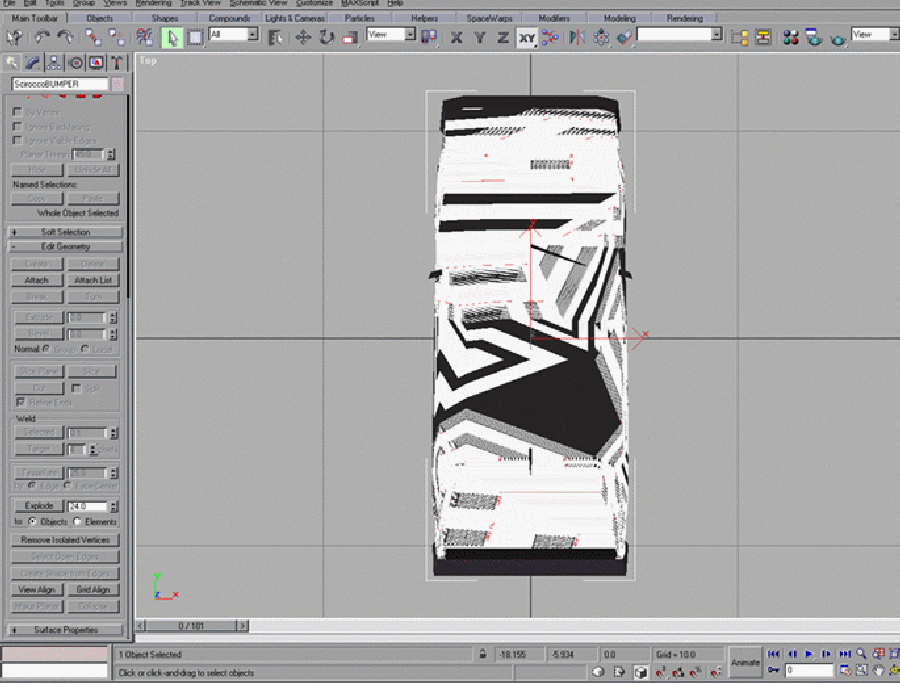
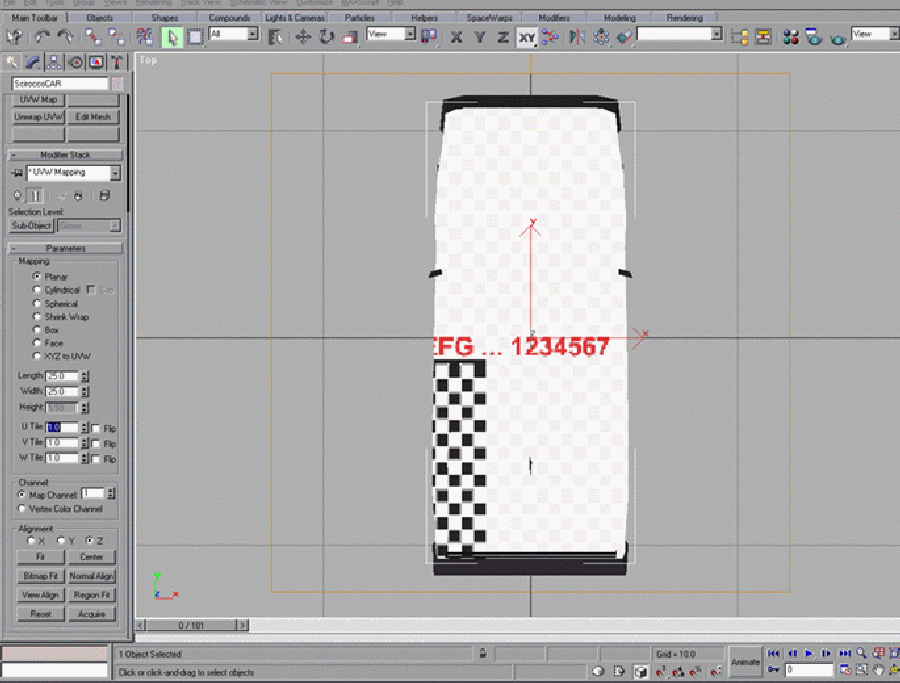
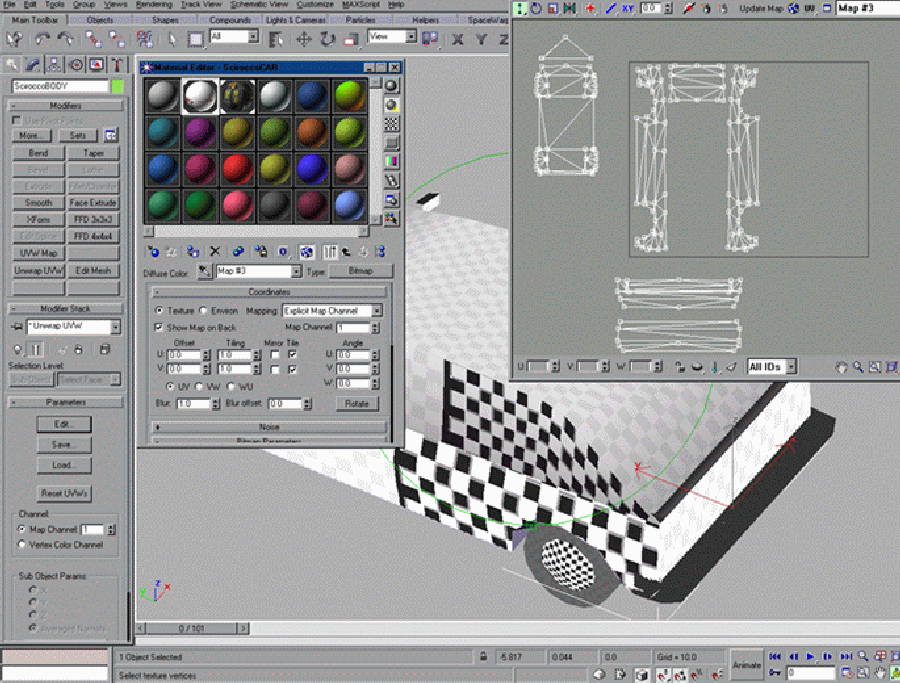
I map on the object level, but do all UV mapping at the sub-object level. Select the object to be mapped and apply a texture, then select Sub-Object under the Modify tab, Select the faces of the object that are to be mapped (like just the fender faces of the car) and apply the UV map modifer, you will then set the type of UV map (90% of the time I just use planar, but wheels are usally cylinder mapped). Using the modifier UV unwrap you will see your faces mapped on the texture in a pop up window. UV unwrap is a very powerful tool. In the UV unwrap window you can chage the coordinates (from x, y, or z) move, scale, break verts, among dozens of other features... its worth learning this tool inside out. The UV unwrap window is where i move and edit my points. Some people do this via object cloning,, CasmanG has a great tutorial on this style - check his site for more details - http://www.cschell.com/ . I use a 256x256 map with text and checkerboard pattern as a reference texture until the game texture is made .... Trust me, it works for making better templates because it lets you see how much pixel 'realestate' your giving to each face.. |
|
 |
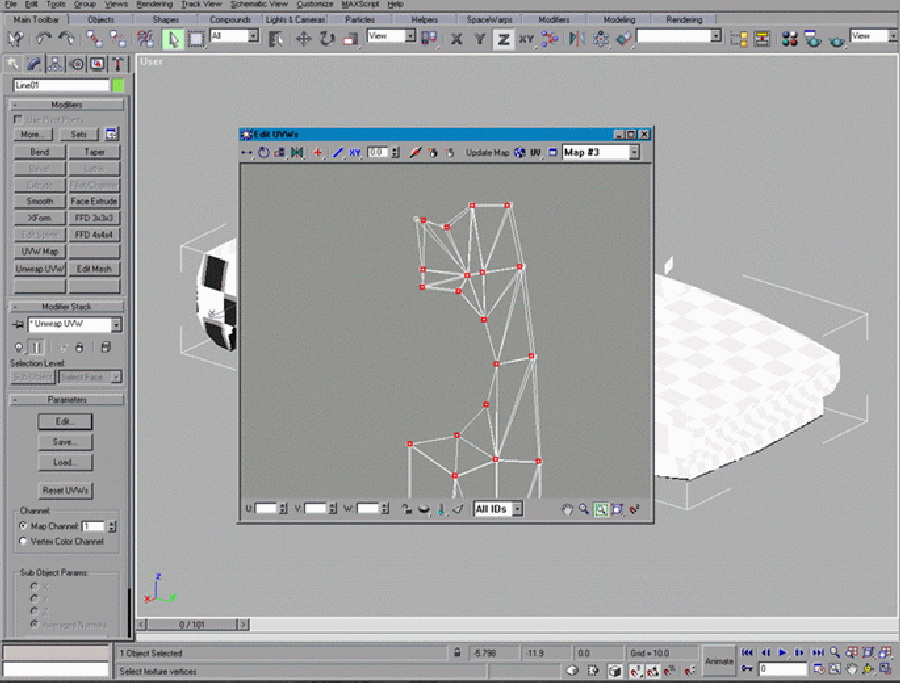 |
| When selecting a type of mapping its always best to give it square dimensions, no matter what type of mapping is done.(You should not use the Fit option ... it distorts the mesh to texture ratio). it can the be scaled, moved or rotated in the UV unwrap window | |
 |
 |
|
Edit Mesh, Sub-Object, Face,
UVW map, UVW unwrap are used over and over
(just keep adding to the stack) to map the complete car (and remember
to save). If program starts to act weird Convert to Editable Mesh
your different car parts (it makes the stack smaller and the app. run
faster)... this is the best way to collaps the stack. Before you now it,
the car is UV mapped, and if you've already vertex shaded the model, its
about done.... |
|
That's about it for UV mapping. Textures are next (for real this time).
| This is a visual progress and simple tutorial showing how to make a low poly car using Lightwave and MAX for use in video games. This is not a 3D program tutorial, If you would like to learn more about Lightwave or MAX do a search on the Internet, One of the best resources for Lightwave is Flay, it can be found HERE . |
|
For
additional information, help, or inquires contact
me.
|